 英语
 西班牙语
 德语
Cutting Coolant
Product Description
To achieve optimal cutting results and minimize thermal damage during metallogra...
We use first- and third-party cookies including other tracking technologies from third party publishers to give you the full functionality of our website, to customize your user experience, perform analytics and deliver personalized advertising on our websites, apps and newsletters across internet and via social media platforms. For that purpose, we collect information about user, browsing patterns and device.
By clicking "Accept All Cookies", you accept this, and agree that we share this information with third parties, such as our advertising partners. If you prefer, you can choose to continue with "Only Required Cookies". But keep in mind that blocking some types of cookies may impact how we can deliver tailored content that you might like.
For more information and to customize your options, click on "Cookie settings". If you want to learn more about cookies and why we use them, visit our Cookie Policy page at any time. Cookie Policy

You finish polishing a sample, place it under the microscope, and see a scratch that should not be there. Or a mount shows a rounded edge, and the surface layer you needed to measure is gone. These are not rare events. Most metallographic preparation mistakes happen in the first four steps: cutting, mounting, grinding, and polishing. The good news is that nearly all of them are predictable and preventable.
This article covers the mistakes that appear most often in material labs, why they matter, and what to change in your process. It is based on practical experience with metals, alloys, and hard brittle materials such as silicon carbide wafers.
Cutting is where the sample first meets force and heat. A common mistake is using a blade that is too hard or too fine for the material, or feeding it too fast. The result is a burned layer, micro-cracks, or deformation that extends well below the cut surface. When you later polish away the damage, you may also remove the feature you wanted to observe.
Another frequent error is insufficient coolant. Coolant does more than cool: it flushes chips, lubricates the blade, and prevents overheating. If the coolant flow is weak or the nozzle is misaligned, friction rises and the cut zone can reach temperatures that alter the microstructure.
For heat-sensitive or brittle materials, a low-speed precision saw with a steady feed rate and proper clamping is far safer than a high-speed abrasive cutter. The clamp matters too: a loose sample can shift, causing blade deflection and a rough cut.
If you regularly cut titanium, nickel alloys, or electronic materials, a dedicated low-speed saw reduces the risk of thermal damage and gives you a cleaner starting surface.
Mounting should protect the edge and hold the sample flat. Two mistakes ruin that purpose: choosing the wrong resin and failing to fill voids. A hard, brittle resin can crack under grinding pressure, while a soft resin may wear away faster than the sample, creating a rounded edge. Edge retention is critical when you need to measure case depth, coatings, or surface defects.
Porous materials, such as cast irons or sintered parts, trap air. If you use a standard cold mount without vacuum, bubbles form at the interface and leave dark holes that look like porosity in the microstructure. Vacuum impregnation pulls resin into the pores, so the mount becomes a solid support.
Hot mounting can also cause problems. Too much pressure or temperature can deform soft metals, and improper cooling can create shrinkage gaps. Cold mounting avoids heat but takes longer to cure. The right choice depends on the material and the feature you need to preserve.
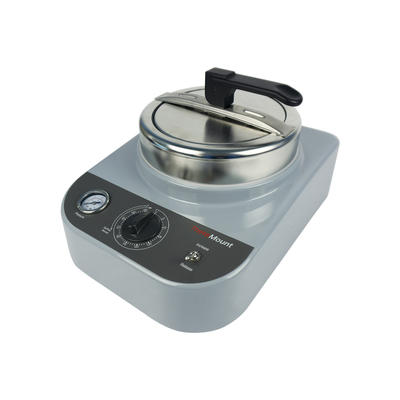
A vacuum cold mounting system is often the most reliable way to handle porous or delicate samples without heat or pressure damage.
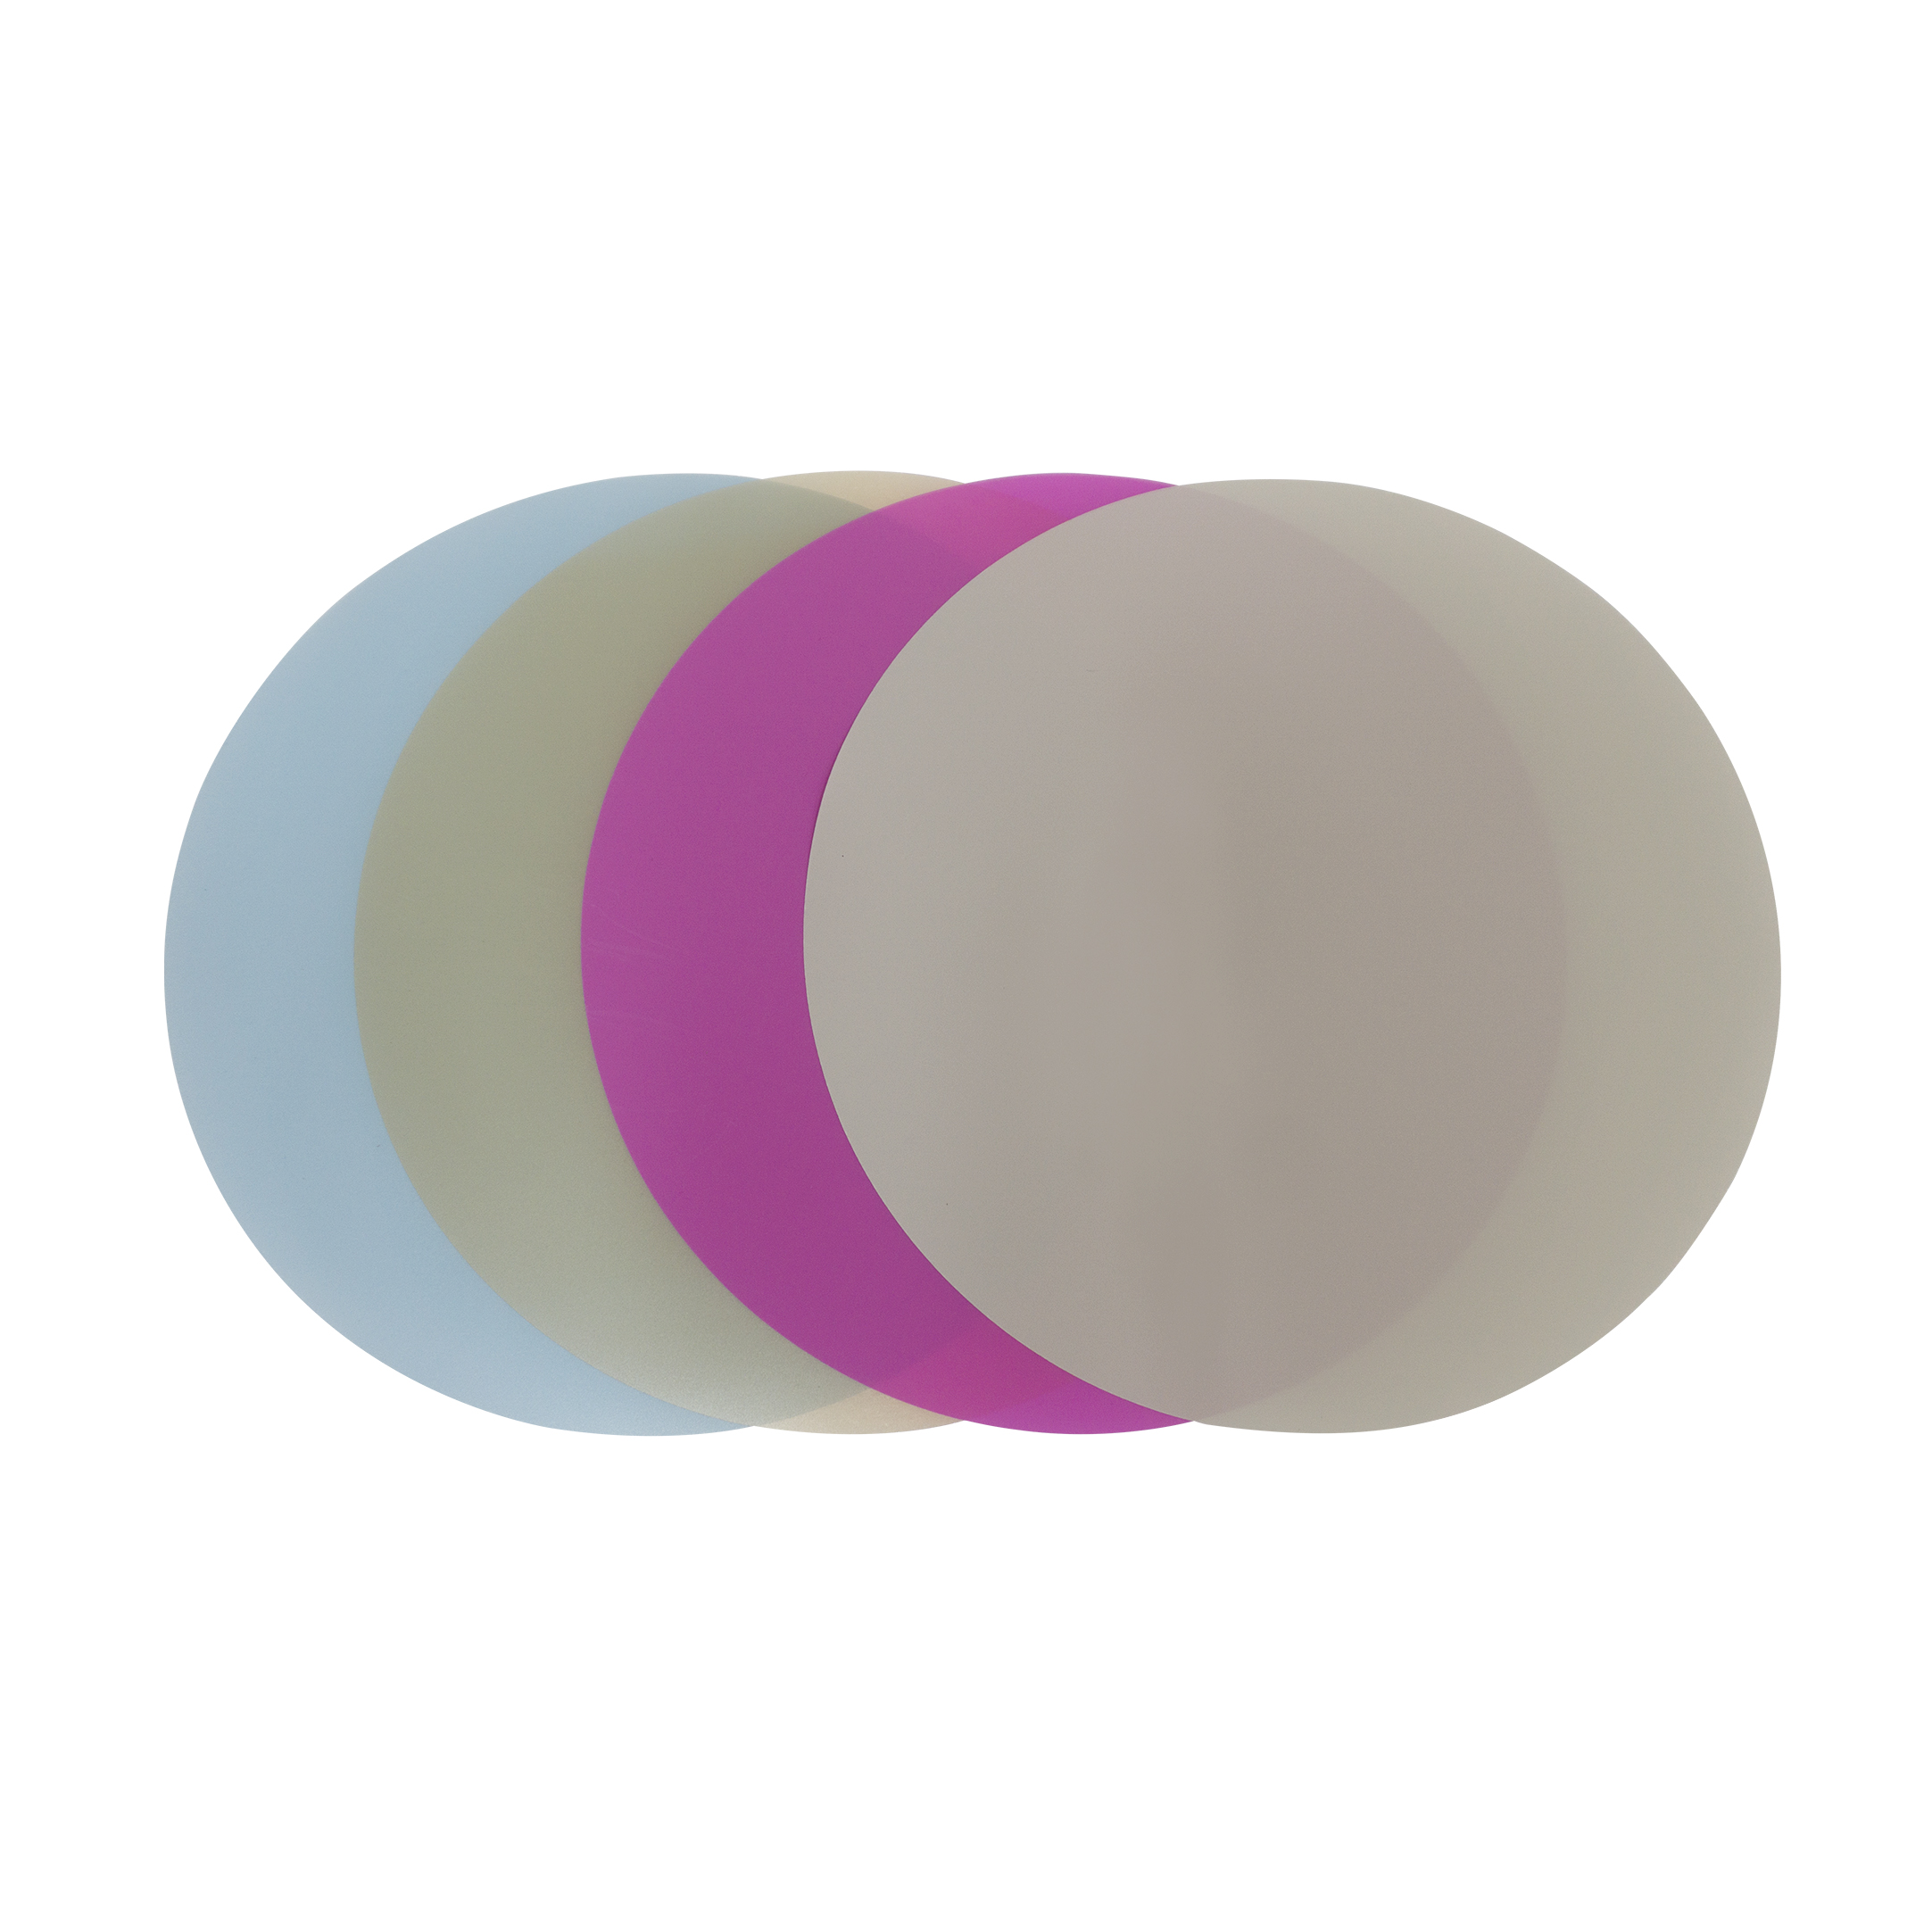
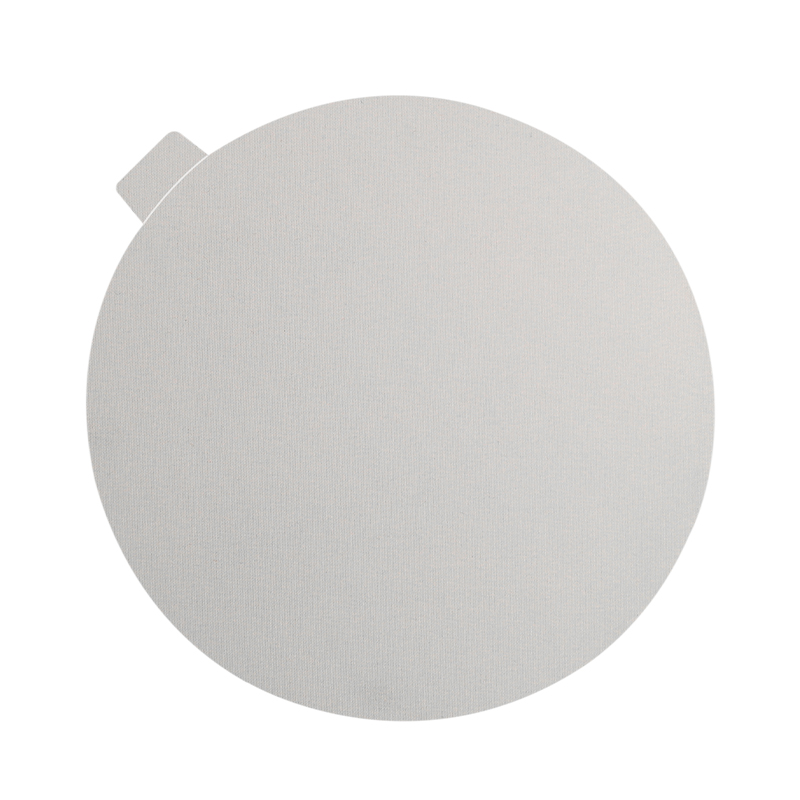
Grinding removes the damage from cutting, but only if you remove all of the previous step’s scratches. Skipping a grit size is a classic mistake: the coarser scratches remain, and you spend far longer polishing them out. Using worn paper has the same effect.
Pressure is another factor. Too much pressure generates heat and deep deformation; too little pressure polishes rather than grinds, leaving a smeared surface. The goal is steady, moderate pressure with a sample that rotates or moves across the disc. If the sample is held in one position, the abrasive becomes dull in that spot and cuts unevenly.
Contamination is easy to overlook. Coarse particles left on the platen, in the water, or on your hands can embed in a soft sample and appear as scratches later. Clean the machine between steps, rinse the sample, and change gloves when moving to finer abrasives.
| Mistake | Typical Effect | Correction |
|---|---|---|
| Skipping a grit | Deep scratches persist into polishing | Use the full sequence, e.g., 320, 500, 800, 1200 grit |
| Excessive pressure | Heat, deformation, and rolled metal | Reduce load; let the abrasive cut |
| Dirty platen or hands | Embedded particles and random scratches | Rinse and clean between every step |
| Worn paper | Slow cutting and surface smearing | Replace paper when cutting rate drops |
For reproducible results, an automatic grinder-polisher with programmable force and speed removes much of the operator variability. Manual grinding can work, but consistency is harder to maintain across many samples.
An automated system helps you keep pressure, time, and rotation constant, which is especially useful when you prepare a batch of samples for comparison.
Polishing is where the final surface quality is won or lost. Over-polishing is one of the most common mistakes: you keep going until the surface looks mirror-like, but you have also created relief, pulled out inclusions, and rounded the edge. The microstructure may look clean, but the features you need to measure are no longer in the same plane.
The polishing cloth and suspension must match the material and the stage. A napless cloth with a coarse diamond suspension removes material quickly, while a soft, flocked cloth with colloidal silica produces the final finish. Using the wrong combination can leave embedded abrasive particles or a haze that etching cannot hide.
Contamination between polishing steps is another hidden problem. Diamond particles from a 6 µm step can carry over to a 1 µm step and create scratches that look like preparation damage. Clean the sample, the platen, and your hands, and use separate cloths for different sizes.
If you are unsure which cloth to use, our guide on choosing polishing cloth for metallographic polishing walks through the selection criteria.
Etching reveals the microstructure, but it can also destroy it. Over-etching deepens grain boundaries and can obscure fine precipitates. Under-etching leaves a flat, featureless surface. The etchant, concentration, time, and temperature all matter. A common error is using an old or contaminated etchant, or failing to rinse and dry the sample properly after etching.
Drying is another step where scratches appear. Wiping a freshly etched surface with a dry cloth can drag particles across it. Rinse with alcohol and dry with warm air or a gentle stream of compressed air.
At the microscope, mistakes include using the wrong illumination mode, setting the aperture incorrectly, or choosing a magnification that is too high for the feature size. A blurry image is often a preparation problem, not a microscope problem, so check the sample first.
Application guides can help you set starting parameters for specific materials. Our downloads section includes cutting, grinding, polishing, and mounting guides that you can adapt to your lab.
Most scratches at this stage come from contamination, worn cloths, or too little time on the previous step. Check that no coarse particles remain on the sample or platen, and make sure you fully removed the previous scratches before moving on.
Edge rounding usually means the mount is softer than the sample or the grinding pressure is too high. Use a harder mounting resin, support the edge with a vacuum mount, and reduce pressure during grinding and polishing.
No. Flotation is not the same as scratch removal. Each grit removes the damage from the previous one. Skipping a step leaves deeper scratches that take much longer to remove later, and you risk over-polishing.
Most metallographic preparation mistakes are not mysterious. They come from a blade that is too aggressive, a mount that does not support the edge, a skipped grit, or a polishing step that goes on too long. When you control those variables, your micrographs become sharper, your measurements become more reliable, and your lab spends less time redoing samples.
Start by reviewing your cutting and mounting setup, because damage introduced there cannot be fixed later. Then standardize your grinding and polishing sequence, and keep records. Small changes in consumables and parameters often produce the largest improvements in surface quality.

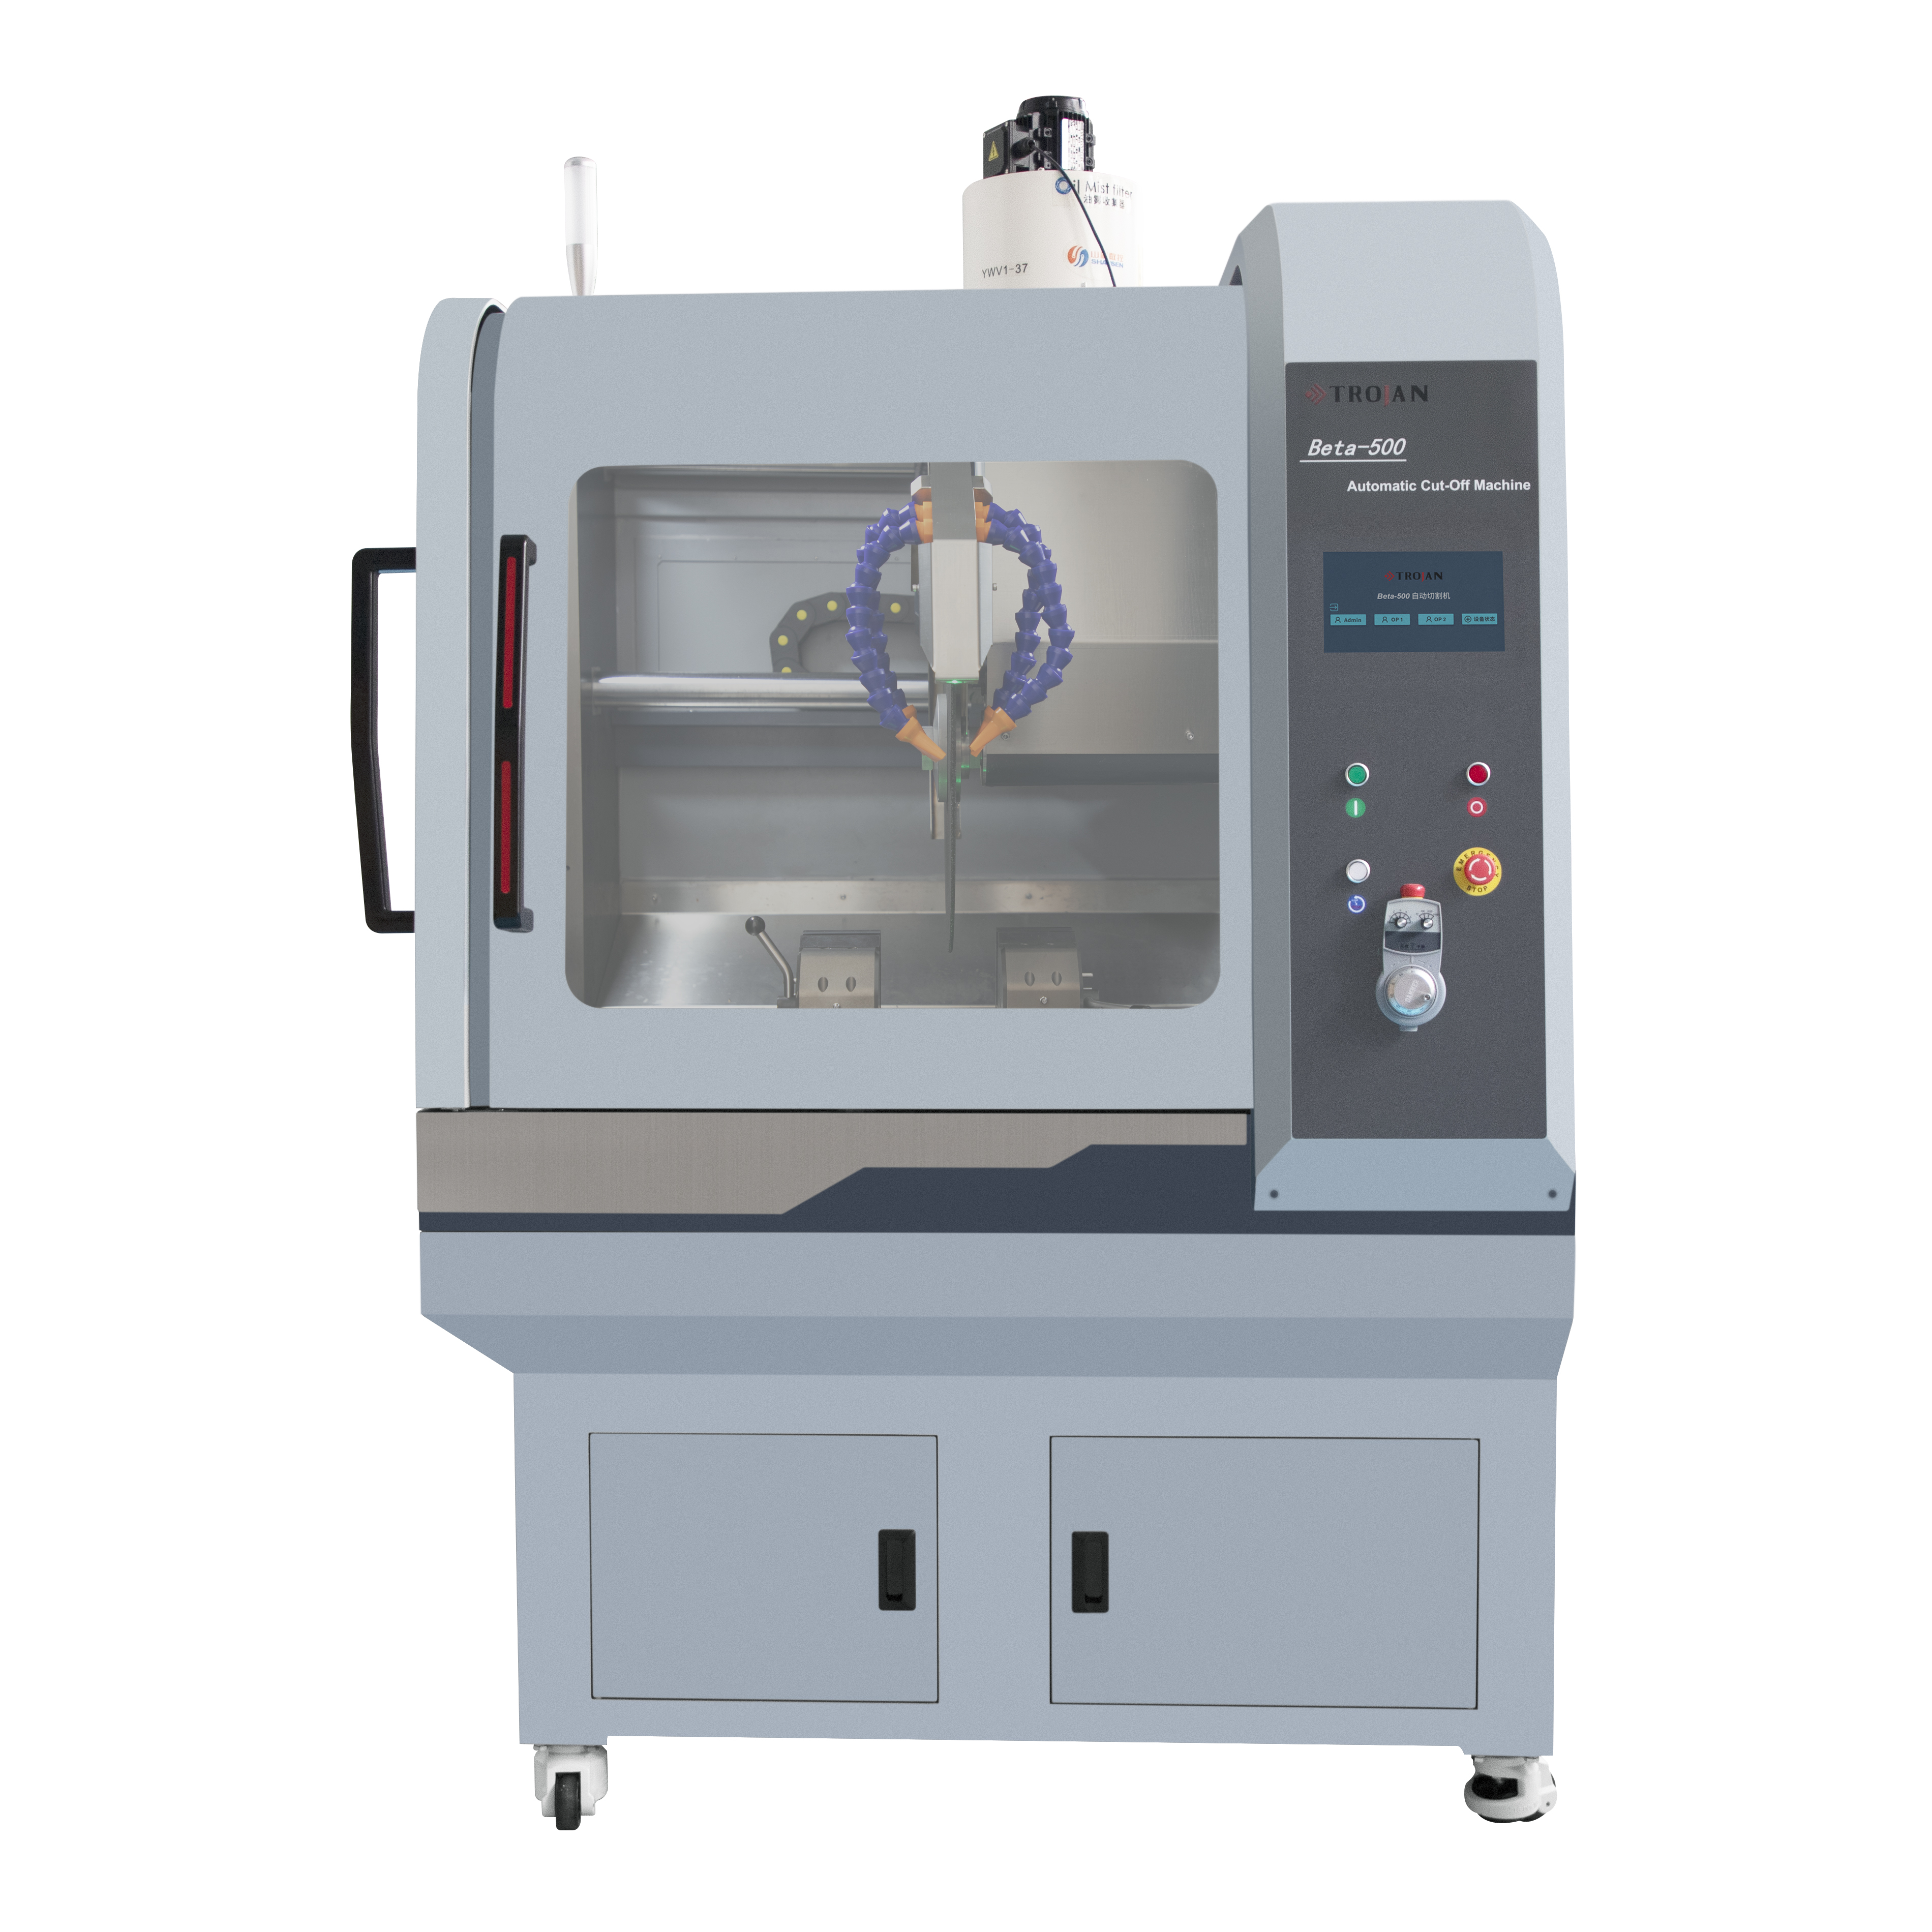

Based in China, TROJAN pays attention to the international market, and has sold metallographic equipment to more than 50 countries, such as Europe, America, Japan and South Korea, Southeast Asia countries and regions