
 英语
 西班牙语
 德语
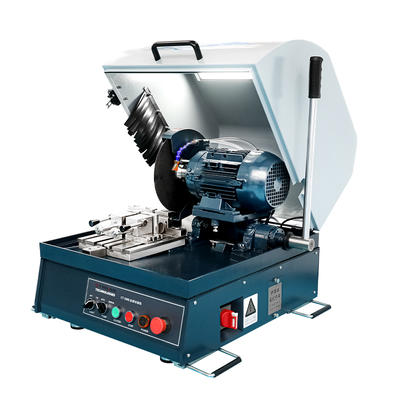
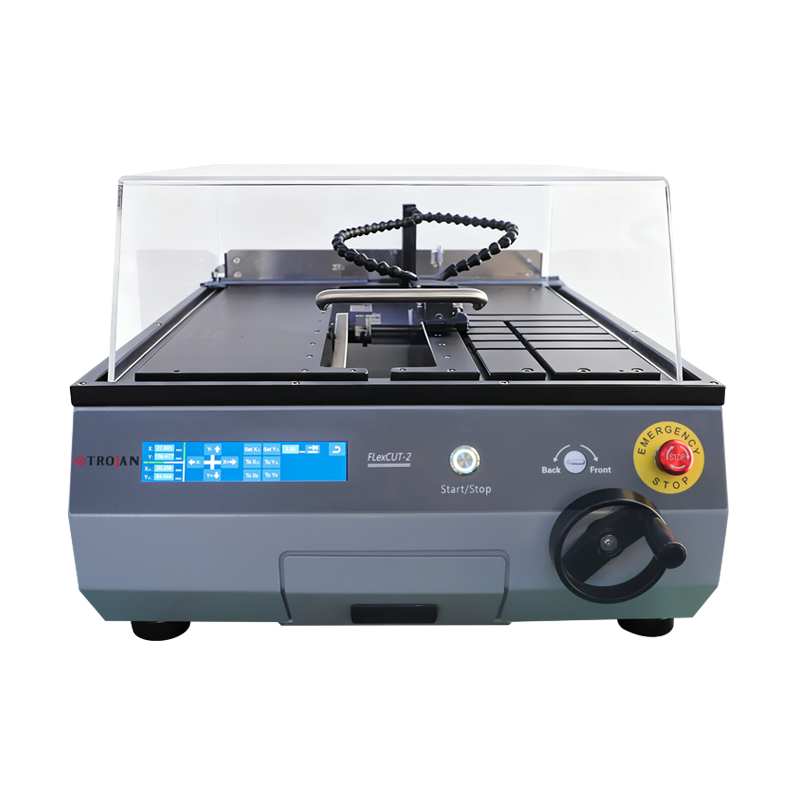
CT-250S/CT-250V Manual Sectioning Machine
CT-250S/250V is a manual sectioning machine designed with safety and environmental principles in min...
We use first- and third-party cookies including other tracking technologies from third party publishers to give you the full functionality of our website, to customize your user experience, perform analytics and deliver personalized advertising on our websites, apps and newsletters across internet and via social media platforms. For that purpose, we collect information about user, browsing patterns and device.
By clicking "Accept All Cookies", you accept this, and agree that we share this information with third parties, such as our advertising partners. If you prefer, you can choose to continue with "Only Required Cookies". But keep in mind that blocking some types of cookies may impact how we can deliver tailored content that you might like.
For more information and to customize your options, click on "Cookie settings". If you want to learn more about cookies and why we use them, visit our Cookie Policy page at any time. Cookie Policy

A quality engineer at a ductile iron foundry receives a returned part and needs to know whether nonmetallic inclusions caused the failure. The fastest way to answer is a metallography laboratory. This type of lab prepares material specimens so their internal structure can be observed, measured, and compared against specification limits.
The practical conclusion up front: a metallography laboratory works well when the equipment, consumables, and workflow are matched to the materials you test and the questions you need to answer. Specimen preparation quality decides whether a microstructure image is meaningful or misleading. Hardness testing completes the picture by connecting microstructure to mechanical behavior.
Every metallography laboratory follows the same specimen preparation sequence, and the order cannot be reversed.
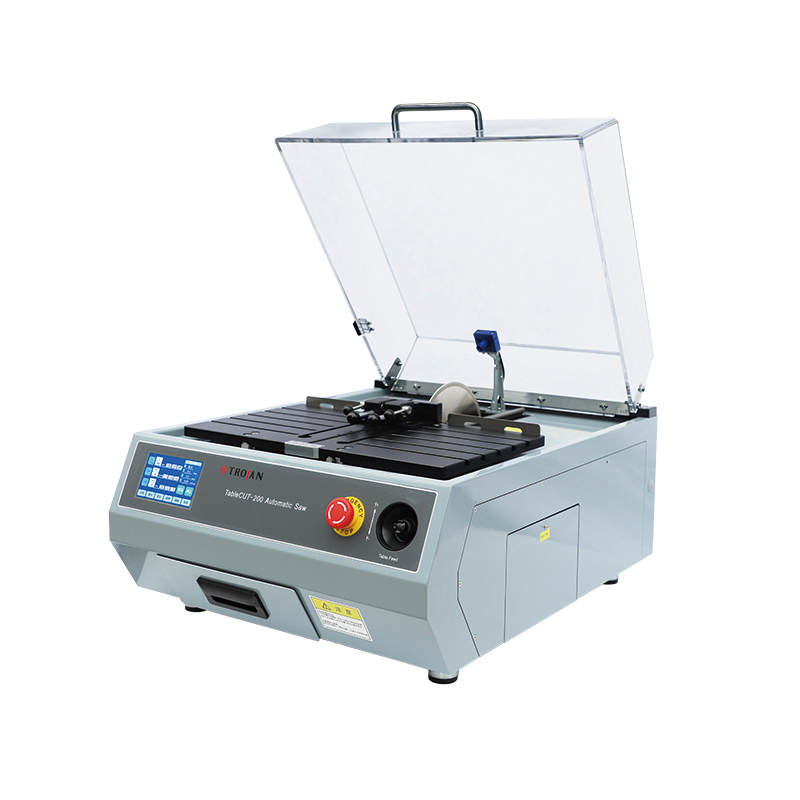
Cutting is the first step and the most often undervalued. A low-speed precision cutting machine with a rigid cooling system preserves the material structure and avoids introducing deformation that looks like a real defect. For large samples, an abrasive cutoff machine with proper clamping and coolant reduces heat damage. The equipment choices here set the tone for everything downstream.
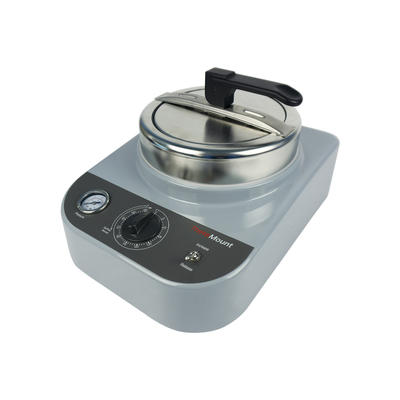
Mounting stabilizes the specimen for subsequent grinding and polishing. Hot mounting presses use phenolic, acrylic, or epoxy resins to encapsulate the sample. Cold mounting is useful for heat-sensitive or fragile materials. Edge retention becomes critical when you need to evaluate surface treatments, coatings, or case-hardened layers.
Grinding and polishing remove the material left from cutting and mounting. Planar grinding flattens the sample, then successive steps with finer abrasives and polishing cloths produce a mirror finish. Every step removes the damage introduced by the previous step. An alpha610 automatic grinder and polisher can handle multiple specimens with consistent pressure and speed settings, which is especially valuable when the same material runs through regularly.
Etching is the step that makes microstructure visible. Different alloys respond to different etchants, and a controlled application time reveals grain boundaries, phases, and inclusions. Over-etching creates artifacts, so a standardized procedure is necessary. You can find many documented sample preparation workflows that include recommended etchants and process parameters.
The final stage is observation and measurement. A metallurgical microscope with reflected-light illumination is the primary tool. Modern digital imaging extends this into quantitative analysis such as grain size, inclusion rating, and phase fraction.
A metallography laboratory is typically organized into three functional zones. Understanding these zones helps with lab layout, equipment selection, and workflow planning.
| Zone | Core Equipment | Purpose |
|---|---|---|
| Sample Preparation | Cutting machines, mounting presses, grinders and polishers | Creates flat, damage-free specimen surfaces |
| Observation | Metallurgical microscopes, imaging software | Reveals and records microstructure |
| Hardness Testing | Vickers, Brinell, and Rockwell testers | Connects structure to mechanical behavior |
The sample preparation zone is where most of the time goes and where most errors happen. Manual preparation requires skill and consistent technique. Automated preparation reduces variability. For routine quality control, an upright metallurgical microscope with brightfield, darkfield, and polarization capability covers most alloys. The MN-80 series metallographic microscopes deliver these imaging modes in a modular design that suits a busy lab.
The hardness testing zone should be selected based on your material and load range. For thin or small samples, a HVS-1000A Vickers hardness tester offers load flexibility from low-force microhardness to conventional Vickers scales. Brinell testing works for castings and forgings. Rockwell testing is the fastest for shop-floor verification of heat-treated parts.
Consider how samples move through the lab. If cutting and grinding are on one side of the room, the polished samples should not need to cross a dirty zone to reach the microscope. A linear flow from the cutting station through mounting, grinding, polishing, and on to the microscope reduces the chance of re-contaminating a prepared surface.
Different materials require different preparation strategies. Using a single universal recipe across all material classes usually leads to artifacts that can be mistaken for defects.
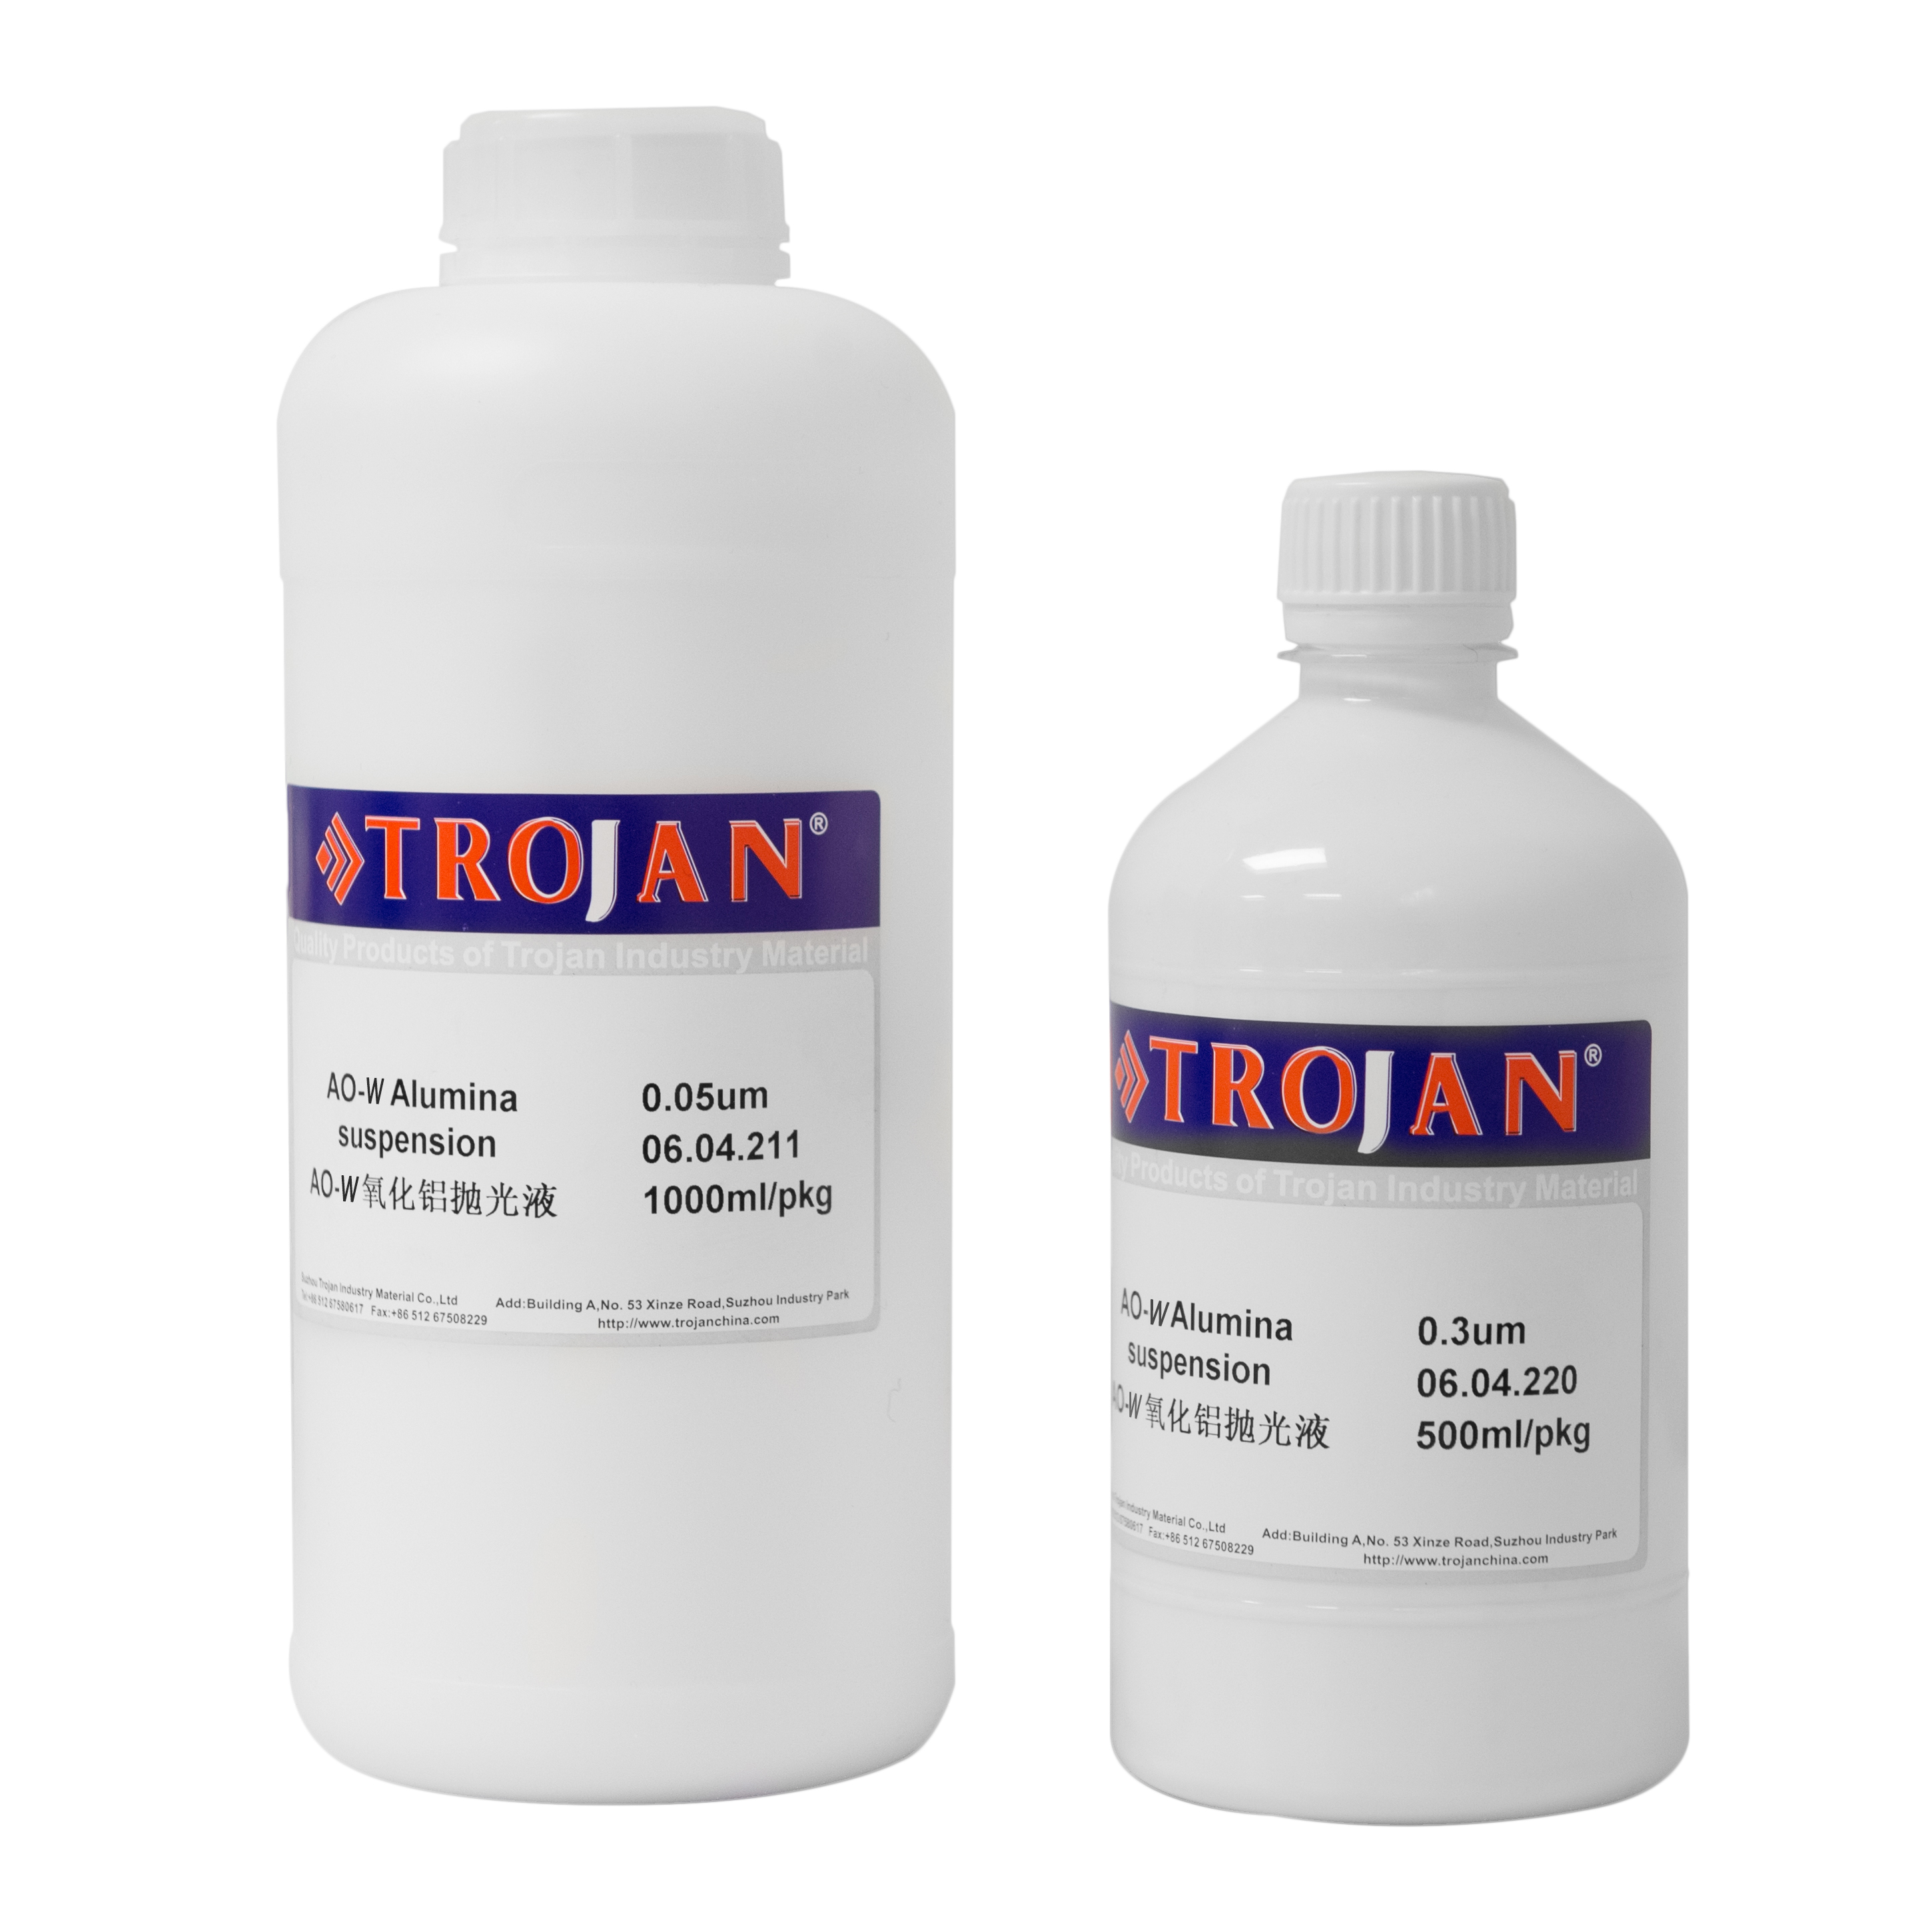
Ductile iron needs a medium-pressure grinding sequence with a diamond suspension to retain graphite nodules. Nickel-based superalloys respond well to fine polishing with colloidal silica and careful edge protection. Pure silver is soft and easily smeared, so low-force polishing and a final alumina suspension work better. Silicon carbide wafers are brittle and hard, so they require a wafering blade for sectioning and a specialized grinding disc to avoid edge chipping.
This material-specific approach extends to consumables. Sandpaper grits, diamond paste, polishing cloths, and lubricants all affect the final surface. The lab should have documented methods for each material family, including cutting parameters, mounting resin type, abrasive sequence, polishing cloth, lubricant, and etch time.
A good lab layout separates wet, dusty, and noisy operations from the microscope area. Cutting and grinding generate heat, chips, and particulate matter. Proper ventilation is mandatory. A fume hood is needed for etching acids and mounting resin vapors.
Water-based cutting coolants and grinding fluids collect in the cutting and grinding zone, so the floor must be designed for drains and slip resistance. Safety compliance involves standard PPE: safety glasses, gloves, and lab coats. Cutting machines need interlocked guards and emergency stops. Grinding machines require a wheel guard and a constant supply of coolant. The lab should also have clearly marked waste disposal paths for spent abrasive slurry, used polishing cloths, and chemical etchant.
Proper lighting is also part of the design. The observation zone should have adjustable ambient lighting to avoid glare on monitor screens, and the cutting zone should have bright task lighting for safe setup and inspection.
For laboratories that are part of a quality system, process documentation matters. Each sample should be tracked from receipt to report, with operator, machine settings, and consumable batch numbers recorded. This creates traceability when a microstructure result needs to be defended.
The instruments will only perform as well as the consumables you feed them. Cutting wheels, wafering blades, mounting resins, grinding discs, polishing cloths, diamond suspensions, and alumina powders all affect surface quality. Using high-quality consumables reduces the time needed to reach a scratch-free surface and improves reproducibility.
Maintenance is also critical. Clean the cutting machine regularly to prevent sludge buildup. Check the grinding wheel condition and replace worn diamond discs. Keep polishing cloths free of contaminants by rinsing and storing them separately. Optical lenses should be cleaned with proper lens tissues. Hardness testers should be calibrated on a regular schedule using certified reference blocks, and the indenter should be inspected for damage.
Keep a log of consumable usage and replacement dates. Resins, polishing cloths, and diamond suspensions have shelf lives, and using expired material is a common source of poor reproducibility.
A metallography laboratory is a long-term investment. Choosing a complete laboratory system that can grow with your sample mix and investing in operator training matters as much as the brand of the microscope. With a disciplined workflow, proper safety controls, and an awareness of how consumables affect results, the lab becomes a source of trustworthy material answers rather than an open-ended experiment.
A basic lab can operate in roughly 30 to 50 square meters. Cutting, grinding, and polishing equipment need about half of that space. A separate area for microscopy and hardness testing keeps vibrations and dust away from optical instruments. Storage for consumables and sample archives should also be planned.
The most common error is insufficient grinding between abrasive steps. If a coarse surface is not fully removed before the next finer step, scratches from the previous stage remain visible and can be interpreted as defects. Holding the sample flat and applying the correct force are equally important.
Automatic equipment is worth it when the lab processes large numbers of samples or when high repeatability is required. Manual equipment is acceptable for low volumes or for operator training. Many labs start with manual grinders and add automation when the workload grows.



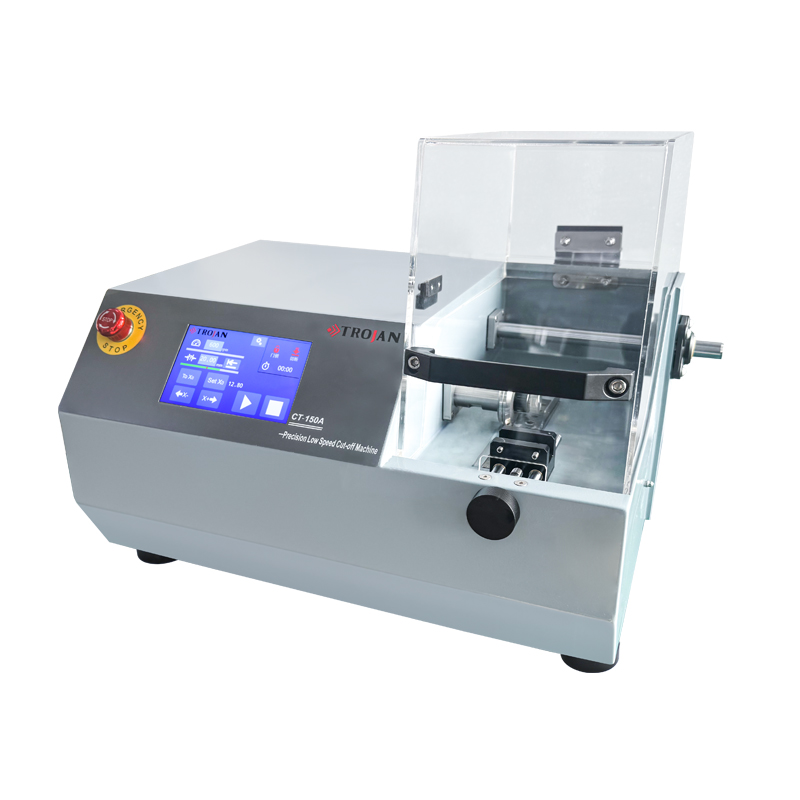
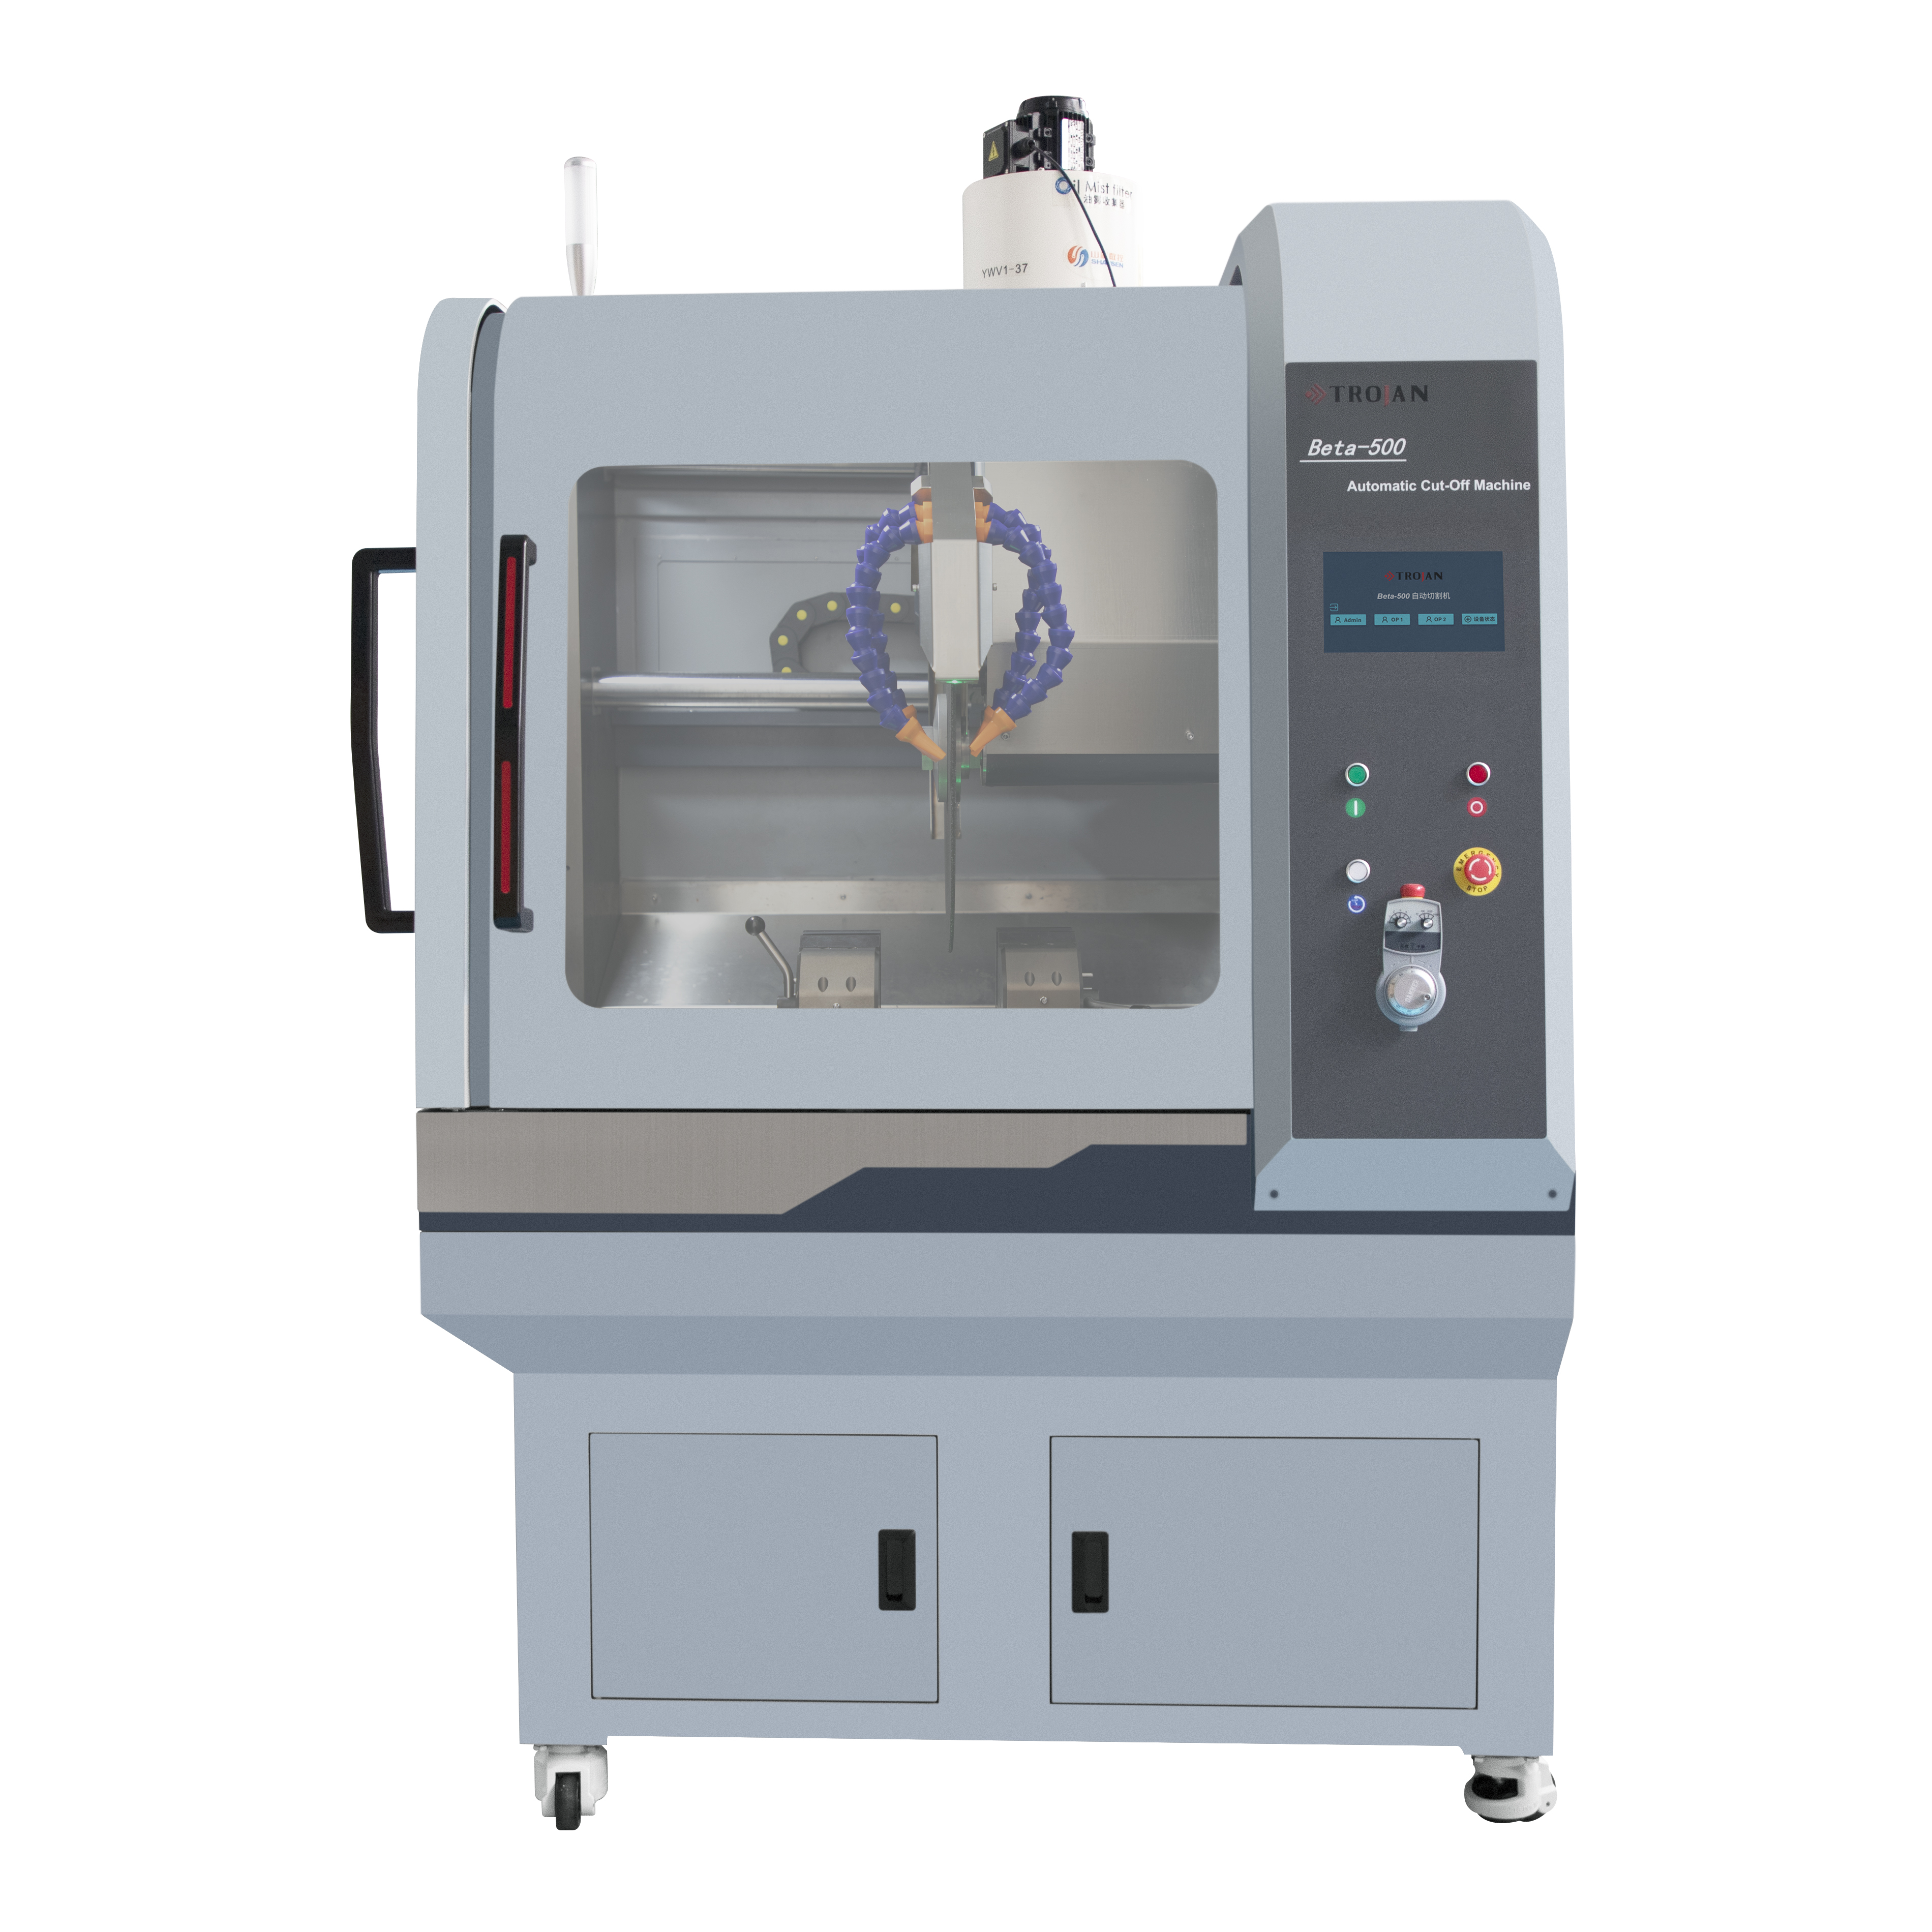
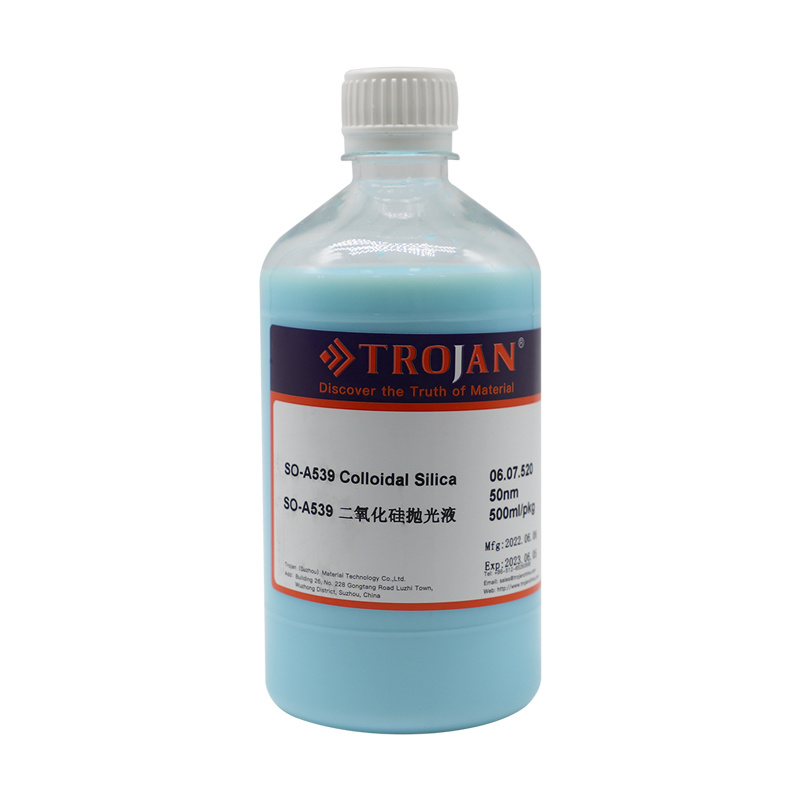
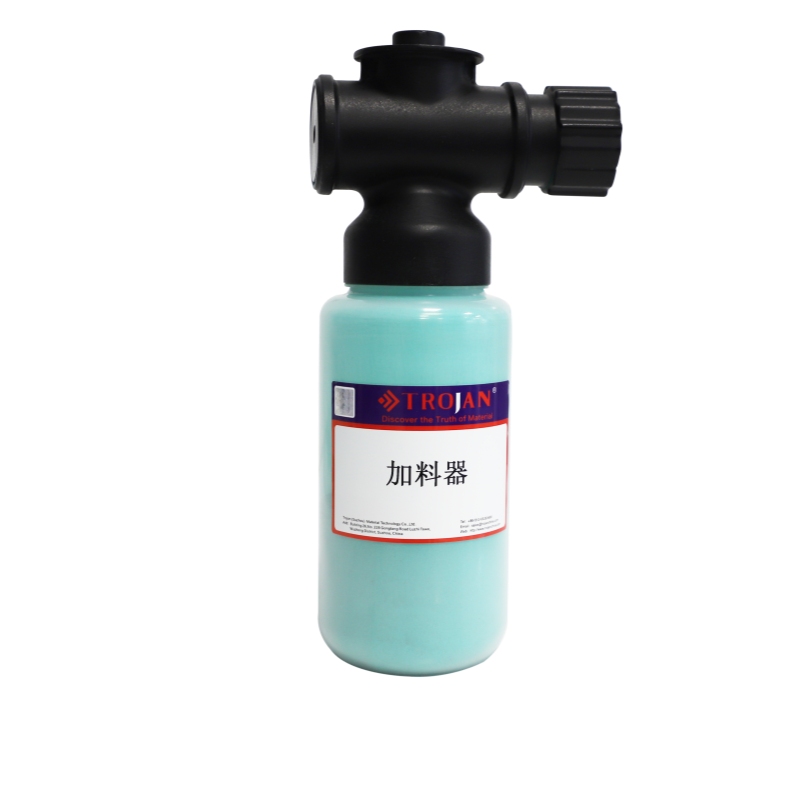

Based in China, TROJAN pays attention to the international market, and has sold metallographic equipment to more than 50 countries, such as Europe, America, Japan and South Korea, Southeast Asia countries and regions


