Search
+86-138-1482-9868 +86-512-65283666

Before you start shopping

We use first- and third-party cookies including other tracking technologies from third party publishers to give you the full functionality of our website, to customize your user experience, perform analytics and deliver personalized advertising on our websites, apps and newsletters across internet and via social media platforms. For that purpose, we collect information about user, browsing patterns and device.

By clicking "Accept All Cookies", you accept this, and agree that we share this information with third parties, such as our advertising partners. If you prefer, you can choose to continue with "Only Required Cookies". But keep in mind that blocking some types of cookies may impact how we can deliver tailored content that you might like.

For more information and to customize your options, click on "Cookie settings". If you want to learn more about cookies and why we use them, visit our Cookie Policy page at any time. Cookie Policy

Accept All Cookies Close

How to sample metallographic samples?

The sample should generally not be too large or too high. For the metallographic samples prepared by hand, the size of the grinding surface area is less than 400mm² and the height is 15~20mm. If the sample is too small, the operation will be inconvenient. If the sample is too large, the grinding plane will be too large, which will increase the grinding time and will not be easy to smooth. Due to the different shapes of the materials or parts to be inspected, samples with irregular shapes can be used. For samples not inspecting surface defects, infiltration layers, and coatings, the edges should be rounded to prevent scratches on the metallographic sandpaper and metallographic polishing cloth during grinding, and avoid accidents caused by the flying of samples during polishing. For the test samples of the surface structure, it is strictly forbidden to chamfer to keep the edges and corners intact and to ensure the smoothness of the grinding surface.
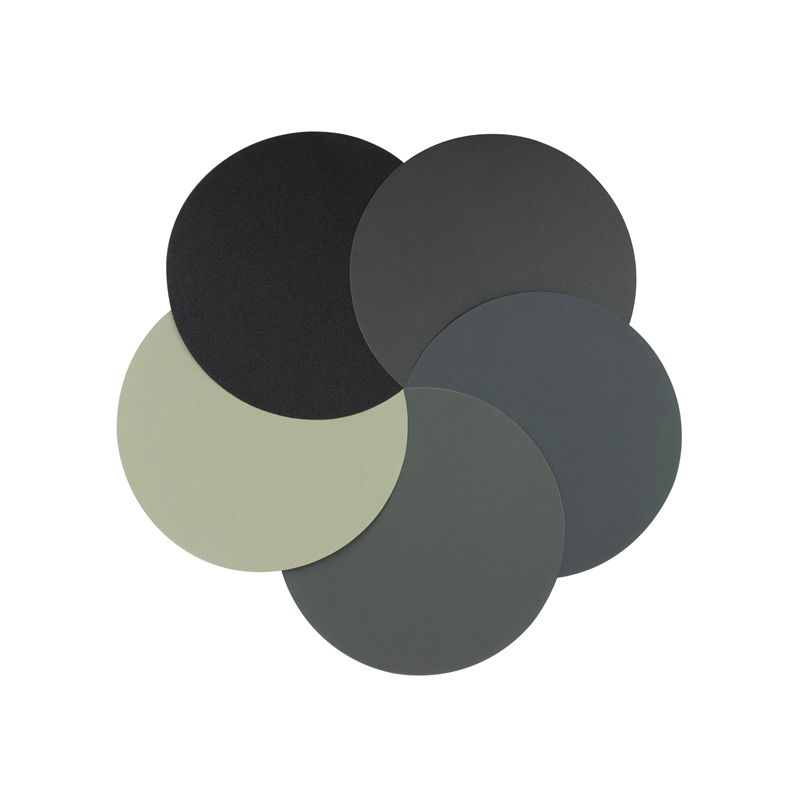
Silicon Carbide Disc
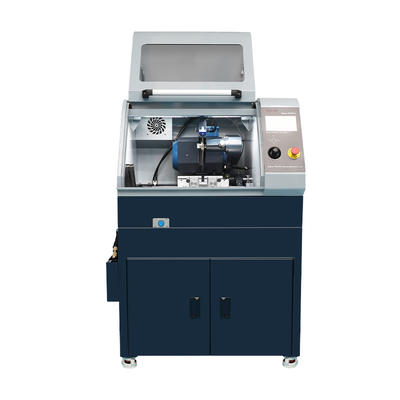
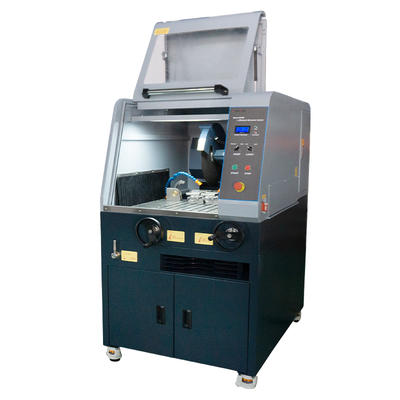
There are various methods of sampling. It can be flexibly selected according to the size of the sampled parts, material properties, and current actual conditions. The most commonly used method is metallographic cutting machine grinding wheel (metallographic cutting sheet) cutting. Generally, materials with lower hardness (less than 230HBW) such as low carbon steel, medium carbon steel, gray cast iron, non-ferrous metals, etc. can be machined with saws, cars, planers, etc. For materials with higher hardness (about greater than 450HBW) such as white cast iron, cemented carbide, and brittle materials such as quenched parts, the hammering method can be used to select the size and size from the broken fragments. For large section parts or high manganese steel parts, etc., oxyacetylene flame gas cutting can be used, but a margin larger than 20mm must be reserved so that the heat affected zone of gas cutting can be removed during sample grinding.

Regardless of the sampling method, it is necessary to prevent tissue changes caused by temperature rise, or plastic deformation caused by force.

Recommended