
 英语
 西班牙语
 德语
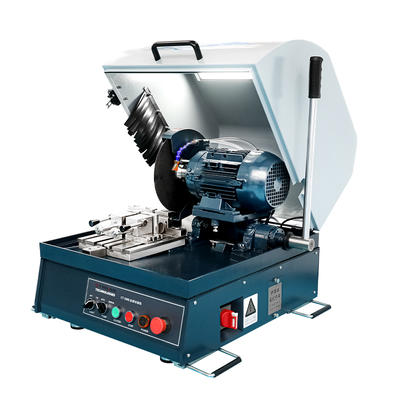
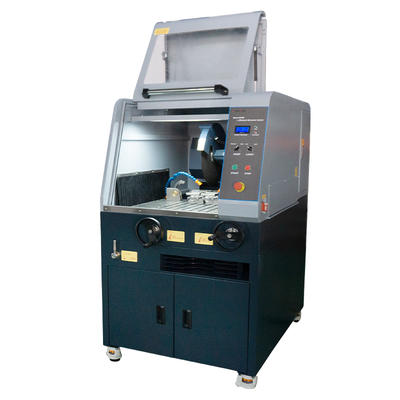
CT-250S/CT-250V Manual Sectioning Machine
CT-250S/250V is a manual sectioning machine designed with safety and environmental principles in min...
We use first- and third-party cookies including other tracking technologies from third party publishers to give you the full functionality of our website, to customize your user experience, perform analytics and deliver personalized advertising on our websites, apps and newsletters across internet and via social media platforms. For that purpose, we collect information about user, browsing patterns and device.
By clicking "Accept All Cookies", you accept this, and agree that we share this information with third parties, such as our advertising partners. If you prefer, you can choose to continue with "Only Required Cookies". But keep in mind that blocking some types of cookies may impact how we can deliver tailored content that you might like.
For more information and to customize your options, click on "Cookie settings". If you want to learn more about cookies and why we use them, visit our Cookie Policy page at any time. Cookie Policy

A 25 mm phenolic mount comes out of the press with a clean, glossy face. Under the microscope, the case-hardened rim of the gear tooth inside it is rounded, and the hardness traverse reads low for the first 50 micrometres. The lab then spends a day chasing a heat-treatment problem that does not exist.
Mounting faults rarely stop a process. They move the error downstream into the results, and they cluster into five groups: edge rounding, porosity, cracking and shrinkage gaps, incomplete cure, and hot-mount pressure or temperature errors. Nearly all of them trace back to four variables - the resin, the mix ratio, the cure schedule and the way the mold was filled.
Mounting is not a waiting step. It decides whether the edge you cut survives to the microscope.
Match the fault you can see to the cause that produces it before you change any procedure.
| Symptom | Most likely cause | What to change |
|---|---|---|
| Rounded or torn edge | Resin softer than the specimen; edge far from the mold wall | Filled or edge-protection resin; at least 5 mm of resin around the edge |
| Bubbles on the face, voids around the specimen | Entrained air; high-viscosity resin; porous specimen | Mix by weight, pour slowly, use vacuum impregnation |
| Ring crack or a gap between resin and metal | Cure shrinkage and exotherm; wet or oily surface | Slow-cure epoxy, thinner pours, clean and dry the specimen |
| Soft, sticky or gummy block | Incomplete cure: wrong ratio, poor mixing, low room temperature | Re-weigh components, extend cure, hold the room at 20-25 °C |
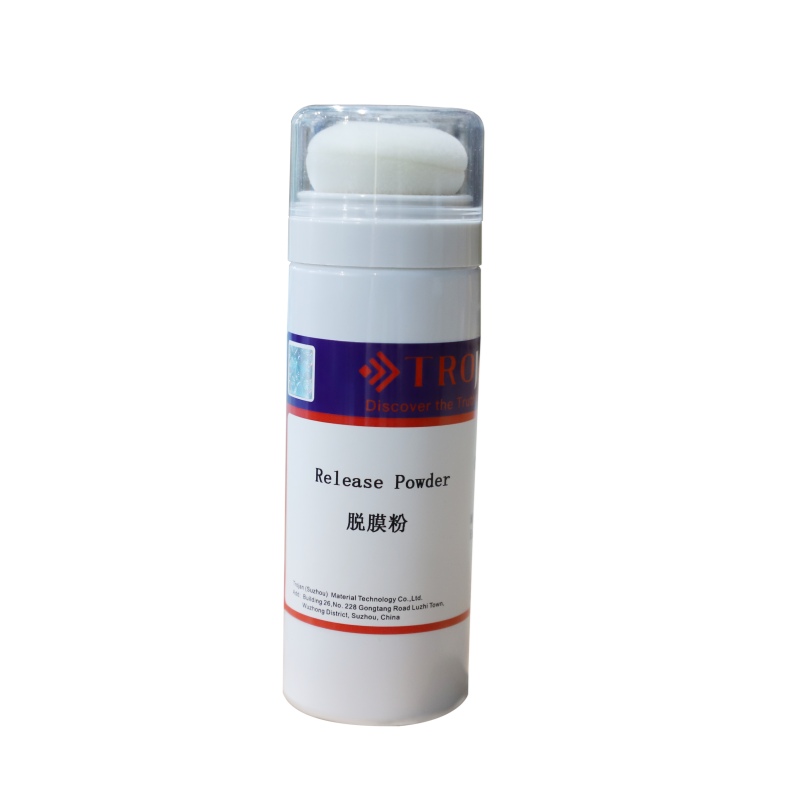
| Specimen lifts during grinding | Thin resin coverage; no release agent; under-cured resin | Add resin above the face, apply release agent, verify cure first |
Edge retention is a hardness race between resin and specimen. A resin noticeably softer than the sample wears back during grinding, leaving the edge unsupported; the boundary then rounds or tears, hiding carburized cases, nitrided layers, coatings and weld interfaces exactly where the measurement matters.
Three conditions make it worse: a small specimen in a large mold, so the edge sits far from any support; an unfilled cold-mount resin used on hardened steel; and heavy pressure on a coarse disc.
For case-hardened, coated or plated parts, an edge-protection resin is usually the cheapest correction available.
Porosity appears in two places: a peppered face that never polishes clean, and voids that open around the specimen after grinding. Both come from air that was never given a way out.
The usual triggers are whipping the resin instead of folding it, measuring hardener by volume (a 100:10 epoxy mixed by eye can land at 100:7 or 100:13), pouring a viscous resin into a narrow cup, and mounting porous specimens - powders, sintered parts, graphite, thermal spray coatings, cracked or corroded material - where the air is inside the sample rather than the resin.
A vacuum cold-mounting unit covers the cost of the first batch of powder or sintered samples.
A ring-shaped crack around the specimen, a curved crack across the block, or a fine dark line where resin meets metal are shrinkage and exotherm faults, not grinding faults.
Fast acrylics cure quickly because the reaction is strongly exothermic. In a large mold that heat cannot escape; the block expands, contracts on cooling, and something has to give. Epoxy cures more slowly and shrinks less, which is why it is the default for large blocks, dissimilar material pairs and fragile interfaces.
Thin foils, coatings, sheet and wire are the hardest cases, because there is almost no bulk to hold the edge when the resin pulls on it.
If the block takes a fingernail impression at the edge, or smears grey paste onto the first disc, stop. Grinding a soft mount wastes paper, rounds the edge and pushes resin into the surface you are trying to examine.
Four causes cover most cases:
Treat those figures as minimums at 20-25 °C. Below that, add hours rather than minutes.
Hot mounting fails differently - the resin is fine, the cycle is wrong.
Preheat the press so the cycle is not spent warming the mold, and log resin, temperature, pressure and hold time so a good mount can be repeated.
When mounting problems keep coming back, the resin choice is usually the reason.
| Mount type | Typical cure | Hardness | Edge retention | Best suited to |
|---|---|---|---|---|
| Acrylic cold mount | 8-15 min | Medium | Fair | Routine mounts, small specimens |
| Epoxy cold mount, fast | 1-2 h | Medium | Good | General metallography, mixed materials |
| Low-viscosity epoxy | 4-12 h | Medium | Very good | Foils, coatings, porous and fragile samples |
| UV-curing resin | 1-3 min under UV | Medium | Fair to good | Transparent mounts, small parts |
| Phenolic hot mount | 5-10 min cycle | High | Good | High-volume production, hard specimens |
| Filled epoxy or melamine hot mount | 5-10 min cycle | High | Very good | Case-hardened and coated edges, weld interfaces |
CureCoverageVoids
Run through this list before the first disc touches the block.
Five minutes here saves a re-mount, a re-cut and often a re-test.
Check three things in order. If only the surface is sticky, moisture reacted with the amine hardener and you can scrape the film off. If the whole block is soft, the mix ratio is wrong - extra curing time will not rescue it. If one patch is soft and the rest is hard, the hardener was never mixed in.
No. Soft resin smears within seconds, loads the grinding paper, rounds the edge and contaminates the surface with polymer. Re-mount the specimen; it is faster than cleaning up the failure.
Differential shrinkage. The resin contracts more than the metal, and a fast exothermic cure in a large mold concentrates the stress at the interface. Use a slow epoxy, pour in thinner layers and let the block cool gradually.
At least 5 mm on all sides, and closer to 10 mm when the edge is the measurement of interest or the material is very hard. A specimen sitting 1 mm from the mold wall has almost no support during grinding.


Based in China, TROJAN pays attention to the international market, and has sold metallographic equipment to more than 50 countries, such as Europe, America, Japan and South Korea, Southeast Asia countries and regions


