
 英语
 西班牙语
 德语
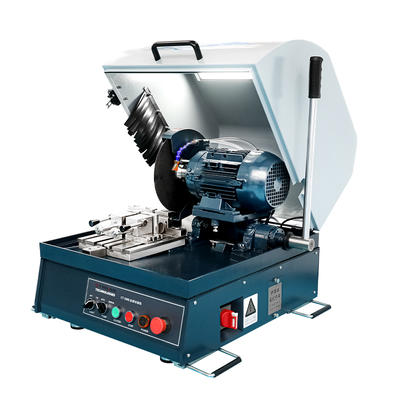
CT-250S/CT-250V Manual Sectioning Machine
CT-250S/250V is a manual sectioning machine designed with safety and environmental principles in min...
We use first- and third-party cookies including other tracking technologies from third party publishers to give you the full functionality of our website, to customize your user experience, perform analytics and deliver personalized advertising on our websites, apps and newsletters across internet and via social media platforms. For that purpose, we collect information about user, browsing patterns and device.
By clicking "Accept All Cookies", you accept this, and agree that we share this information with third parties, such as our advertising partners. If you prefer, you can choose to continue with "Only Required Cookies". But keep in mind that blocking some types of cookies may impact how we can deliver tailored content that you might like.
For more information and to customize your options, click on "Cookie settings". If you want to learn more about cookies and why we use them, visit our Cookie Policy page at any time. Cookie Policy

Anyone who has measured hardness on an alumina ceramic or a silicon carbide insert knows that the first reading is rarely the whole story. In our own lab work, the same 99% alumina coupon can return HV 1650 on one side and HV 1720 on the other if the surface preparation differs. The material has not changed; the measured value has.
Ceramic hardness is not a single number. It depends on indenter geometry, test load, contact time, surface roughness, and the way the sample was prepared before the indenter touched it. This guide covers why ceramic hardness matters, how it is tested on Vickers and Knoop scales, and the preparation steps that make readings repeatable.
Engineering ceramics earn their place in cutting tools, wear liners, thermal barrier coatings, and electronic substrates because they resist abrasion far better than metals. Hardness is the quickest way to verify that a ceramic lot will perform as expected on a pump bearing or a machining insert.
A 99% alumina part at HV 1700 resists wear roughly three times better than a hardened steel at HV 700 under the same abrasive conditions. In ceramic injection molding, a drop of 80 HV from one batch to the next often points to a change in sintering density or grain growth. For component suppliers, that value becomes part of the submittal paperwork.
This is also why silicon carbide grinding discs for hard and brittle materials are discussed so often in the same conversation as hardness testing. A ceramic that cannot be prepared without cracking will not produce a trustworthy hardness number, no matter how good the tester is.
Two scales dominate ceramic hardness testing: Vickers and Knoop. Both use a diamond indenter, but the geometry and the practical use cases differ.
Vickers uses a square-based pyramid with a 136° face angle and applies the load for 10 to 15 seconds. The diagonal length of the indentation is measured under a microscope, and the hardness is calculated as load divided by surface area. HV works well across a wide range of ceramics because it tolerates small material variations well.
Knoop uses an elongated diamond pyramid that produces a shallow, roughly diamond-shaped impression. Because the indentation is shallow, Knoop is better for thin brittle samples, ceramic coatings, and glassy layers where a Vickers indentation would cause edge cracking or break through the sample.
Practical rule For bulk ceramics and inserts, use Vickers. For thin coatings, small parts, or near-edge measurements, use Knoop.
| Scale | Indenter | Load range | Best application |
|---|---|---|---|
| Vickers HV | Diamond pyramid 136° | 0.2–50 kgf | Bulk ceramics, inserts |
| Knoop HK | Diamond pyramid 172°30' | 0.01–2 kgf | Thin coatings, brittle samples |
| Rockwell HRA | Diamond cone | 60 kgf fixed | Limited use; high cracking risk |
Having a reference range helps you spot whether a ceramic is under-sintered, over-processed, or simply measured with the wrong scale. The following values are representative for engineering ceramics at normal test loads.
| Material | Vickers HV | Knoop HK |
|---|---|---|
| Alumina 99% | 1600–1800 | 2000–2200 |
| Zirconia 3Y-TZP | 1200–1400 | 1300–1500 |
| Silicon nitride | 1400–1600 | 1500–1700 |
| Silicon carbide | 2500–2800 | 2700–2900 |
| Boron carbide | 2800–3200 | 3000–3400 |
If your reading falls far outside the expected window, check the sample preparation before suspecting the material. A rough ground surface can lower the apparent HV by 50 to 100 points.
Ceramics are both hard and brittle. They do not behave like a steel bar on a cutting wheel, and they do not survive a conventional metallographic grind if you push too hard. Most ceramic hardness discrepancies trace back to preparation, not to the material.
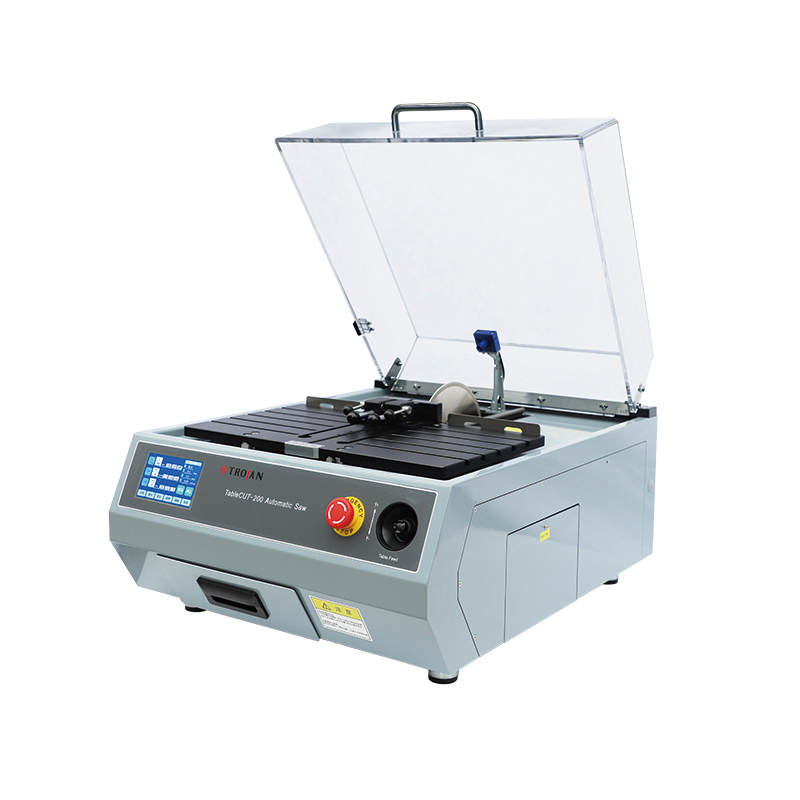
Use a low-speed precision saw with a diamond blade. High-speed abrasive cutting adds heat and creates microcracks that can grow into edge chipping. A diamond wafering blade for precision cutting keeps the cut plane clean and protects the surface that will later bear the indentation.
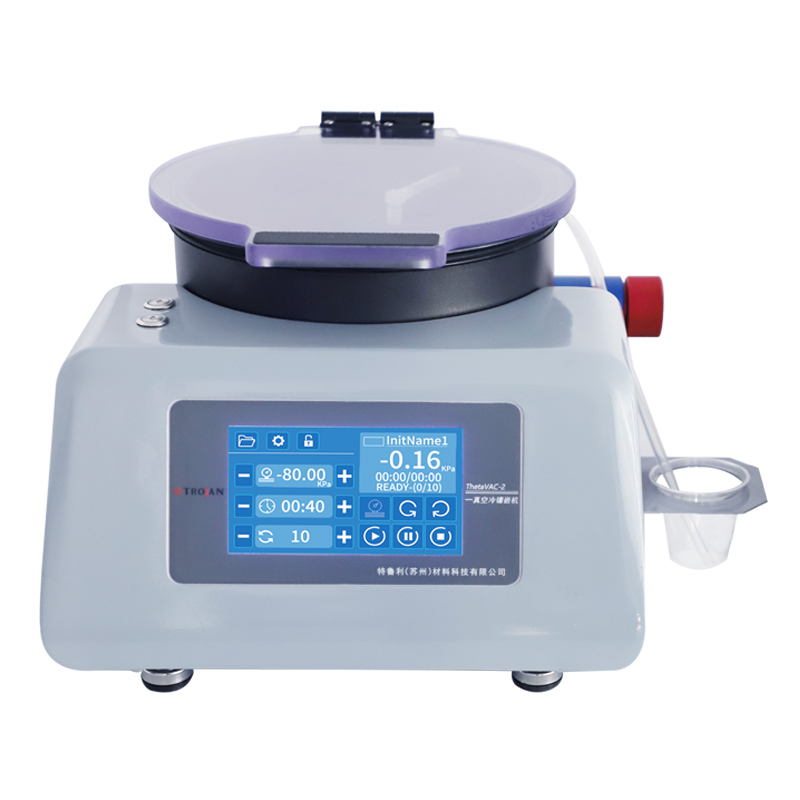
Cold mounting with epoxy is common for ceramics. A vacuum cold mounting press helps resin penetrate pores and pre-existing cracks, which prevents the sample from collapsing during grinding. Avoid hot mounting when the ceramic has a low coefficient of thermal expansion or when thermal cycling could introduce stress.
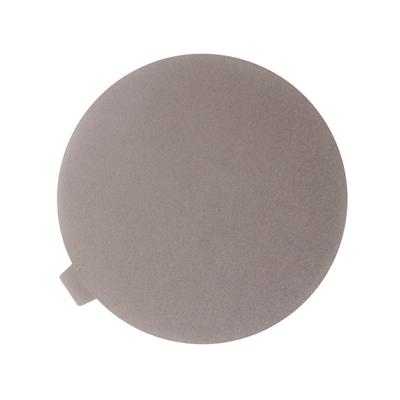
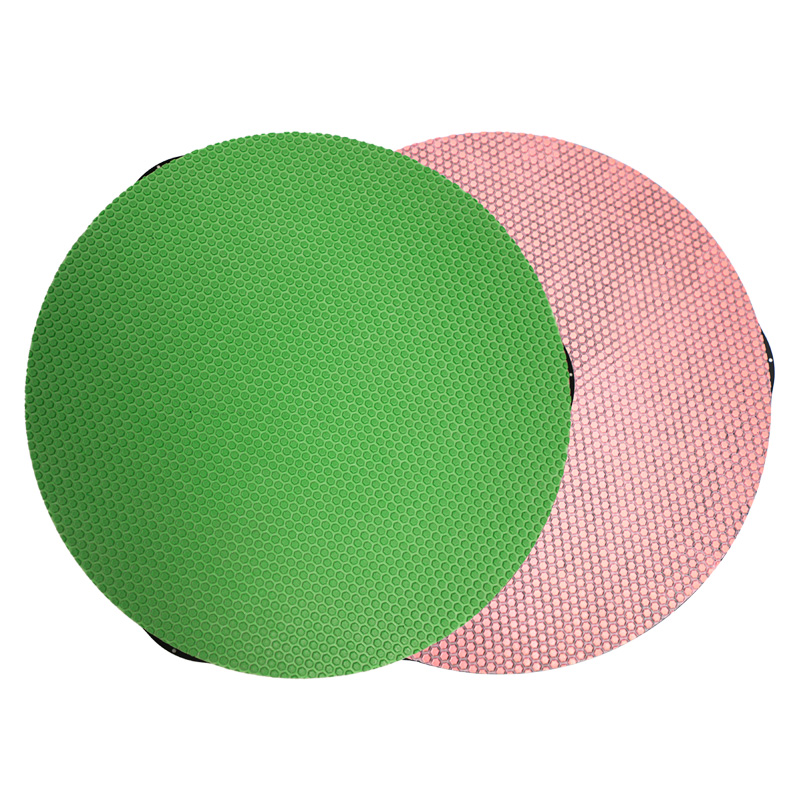
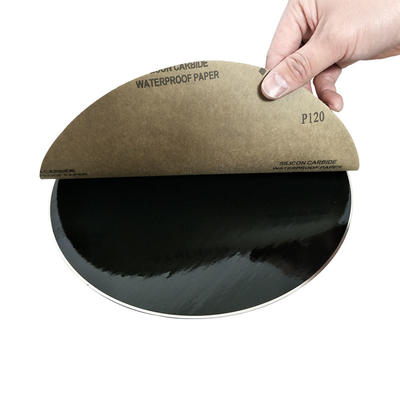
Use silicon carbide or diamond discs with light pressure. A silicon carbide grinding disc is a good start for removing the cut-off layer, but for very hard ceramics such as silicon carbide or boron carbide, diamond is the only abrasive that keeps grinding time reasonable.
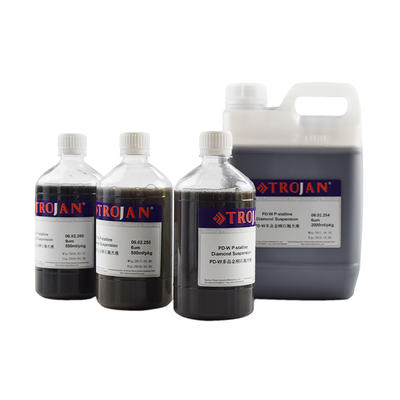
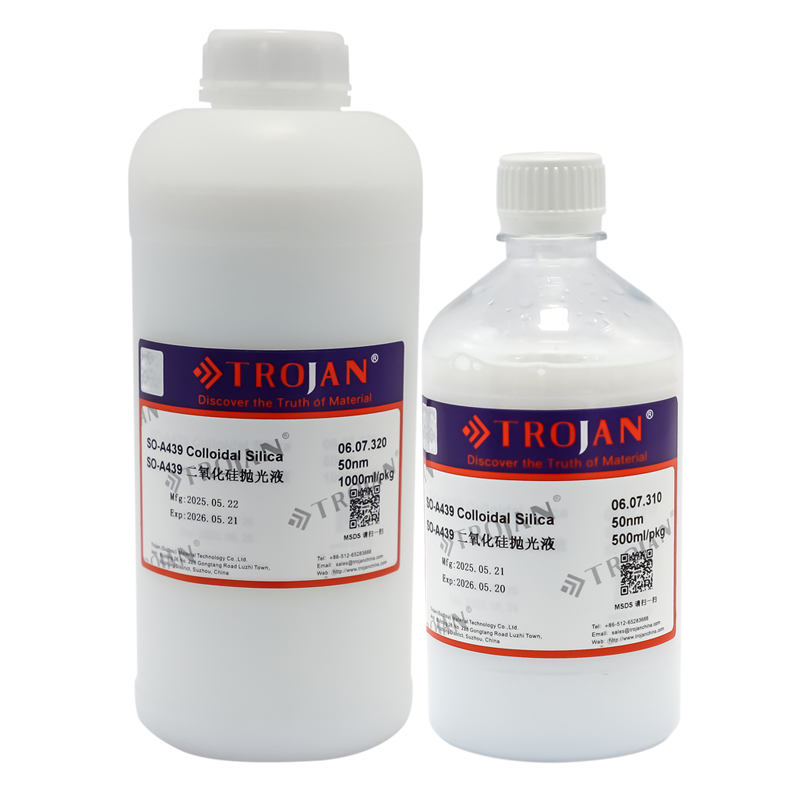
Polish from 9 μm to 3 μm to 1 μm diamond suspension. The final surface should be mirror-like with no visible scratches under 100× magnification. A rough polished surface reads 5% to 10% lower hardness because the indenter impression edges become harder to measure.
Rule of thumb for hard ceramics: If you can see the scratch pattern from the previous grinding step with the naked eye, the surface is not ready for hardness testing.
The full workflow is covered in our sample preparation guide.
For most engineering ceramics, a Vickers hardness tester with a Knoop option is the most practical equipment choice. It gives you the test range for bulk material and the flexibility to switch to a shallow Knoop impression when the sample is thin or fragile.
Key criteria for ceramic work include:
If your lab runs ceramic inserts, substrates, or coatings, the HVS-1000A Vickers hardness tester is a common starting point for HV and HK measurements on engineering ceramics.
For quality control, always document the load, dwell time, indenter type, and the number of indents per sample. For a brittle ceramic, take at least five indents and report the mean and the spread. A large spread often means the surface prep is uneven.
Vickers and Knoop are the standard scales for ceramics. Vickers is used for most bulk ceramics; Knoop is preferred for thin coatings and very brittle samples where a shallow indentation is needed to prevent cracking.
The spread usually comes from sample preparation. Ceramics are sensitive to surface roughness, edge chipping, and residual microcracks from cutting. Two labs using the same test block but different preparation methods can record different HV numbers for the same material.
Rockwell is not recommended for most ceramics. The indentation depth is too large, and the high load can cause radial cracking. Rockwell A-scale is sometimes used for cermets, but Vickers or Knoop give better resolution for hard, brittle materials.
Choose the load that produces an indentation diagonal between 20 μm and 60 μm. For very hard ceramics, this often means 0.5 kgf to 5 kgf. Thin sections may need a lower load to avoid breakthrough; Knoop can help at low loads.
Cut with a diamond blade at low speed, mount in epoxy with vacuum if needed, grind with SiC or diamond discs, and polish to a mirror finish with diamond suspension. Avoid heavy pressure during grinding, and check for edge damage under a low-power microscope before indenting.
Ceramic hardness testing does not have to be a source of controversy. When the test scale matches the material, the sample preparation removes surface damage, and the tester is calibrated and used at the right load, the numbers become consistent enough to make good decisions.
Start with reliable preparation and one calibrated Vickers tester. Take five impressions, report the mean and range, and compare both to your material specification. That is how ceramic hardness becomes a useful quality signal instead of a lab debate.

Based in China, TROJAN pays attention to the international market, and has sold metallographic equipment to more than 50 countries, such as Europe, America, Japan and South Korea, Southeast Asia countries and regions


