
 英语
 西班牙语
 德语
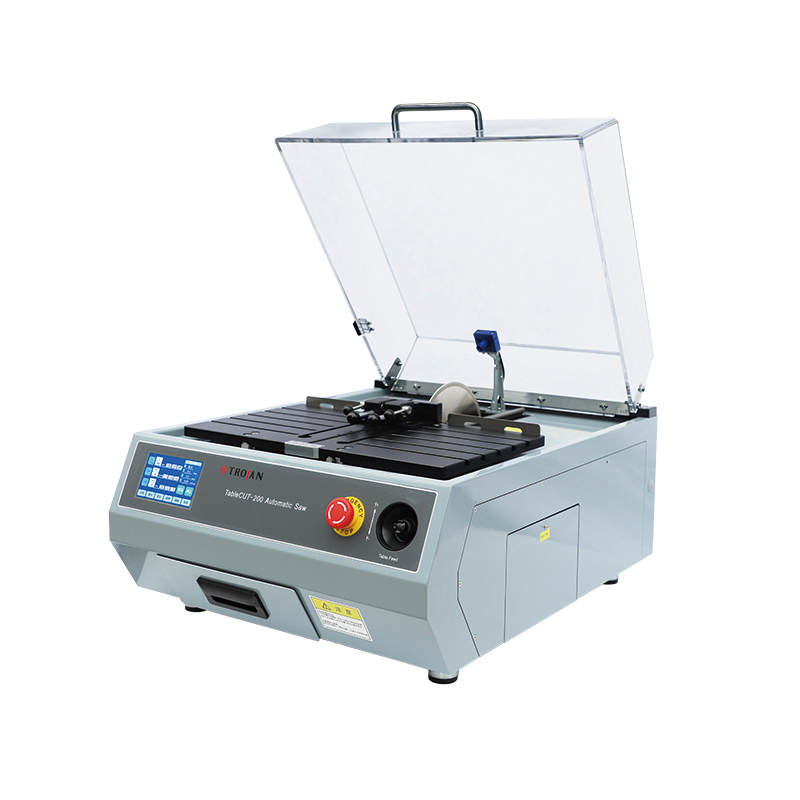
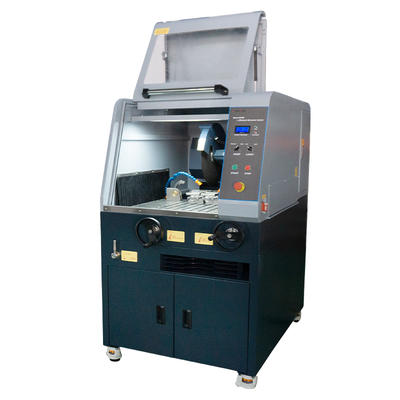
TableCUT-200 Automatic Precision Cut-Off Machine
Product Description
TableCUT-200 is automatic precision cut-off machine, equipped with various fixtu...
We use first- and third-party cookies including other tracking technologies from third party publishers to give you the full functionality of our website, to customize your user experience, perform analytics and deliver personalized advertising on our websites, apps and newsletters across internet and via social media platforms. For that purpose, we collect information about user, browsing patterns and device.
By clicking "Accept All Cookies", you accept this, and agree that we share this information with third parties, such as our advertising partners. If you prefer, you can choose to continue with "Only Required Cookies". But keep in mind that blocking some types of cookies may impact how we can deliver tailored content that you might like.
For more information and to customize your options, click on "Cookie settings". If you want to learn more about cookies and why we use them, visit our Cookie Policy page at any time. Cookie Policy

One lab buys a 100 mm-capacity automatic cutter for stainless bar stock, then runs 0.2 mm foils through it and gets bent, burred edges. Another lab buys a compact manual saw for 30 mm aluminum billets and spends four hours a week clamping instead of analyzing. Both machines looked right on the datasheet. Both purchases failed because the machine was picked from a specification sheet rather than from the sample list.
The short answer: fix four inputs first, material and hardness, maximum and minimum section size, damage tolerance, and daily cut count. Machine type, cutting capacity, wheel bond, coolant, and fixture set all follow from those answers. Once they are written down, the shortlist usually narrows to two or three models.
Purchasing decisions that go wrong usually skip straight to the size of the cutting chamber. These four inputs take about an hour to collect from your own lab records, and they control every downstream choice.
Cutting capacity is the primary selection criterion, and it is set by wheel diameter plus clamp geometry, not by motor power. A machine rated for a large section may still refuse a long, thin part that cannot be supported on both sides of the cut.
Sectioning falls into three practical routes. Choosing the wrong one is the most expensive mistake in a lab setup, because blade supply, fixture design, and coolant handling all change with it.
This is the workhorse route for ductile metals: carbon and low-alloy steels, stainless steel, cast iron, aluminum, copper alloys, and most weld samples. Silicon carbide handles hard, brittle workpieces; alumina suits ductile ferrous alloys. Wet cutting keeps the thermally affected layer shallow, and the cut can run as a straight chop or as a controlled traverse on thicker sections. Wheel choice, feed rate, and coolant flow decide whether you get a clean face or a burned one.
Thin sheet, coated parts, glass-fiber boards, wires, and heat-sensitive specimens need low feed rates and thin blades, with the sample supported on both sides of the cut. A precision cutter with controlled feed and a cushioned clamp keeps edges flat and stops coating spall. Cutting these samples on a large abrasive machine usually destroys the specimen before grinding even begins.
Silicon carbide wafers, ceramics, minerals, and some hard alloys are sectioned with electroplated diamond or CBN blades at high surface speed and very low feed. Blade thickness matters: a thinner blade removes less material and cuts cooler, but it deflects if the workpiece is not properly supported.
| Method | Cutting tool | Typical material | Coolant | Main risk |
|---|---|---|---|---|
| Abrasive sectioning | SiC or alumina cut-off wheel | Steels, cast iron, aluminum, copper alloys | Water-based, wet | Burning, deformation |
| Precision sectioning | Thin resin or metal-bond blade | Foils, coated parts, circuit boards, wires | Water-based or oil | Burrs, coating spall |
| Wafering | Diamond or CBN blade | SiC wafers, ceramics, minerals | Often dry with dust extraction | Chipping, blade deflection |
Automation does not improve cut quality by itself. What it removes is operator variance, and that is a different benefit with a different price.
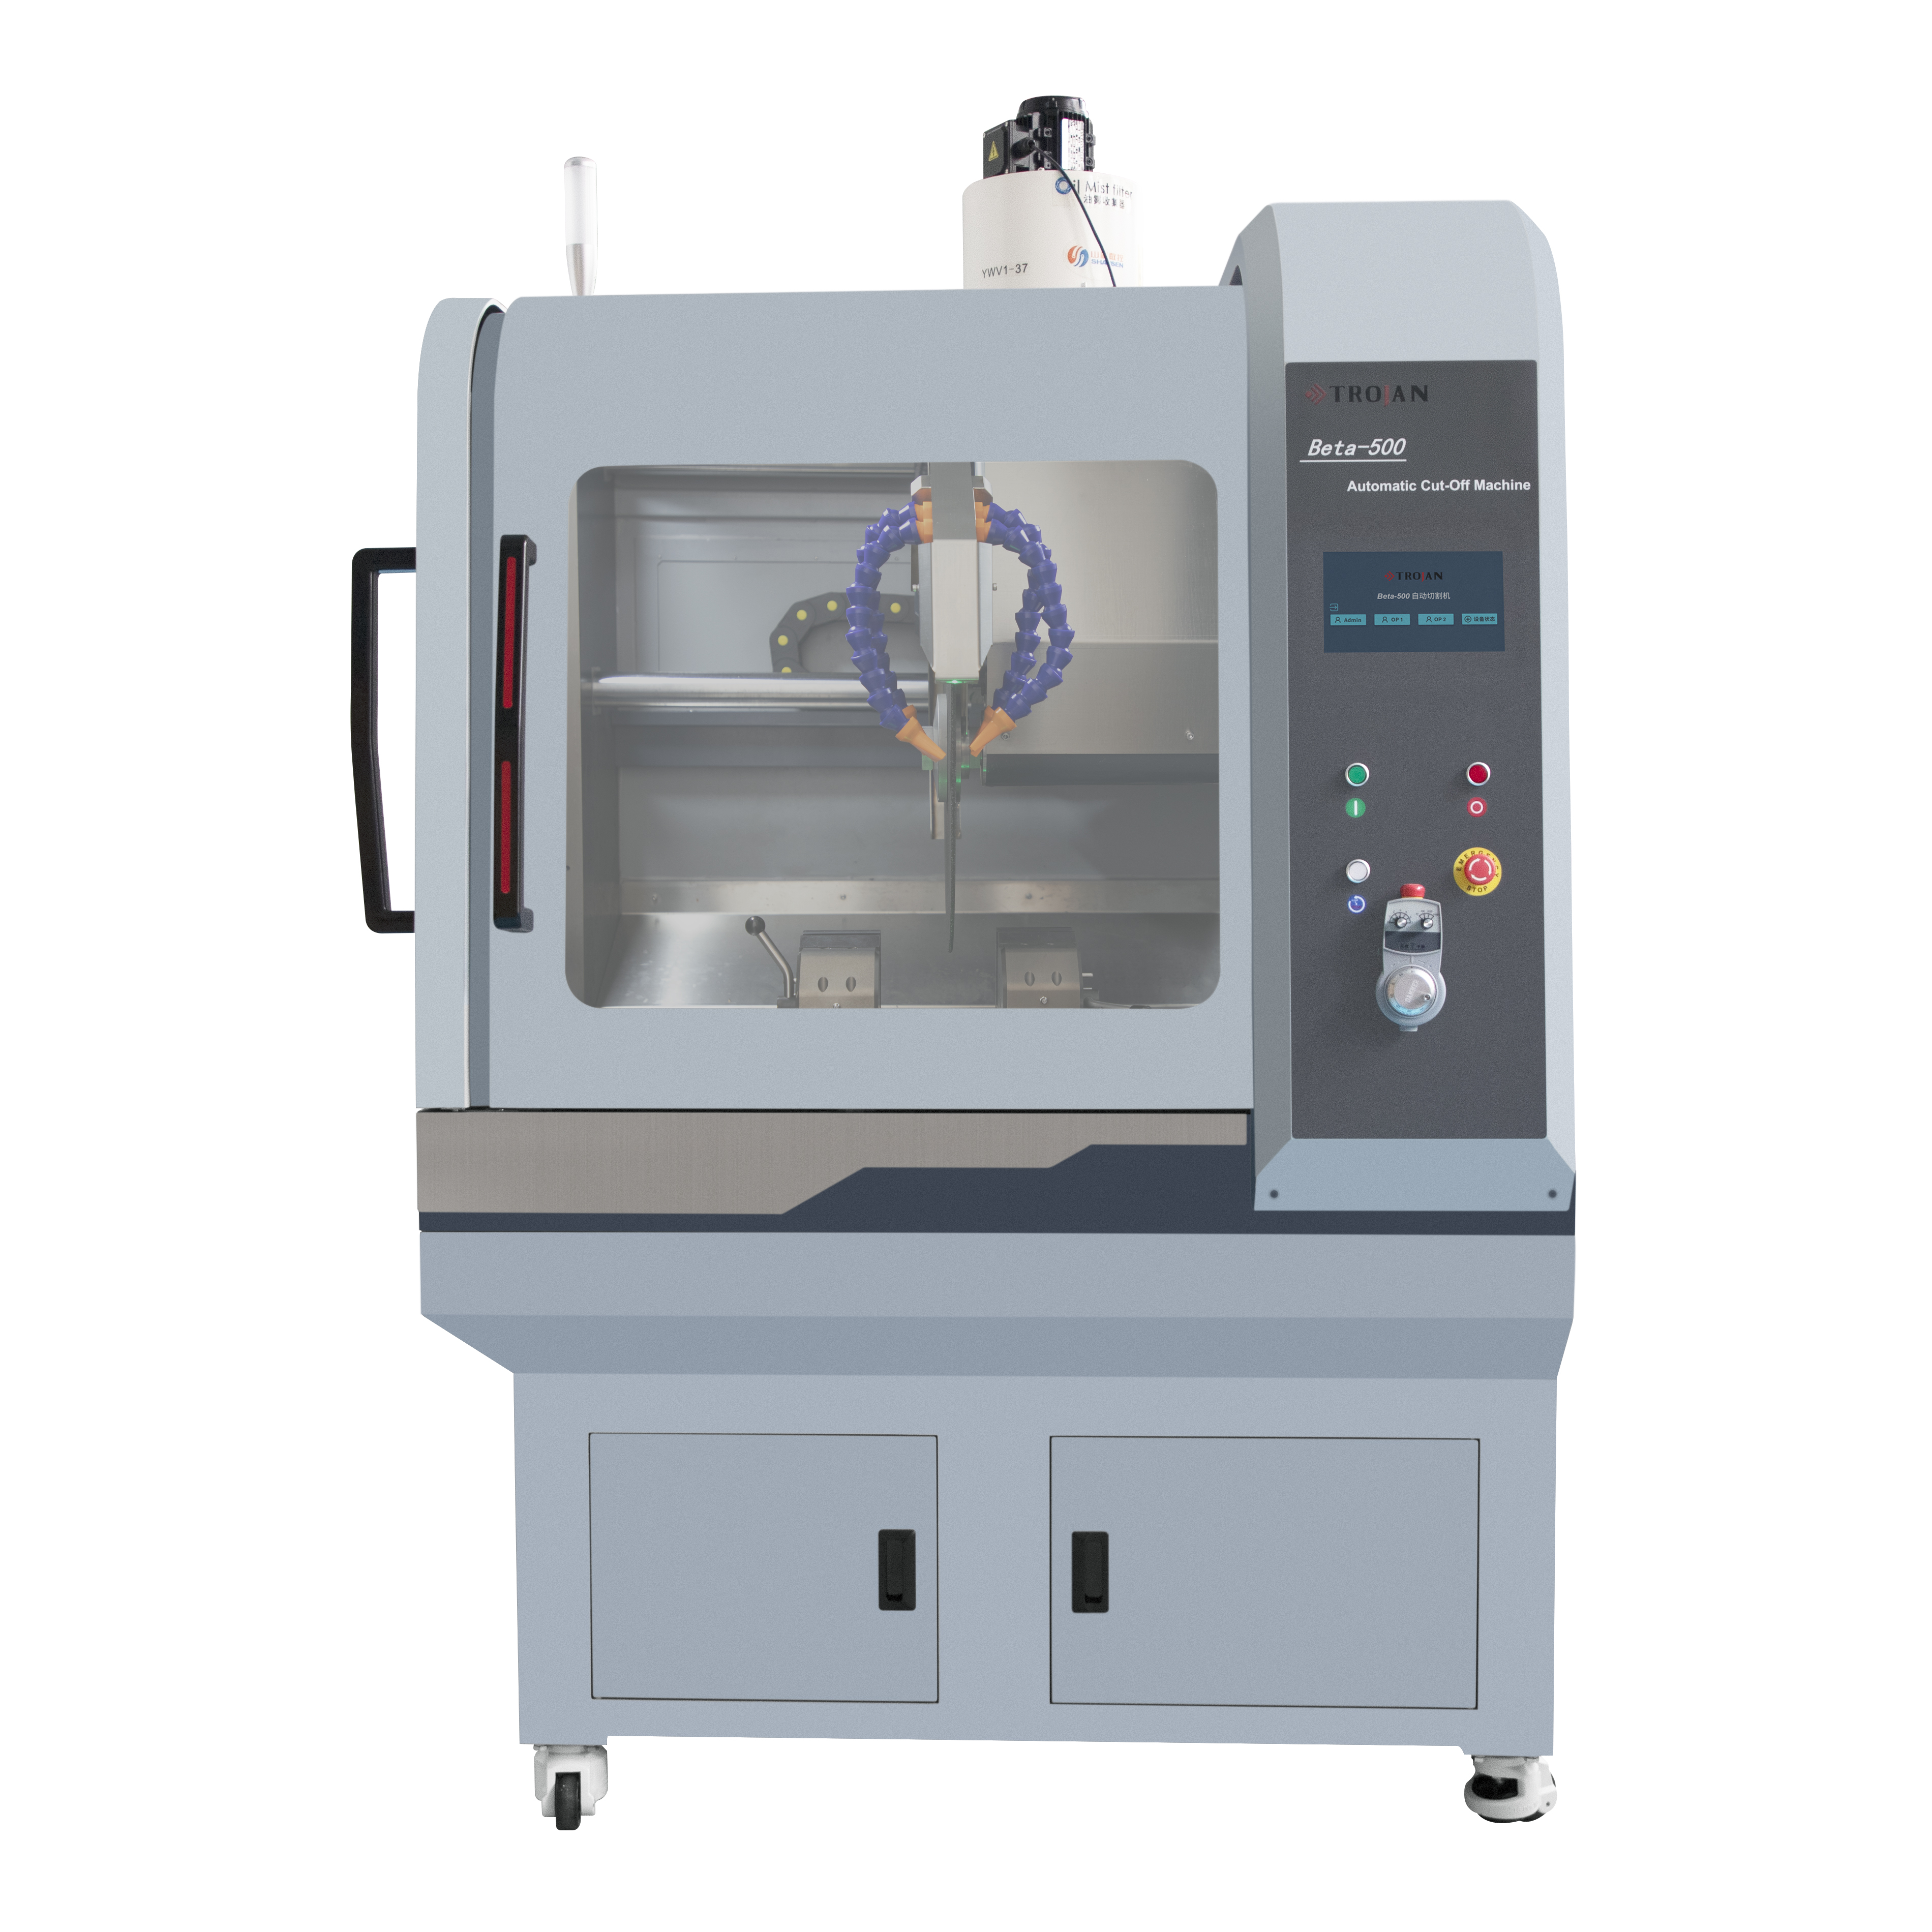
Run the arithmetic before paying for automation. If a cut takes three minutes and clamping takes two, twenty cuts a day is roughly 100 minutes of hands-on work. A multi-position fixture on an automatic machine can pull the same twenty cuts under 30 minutes, and that difference is a technician's afternoon, every day.
Cutting capacity is printed as one number, but the usable range is narrower. That number assumes a round bar centered in the clamp. A rectangular block, a tube, a bolt with a head, or a long strip hits the chamber wall or the wheel guard long before the rated limit. Ask for the maximum section and the shape constraints, then test your awkward sample on the demo machine.
Fixtures decide whether the machine can actually hold your work. Vise-type clamps cover round and square bar, quick-clamping tools speed up repetitive small parts, flat-push and parallel clamps secure square blocks, vertical and lengthened fixtures reach into long or one-sided parts, and splitting fixtures hold thin discs, foils, and rings without deforming them. Confirm what ships as standard: a single basic vise with everything else quoted separately can add a second purchase cycle and several weeks of waiting.
After installation, cut quality is decided by two consumables.
Wheels. Match abrasive type to material, then tune grit, bond hardness, and thickness. A bond that is too hard glazes and burns the sample; one that is too soft wears quickly and loses form. Wheel diameter also has to match spindle speed, because surface speed, not rpm, controls heat and wheel wear. Diamond and CBN blades cover hard, brittle materials that abrasive wheels cannot cut cleanly.
Coolant. Wet cutting controls heat, flushes chips out of the kerf, and protects the freshly cut face from corrosion. Concentration, filtration, and flow rate are the checks that matter; a diluted or dirty tank is a common cause of unexplained burn marks. Some ceramics and sealed electronic samples are cut dry, but that requires dust extraction and slow feed rates.
Wheel, speed, and feed combinations differ by material family. The 2025 cutting application guide in the downloads center lists starting parameters you can then adjust against your own sample.
Compare machines on total cost of ownership rather than purchase price:
A machine that is 15% cheaper but adds one extra consumable supplier, a separate fixture order, and a four-week wait for spare parts is not cheaper.
Cutting capacity is the largest section a machine can cut in one pass with the wheel and clamp supplied. Size it to your largest routine sample plus roughly 20% margin. Capacity you never use still costs money in floor space and in larger, more expensive wheels.
For metal sectioning, yes in practice. Water-based coolant controls heat, flushes chips, and limits corrosion on the cut face. Some ceramics, minerals, and sealed electronic samples are cut dry, but that requires dust extraction and slow feed rates.
If you cut fewer than ten samples a week with varied geometry, a manual or semi-automatic machine is usually enough. If you cut batches, need traceable repeatability, or run multiple shifts with different operators, automation pays back through consistency rather than raw speed.
Match the abrasive to the material: silicon carbide for hard and brittle metals and cast iron, alumina for ductile ferrous alloys, diamond for ceramics, carbides, and other hard brittle materials, and CBN for hard ferrous alloys where diamond would react with the iron matrix. Grit and bond are then tuned to sample size and required finish.
Lower the feed rate, increase coolant flow, check wheel hardness and glazing, and improve clamping. Loose clamping causes vibration, vibration creates heat, and heat produces exactly the burn and deformation you are trying to avoid.
Choosing metallographic cutting equipment is a four-variable problem: material, section size, damage tolerance, and daily volume. Write those down, size cutting capacity with margin, select the method and wheel range that cover your hardest routine material, then compare machines on total cost including fixtures, coolant, wheels, extraction, and service. The machine that fits the sample list, not the datasheet, is the one still producing clean cuts five years from now.





Based in China, TROJAN pays attention to the international market, and has sold metallographic equipment to more than 50 countries, such as Europe, America, Japan and South Korea, Southeast Asia countries and regions


