(1) Stage. The stage of the stage should be flat and vertical to the main optical axis, otherwise the uniformity and clarity of the field of view will be affected. Heavy samples should not be placed on the stage, and the microscope should be lowered to the lowest position after use to prevent deformation. The moving parts should be regularly cleaned with gasoline and coated with neutral grease.
(2) Objective lens converter. The objective lens converter of the microscope is an important component that requires high mechanical precision. It should have good stability and coincidence. The common fault is the failure of the positioning mechanism, which is mostly caused by the deformation, fracture of the positioning spring or the wear of the positioning groove. During normal use, turn the nosepiece smoothly instead of grabbing the objective lens to turn it.
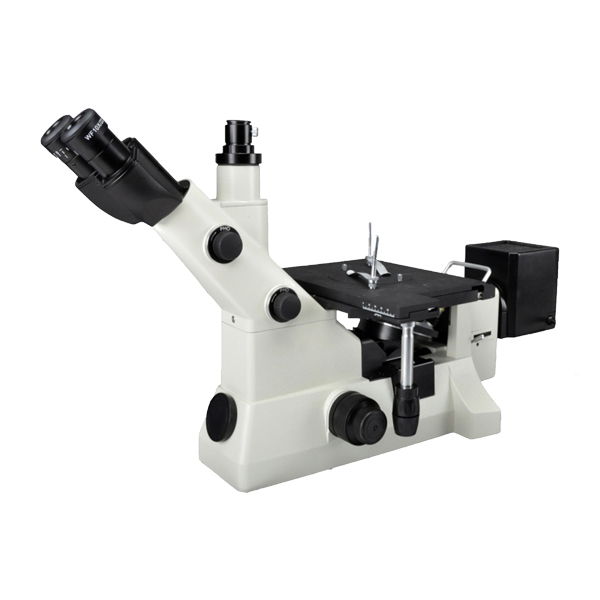
(3) Coarse motion and micro motion mechanism. Coarse motion adjustment mechanism generally adopts gear and rack rotation device. The rack is fixed on the mirror arm and meshes with the helical gear driven by the coarse handwheel. Turn the handwheel, the gear will drive the rack to move up and down along the dovetail groove of the mirror body, that is, the stage and the sample above the mirror arm will follow the movement. After frequent use, the so-called "mirror arm self-slip" phenomenon occurs when it becomes loose due to wear and tear. This kind of fault can be repaired by adding a metal sheet or screw positioning screw on the back of the rack to reduce the meshing gap.
The micro-adjustment mechanism is a multi-stage gear transmission device. Its function is to make the mirror body rise and fall slowly and steadily. There is strength on the outside of the fretting handwheel, it can make a side screw, each division value is 1-2μm, and the distance of fretting adjustment is small. When adjusting, it should move within the specified scale range, do not use too much force, and stop when it is adjusted to the limit position. After long-term use, gear wear or too much oil will cause the fretting mechanism to fail. Professionals should be invited to repair the fretting mechanism. The fretting mechanism is very precise and has been prepared before leaving the factory.

 英语
英语 西班牙语
西班牙语 德语
德语
.jpg?imageView2/2/w/400/format/jpg/q/75)

