
 英语
英语 西班牙语
西班牙语 德语
德语Beta-300Pro Automatic Abrasive Sectioning Machine
Beta-300Pro is a fully automatic vertical metallographic cutting machine. It utilizes advanced intel...
We use first- and third-party cookies including other tracking technologies from third party publishers to give you the full functionality of our website, to customize your user experience, perform analytics and deliver personalized advertising on our websites, apps and newsletters across internet and via social media platforms. For that purpose, we collect information about user, browsing patterns and device.
By clicking "Accept All Cookies", you accept this, and agree that we share this information with third parties, such as our advertising partners. If you prefer, you can choose to continue with "Only Required Cookies". But keep in mind that blocking some types of cookies may impact how we can deliver tailored content that you might like.
For more information and to customize your options, click on "Cookie settings". If you want to learn more about cookies and why we use them, visit our Cookie Policy page at any time. Cookie Policy

Most diamond wafering blade failures are maintenance problems, not material failures. When a low-speed precision saw suddenly cuts slower, leaves chipped edges on a ceramic substrate, or shows a shiny glazed band near the blade rim, the usual cause is a loaded or glazed cutting layer, not a dull blade. A fifteen-minute routine of inspection, dressing, cleaning, and correct storage restores most of the lost cutting performance and extends blade life well beyond the point where most labs give up on a blade.
InspectDressCleanStore
A diamond wafering blade cuts with diamond particles held in a bond matrix. As the bond wears, fresh particles are exposed, so a healthy blade stays sharp by itself. Deterioration appears when something interrupts that self-sharpening cycle:
Loading and glazing are reversible with a few minutes of dressing. Edge damage and heavy bond loss are not. Telling the difference is the core skill of wafering blade maintenance.
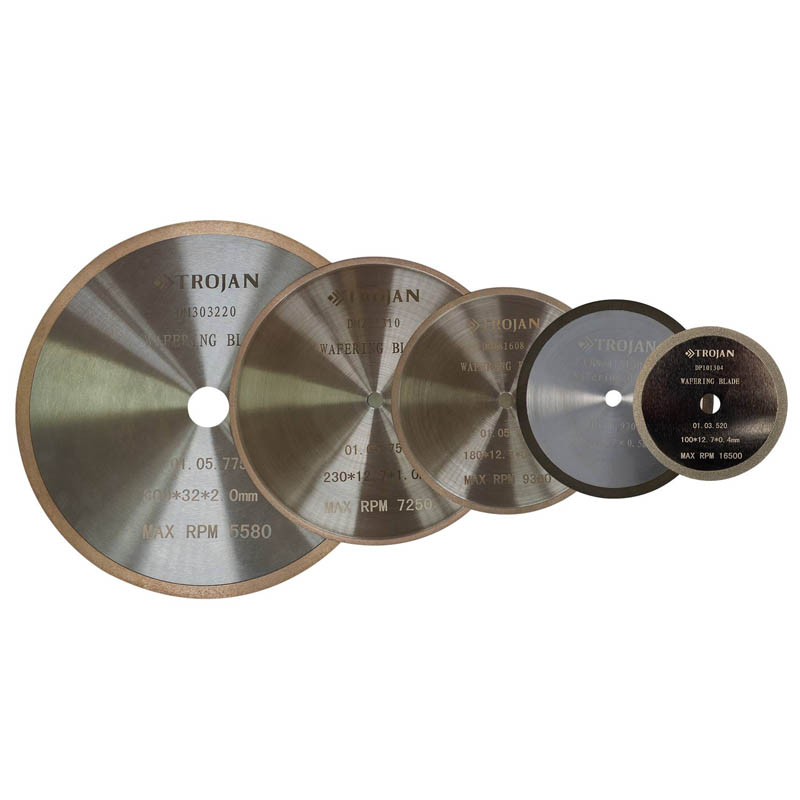 Diamond Wafering Blades for Precision Cutting and MaintenanceThis product page details diamond wafering blades suitable for precision sectioning. Given the surrounding guidance on inspecting cutting edges before use, reviewing the blade specifications here helps ensure you select a blade that matches your maintenance and cutting needs.View Product →
Inspection before a cut takes thirty seconds and prevents an hour of frustrating results. Hold the blade under good lighting and examine the cutting edge from the side, then check both faces.
A 10x magnifier is useful here. What looks like a smooth edge to the naked eye often shows a loaded band or fine cracks under magnification.
Dressing is the single most effective maintenance procedure for a wafering blade. It removes the loaded swarf layer and cuts the bond back far enough to expose fresh diamond particles. Aluminum oxide or silicon carbide dressing sticks are standard; the grit is matched to the blade bond.
Lab tip: dress at the start of a session, not after a bad cut. A freshly conditioned edge gives a stable baseline for judging feed pressure and speed on the rest of the workpiece.
Do not over-dress. Every pass removes a small amount of bond material, and a blade that is dressed excessively loses diameter faster than it wears during normal cutting.
Residue left on the blade face or mounting hardware is one of the most common hidden causes of poor cut quality. Make cleaning the automatic end-of-session step.
Avoid strong acids, caustic cleaners, and aggressive solvents. They can soften resin bonds, corrode metal hubs, and damage precision mounting surfaces.
The way a blade is stored has a direct effect on how long it cuts. A well-maintained blade stored carelessly will disappoint you the next morning.
Coolant is part of the blade maintenance system, not an optional extra. The stream flushes swarf away from the cutting zone, keeps the bond temperature down, and prevents workpiece smearing.
| Frequency | Task | Goal |
|---|---|---|
| Before each job | Inspect the cutting edge; verify coolant flow | Catch damage and coolant faults early |
| Before the first cut of the day | Dress the blade with a dressing stick | Expose fresh diamond and remove residue |
| After each session | Clean the blade, flanges, and arbor; dry and store | Prevent swarf buildup and corrosion |
| Weekly | Deep-clean the blade; inspect the edge under magnification; log blade use | Identify wear patterns and predict replacement |
| When quality drops | Dress first, then check coolant; if quality still fails, measure runout | Separate reversible wear from real damage |
| Symptom | Likely cause | Action |
|---|---|---|
| Slow cutting with a smooth, shiny edge | Glazed diamond layer | Dress the blade; reduce feed force |
| Chipped or rough cut edge | Excessive feed, runout, or wrong blade for the material | Clean the flanges; reduce feed; check blade selection |
| Discolored workpiece or burning smell | Insufficient coolant flow | Restore flow; clean the nozzle; reposition the stream |
| Blade wobbles during rotation | Debris on flange, arbor, or blade bore | Clean all mounting surfaces and reseat the blade |
| Gray or metallic band on the blade face | Loaded swarf from a soft workpiece | Dress immediately; increase coolant flow |
| Large chips missing from the edge | Impact damage or severe overload | Replace the blade and review cutting parameters |
When dressing and cleaning can no longer restore cut quality, the blade has reached the end of its service life, and a replacement is the responsible choice. Reading up on the electroplated wafering blade design helps you decide whether a different blade construction will last longer on the material that caused the failure.
At minimum, dress at the start of any cutting session that follows heavy use. Material matters: soft alloys and green ceramics load blades quickly, so they may need a 10-second pass every few cuts. The indicator is always visual: if the edge looks shiny or discolored, dress it.
Small nicks can sometimes be blended out with extended dressing, but the repair shortens blade life and increases fracture risk. If the chip extends through the bond layer or the blade vibrates during a test run, replace the blade.
The most frequent reasons are a contaminated flange, an empty coolant reservoir, or glazing caused by excessive feed. All three are reversible with the maintenance steps described above.
It is maintenance. Coolant removes heat and swarf from the cutting zone; without it, resin-bond blades glaze quickly and metal-bond blades overheat. Keeping the coolant clean and the flow steady is the most cost-effective way to extend blade life.
Diamond wafering blade maintenance comes down to four habits: inspect the edge before cutting, dress it when it looks glazed or loaded, clean the blade and mounting hardware after every session, and store the blade so its edge touches nothing else. None of these steps takes more than a few minutes, and together they keep a wafering blade cutting accurately for the full span of its service life. To align blade choice and care with your materials, the cutting application guides provide a practical, lab-ready reference.
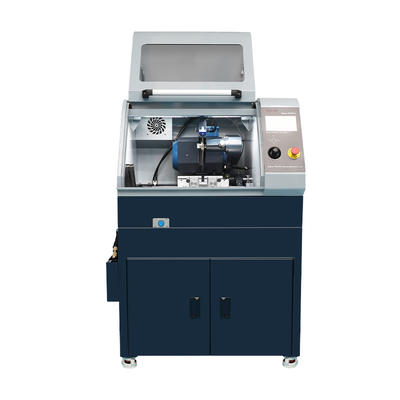
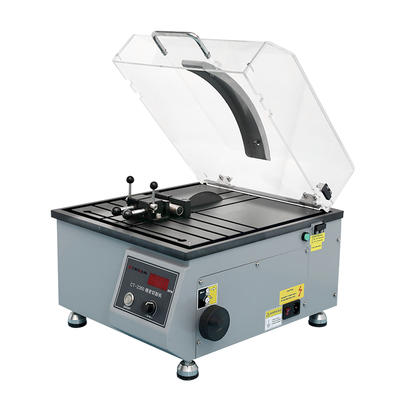
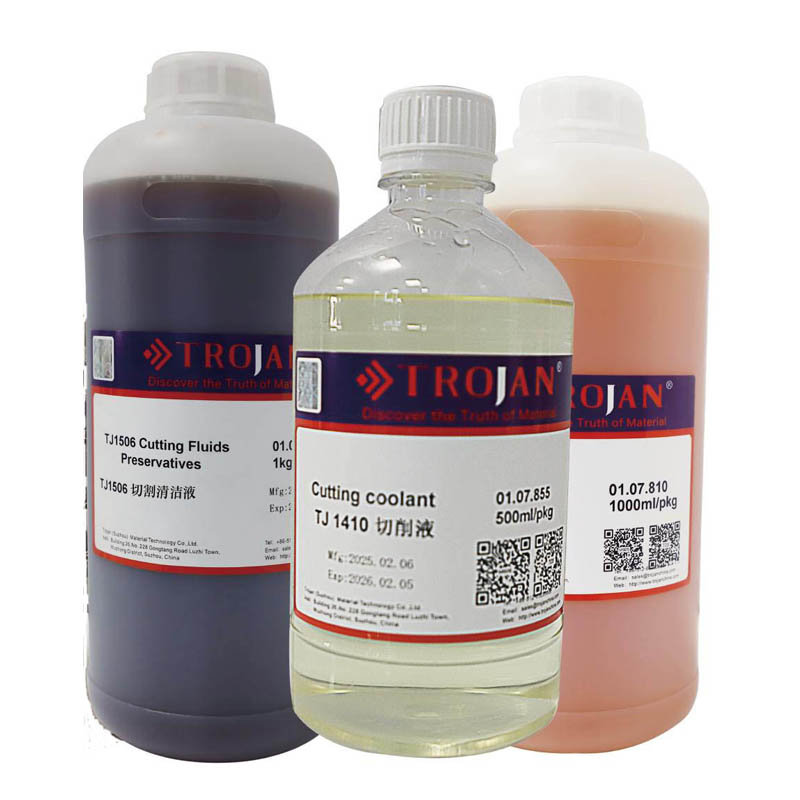
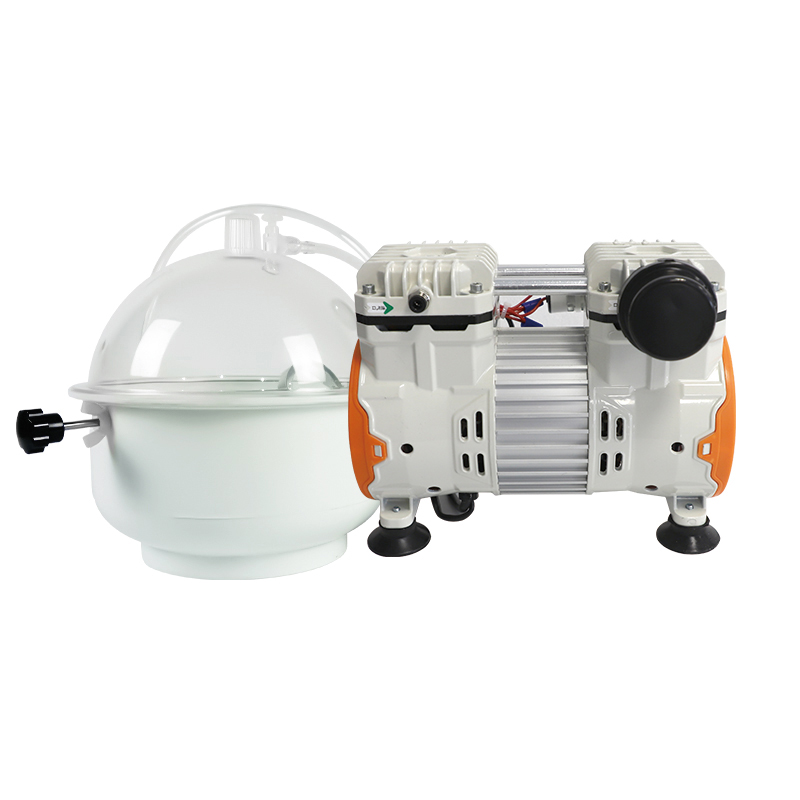
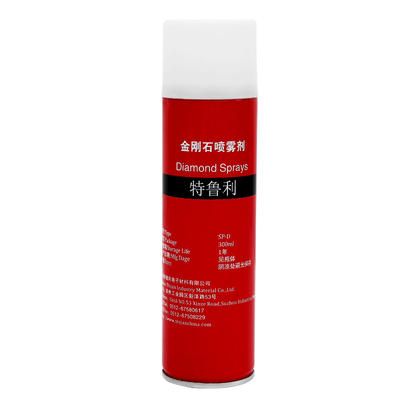
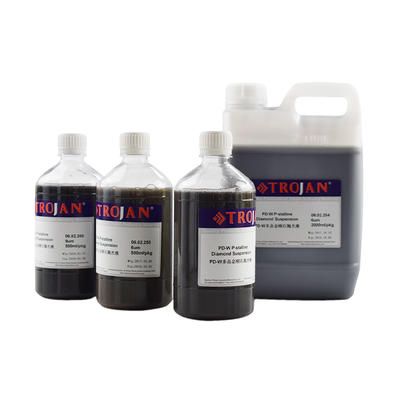
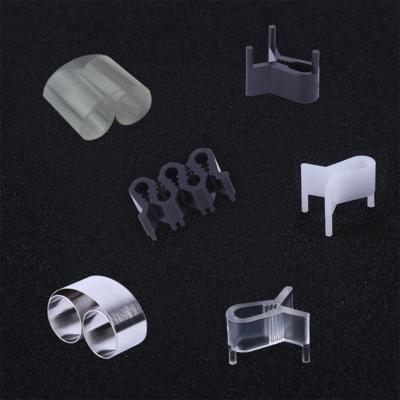
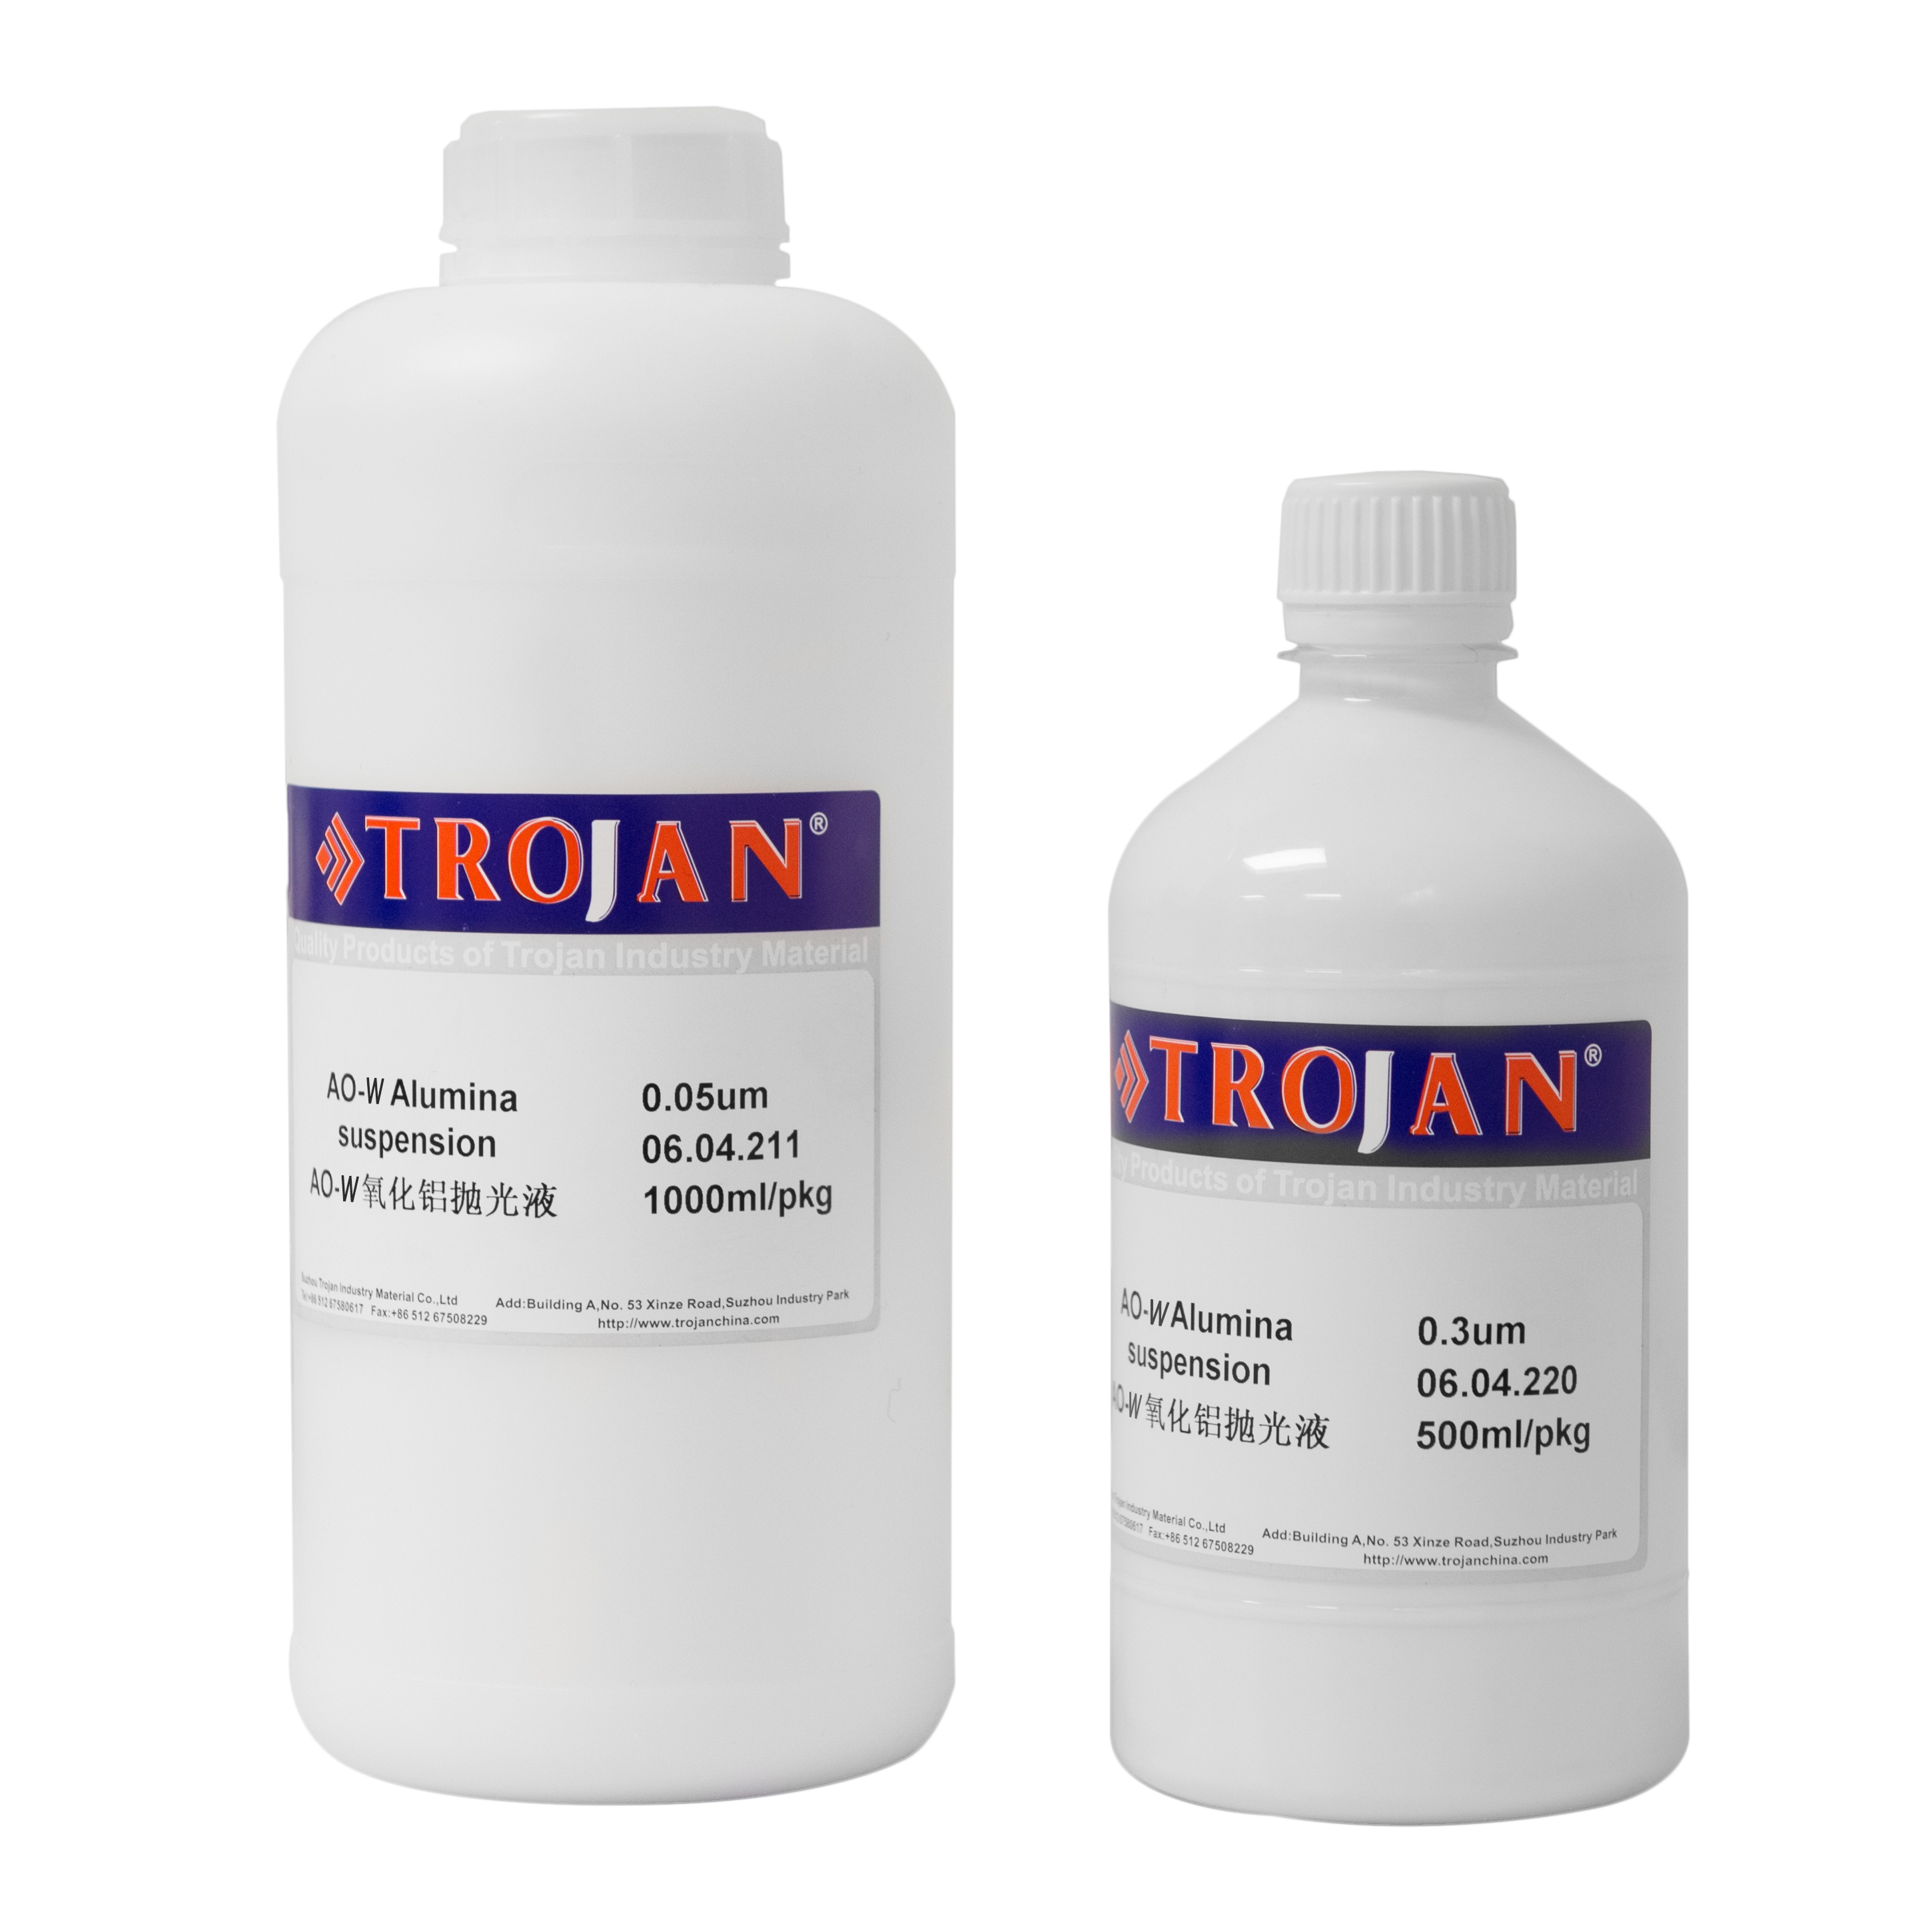
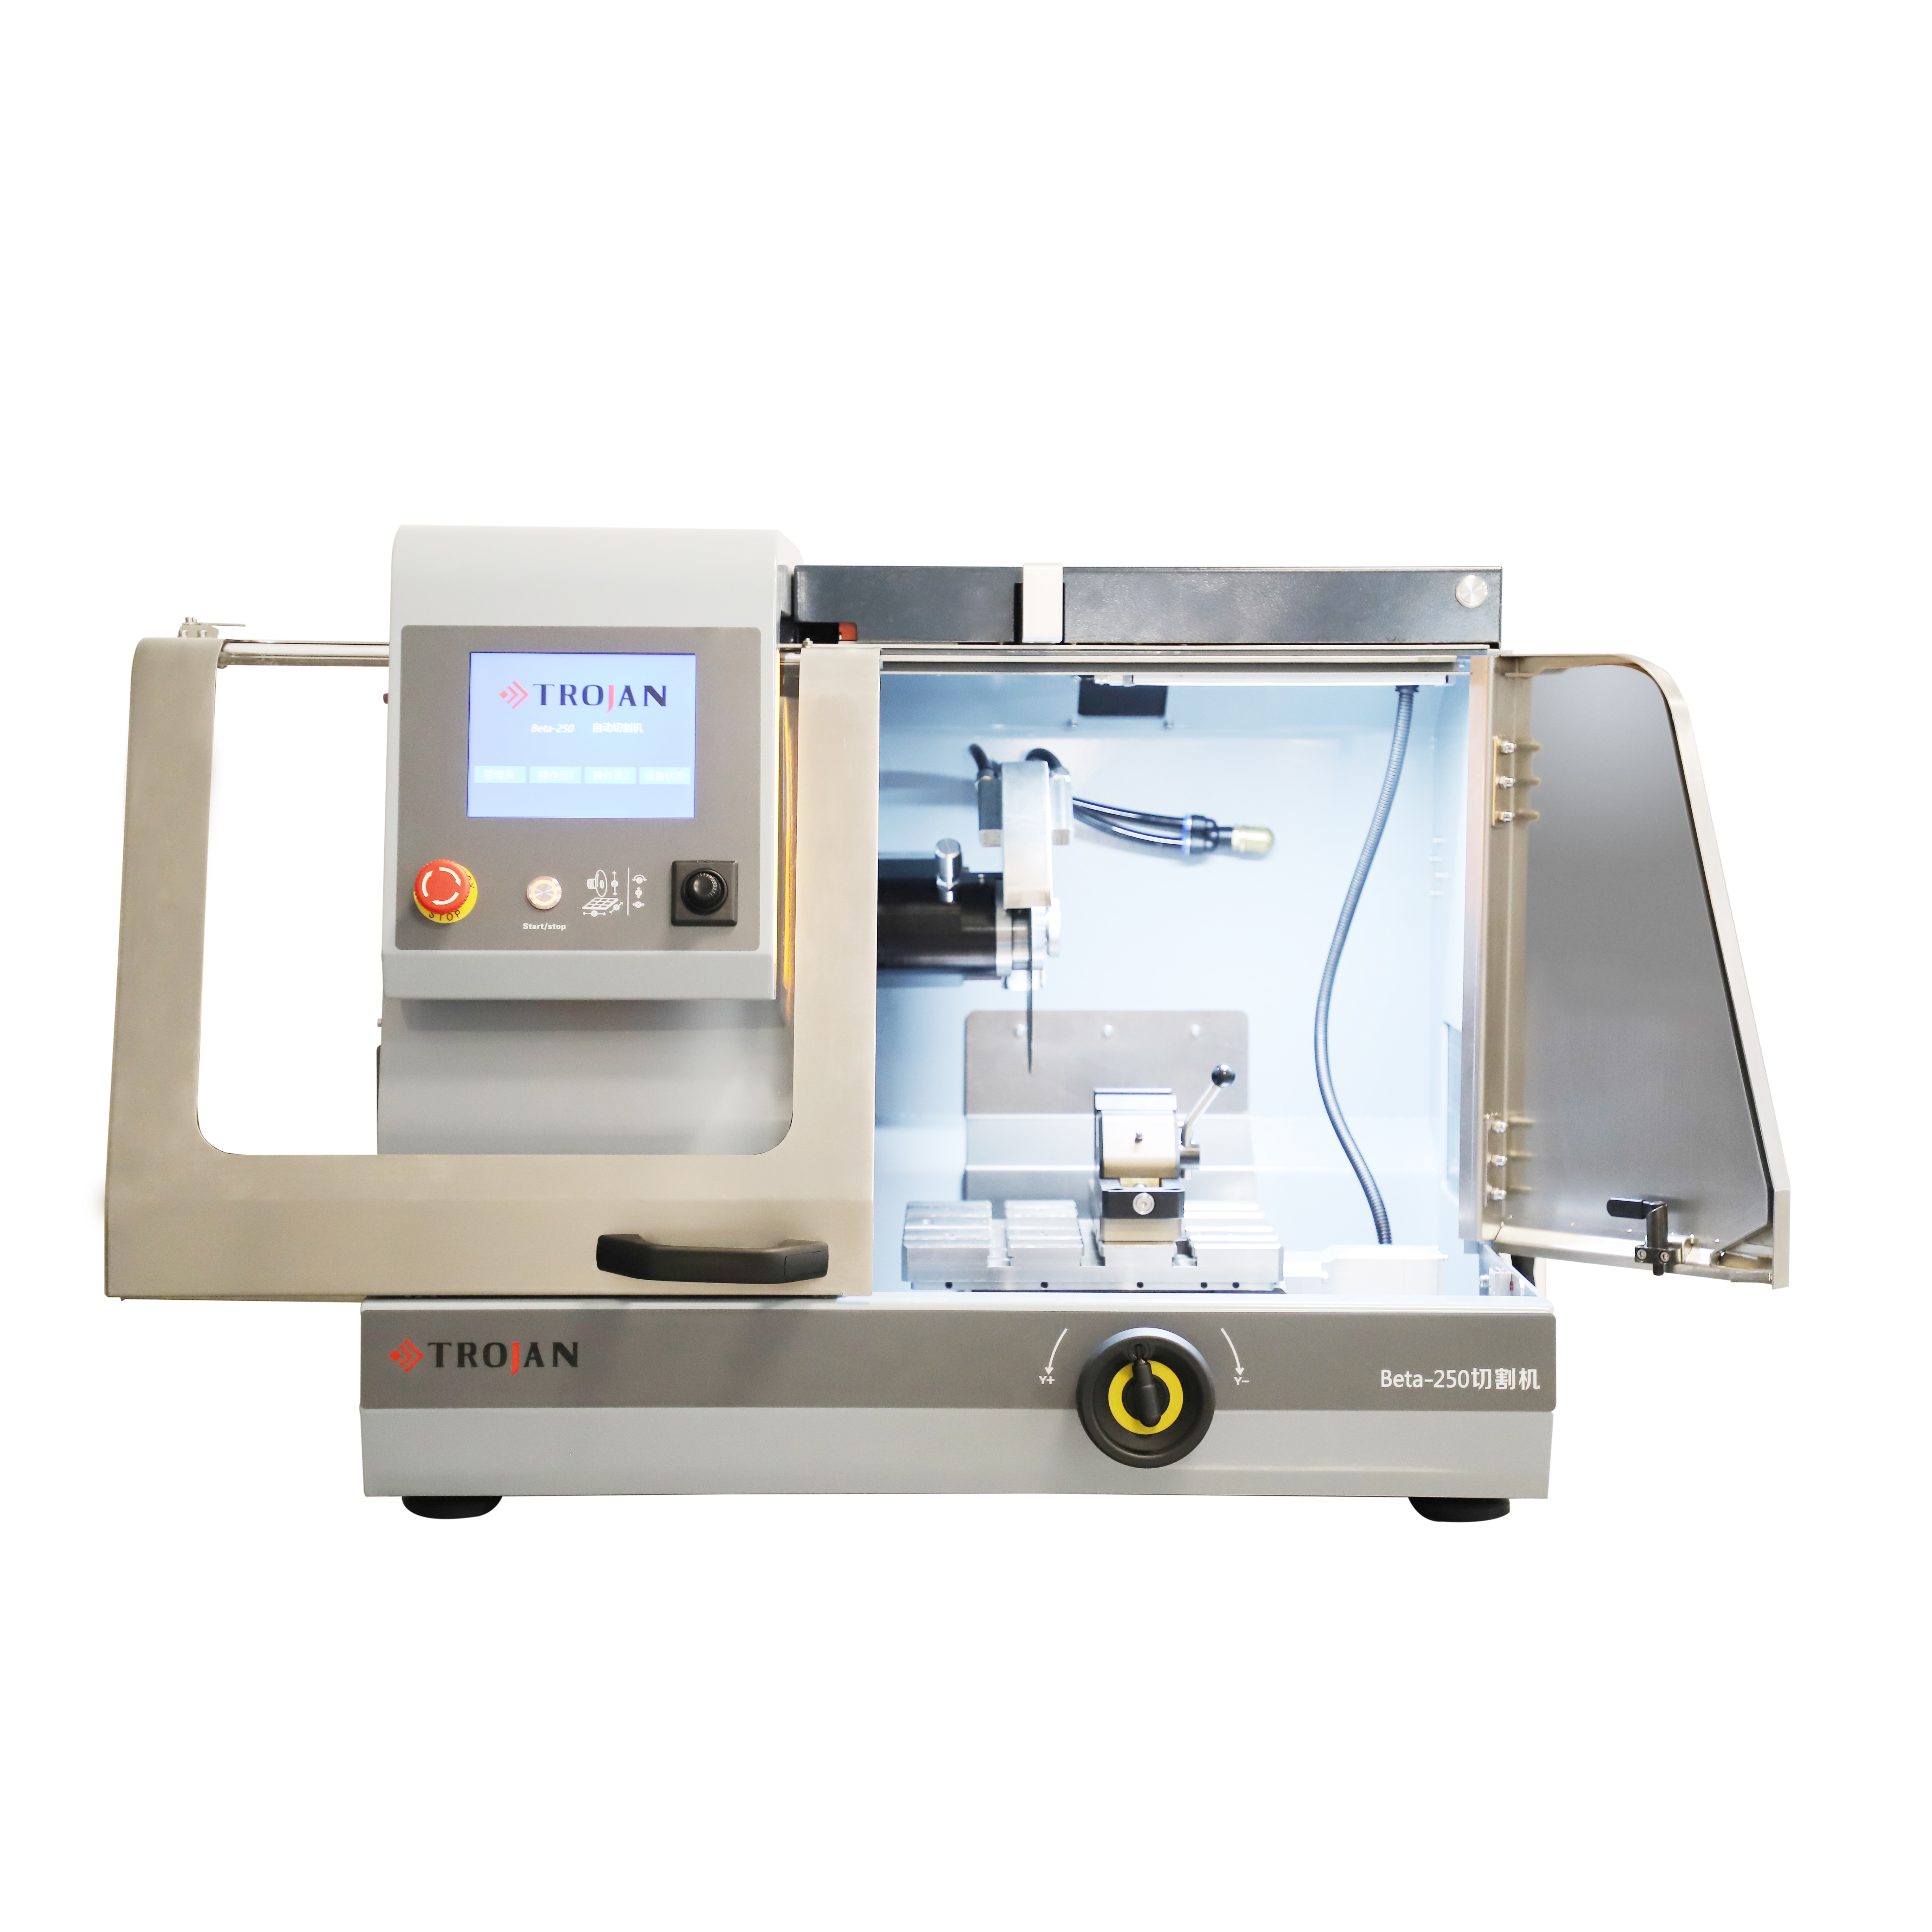

Based in China, TROJAN pays attention to the international market, and has sold metallographic equipment to more than 50 countries, such as Europe, America, Japan and South Korea, Southeast Asia countries and regions


