
 英语
英语 西班牙语
西班牙语 德语
德语CT-2300 Manual Cut-off Machine
Product Description
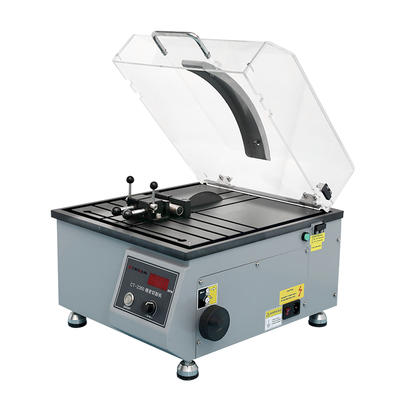
CT-2300 is a compact, desktop Manual Cut-off Machine,widely used for cutting mat...
We use first- and third-party cookies including other tracking technologies from third party publishers to give you the full functionality of our website, to customize your user experience, perform analytics and deliver personalized advertising on our websites, apps and newsletters across internet and via social media platforms. For that purpose, we collect information about user, browsing patterns and device.
By clicking "Accept All Cookies", you accept this, and agree that we share this information with third parties, such as our advertising partners. If you prefer, you can choose to continue with "Only Required Cookies". But keep in mind that blocking some types of cookies may impact how we can deliver tailored content that you might like.
For more information and to customize your options, click on "Cookie settings". If you want to learn more about cookies and why we use them, visit our Cookie Policy page at any time. Cookie Policy

You have just polished a metal specimen to a mirror finish, but under the microscope you see only a blank, featureless field. The reason is simple: a polished surface reflects light uniformly. To reveal grain boundaries, phases, and inclusions that define the material's history and properties, you need one more step: metallographic etching. Etching is not just a "nice to have" step; it is the bridge between a decent polished surface and actionable microstructural data.
Etching is a chemical or electrolytic process that selectively attacks a polished metal surface. It exploits the differences in chemical activity of grain boundaries, phase boundaries, and grain orientations. The result is a surface with varying reflectivity under light microscopy, which is what makes the underlying structure visible.
When a polished surface is exposed to an etchant, atoms are removed preferentially from active sites such as grain boundaries and dislocations. This creates grooves or a thin interference layer, causing some areas to reflect light differently than others. In some cases, the process produces a visible color contrast known as heat tinting or an interference layer, which can be especially useful for non-ferrous alloys.
The best-prepared polished surface can still look "empty" under a microscope. Without etching, you cannot perform meaningful grain size analysis, phase identification, or failure analysis. Etching is the step that turns a prepared surface into actionable information about the material's heat treatment, casting quality, or service condition.
For specialty alloys like nickel-based superalloys and high-temperature titanium alloys, etching requires more care. A controlled electrolytic setup or an age-sensitive chemical solution is often necessary. For an overview of the practical side, you can refer to this guide on metallographic chemical etching.
For most laboratories, chemical etching is the starting point, but electrolytic etching is the clear winner for corrosion-resistant alloys. The choice is largely determined by the material and the lab setup.
| Parameter | Chemical Etching | Electrolytic Etching |
|---|---|---|
| Method | Immersion or swabbing with a chemical solution. | Application of a direct current through an electrolyte. |
| Typical Materials | Carbon steels, cast irons, aluminum, copper. | Austenitic stainless steel, nickel-based superalloys. |
| Equipment Required | Plastic tweezers, timer, fume hood. | DC power supply, electrolyte tank, electrodes. |
| Safety Focus | Acid handling and ventilation. | Electrical risk and electrolyte disposal. |
If you are working with a passive material such as stainless steel or a high-temperature alloy, electrolytic etching is often more effective and more controllable. For routine ferrous and non-ferrous metals, chemical etching offers speed and simplicity. Always work under a fume hood, use nitrile gloves, and know the acid spill procedure before you start.
It is also worth distinguishing between macro and micro etching. Macro etching reveals large-scale features like segregation lines, welding defects, or grain flow over a whole cross-section, while micro etching is used to resolve fine details such as grain boundaries and inclusions under the microscope.
There is no universal etchant. A material-specific approach is the only way to get reliable contrast. The etchant must match the material, and you should be prepared to adjust composition and attack time.
| Material Family | Common Etchant | Typical Application |
|---|---|---|
| Carbon and low-alloy steels | Nital (2-5%) | Reveals ferrite, pearlite, and general microstructure |
| Austenitic stainless steel | Marble's reagent, Kalling's | Reveals grain boundaries and twin boundaries |
| Aluminum alloys | Kroll's reagent | Reveals grain structure and intermetallic phases |
| Copper and brass | Ammoniacal persulfate | Reveals twins and grain boundaries |
| Nickel-based superalloys | Glyceregia | Reveals carbides and precipitation patterns |
A standard recipe is a starting point. Humidity, ageing of the etchant, and material-specific heat treatment can all shift the result. Keeping the polished surface clean and using freshly prepared solutions are simple ways to avoid variability. For stainless steel in particular, you may want to consult an etching guide for stainless steel to fine-tune your approach.
The best etching results come from a clear sequence. First, finish the specimen through the grinding and polishing steps, ending with a final polish step that produces a clean, blemish-free surface. Then rinse and dry the specimen before reacting it with the etchant.
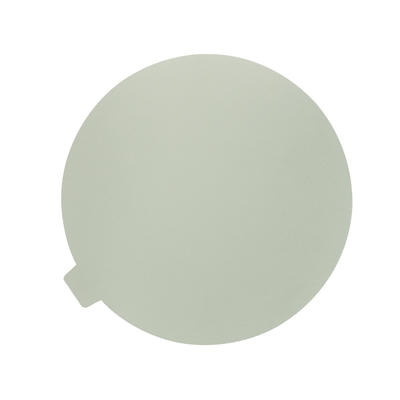
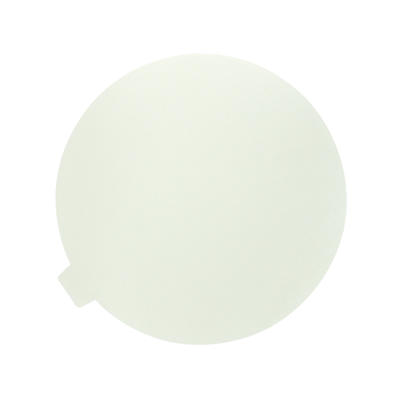
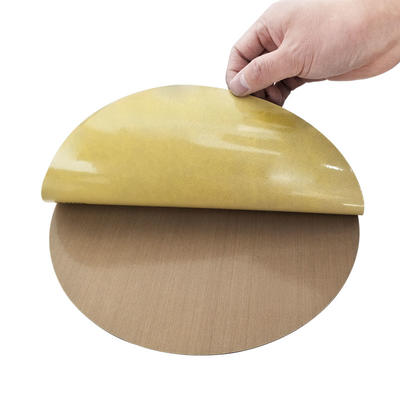
A coarse scratch from the grinding stage can be enlarged by the etchant, creating false features. The finer your final polish, the more accurately the etchant will reveal the true microstructure. To achieve a reliable final finish, a low-nap polishing cloth keeps the specimen surface free of the deformation layer before etching. For example, using a white synthetic velvet polishing cloth helps preserve the surface integrity that etching relies on.
Keep the etchant at a consistent temperature. Agitate gently to remove reaction products. Stop the attack as soon as the contrast appears. If under-etched, repeat the attack for a shorter time. If over-etched, you must re-polish and re-etch from the beginning.
Even with a good procedure, defects appear. The table below lists the most common issues and the practical steps to resolve them.
| Problem | Likely Cause | Solution |
|---|---|---|
| Under-etching | Attack time too short, solution too weak | Re-etch for longer or use fresh etchant |
| Over-etching / pitting | Attack time too long | Re-polish and re-etch; reduce concentration |
| Staining on the surface | Rinsing step insufficient | Rinse thoroughly with water and alcohol, then dry |
| No microstructure revealed | Inappropriate etchant for the alloy | Use a material-specific etchant or switch to electrolytic |
In electrolytic etching, wrong voltage or electrolyte composition can cause burning or localized pitting. Always test on a scrap specimen first and observe the gas generation pattern. This is closely related to the principle of metallographic chemical etching, where the local anode and cathode areas determine where material is dissolved.
The quality of the etched surface depends heavily on the steps before it. A stable workflow that integrates mounting, grinding, polishing, and etching will save time and reduce inconsistent results.
Choosing the right consumables for grinding and polishing directly affects how evenly the etchant attacks the surface. For example, a monocrystalline diamond suspension produces a fine, uniform scratch pattern that reacts predictably with the etchant.
After etching, you need an optical system that can capture the subtle contrast differences. An upright metallographic microscope with the right illumination setup will reveal the grain structure clearly. I highly recommend the MN-80 series metallographic microscope for routine microstructural evaluation.
By aligning your polishing consumables, etchant selection, and microscope imaging, you can establish a repeatable process that turns etching into a reliable diagnostic tool.
Chemical etching relies on immersing or swabbing the specimen in a reactive solution. Electrolytic etching uses an electric current through an electrolyte. The electrolytic method is often more controlled for passive alloys like austenitic stainless steel.
Over-etching is often due to an attack time that is too long, an etchant that is too concentrated, or the solution being too warm. Re-polish and try again with a shorter attack time or a more dilute etchant.
For austenitic stainless steel, Marble's reagent or Kalling's are common choices. Electrolytic etching is also a highly predictable approach for these alloys, especially when fine twin boundaries need to be resolved.
Yes, proper cleaning is essential. Rinse thoroughly with water and alcohol, then dry gently. This removes reaction residues and prevents staining that can obscure the microstructure.
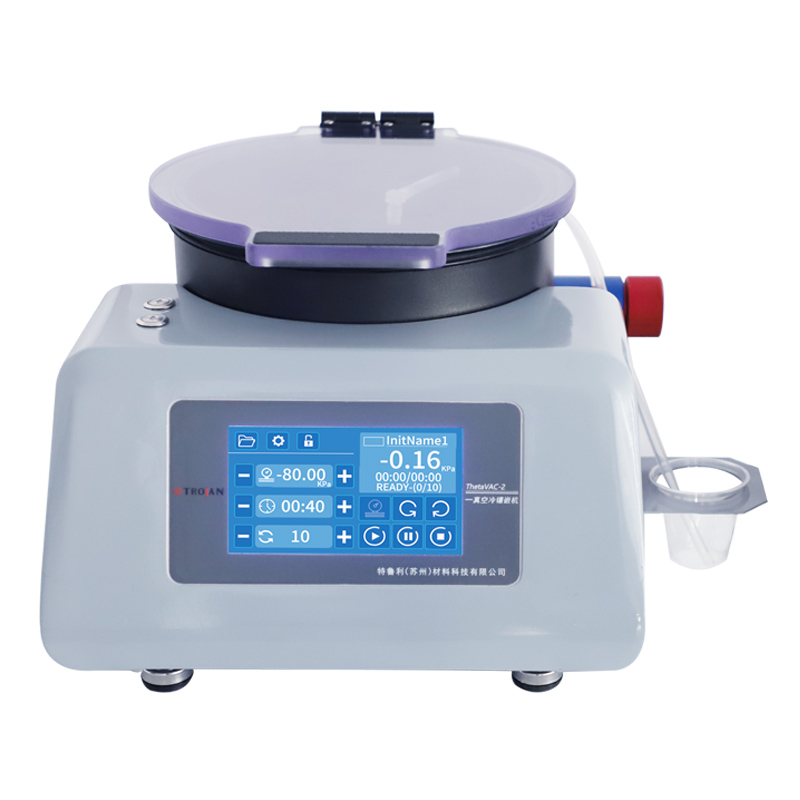
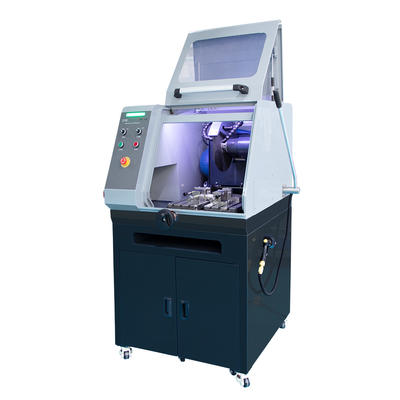
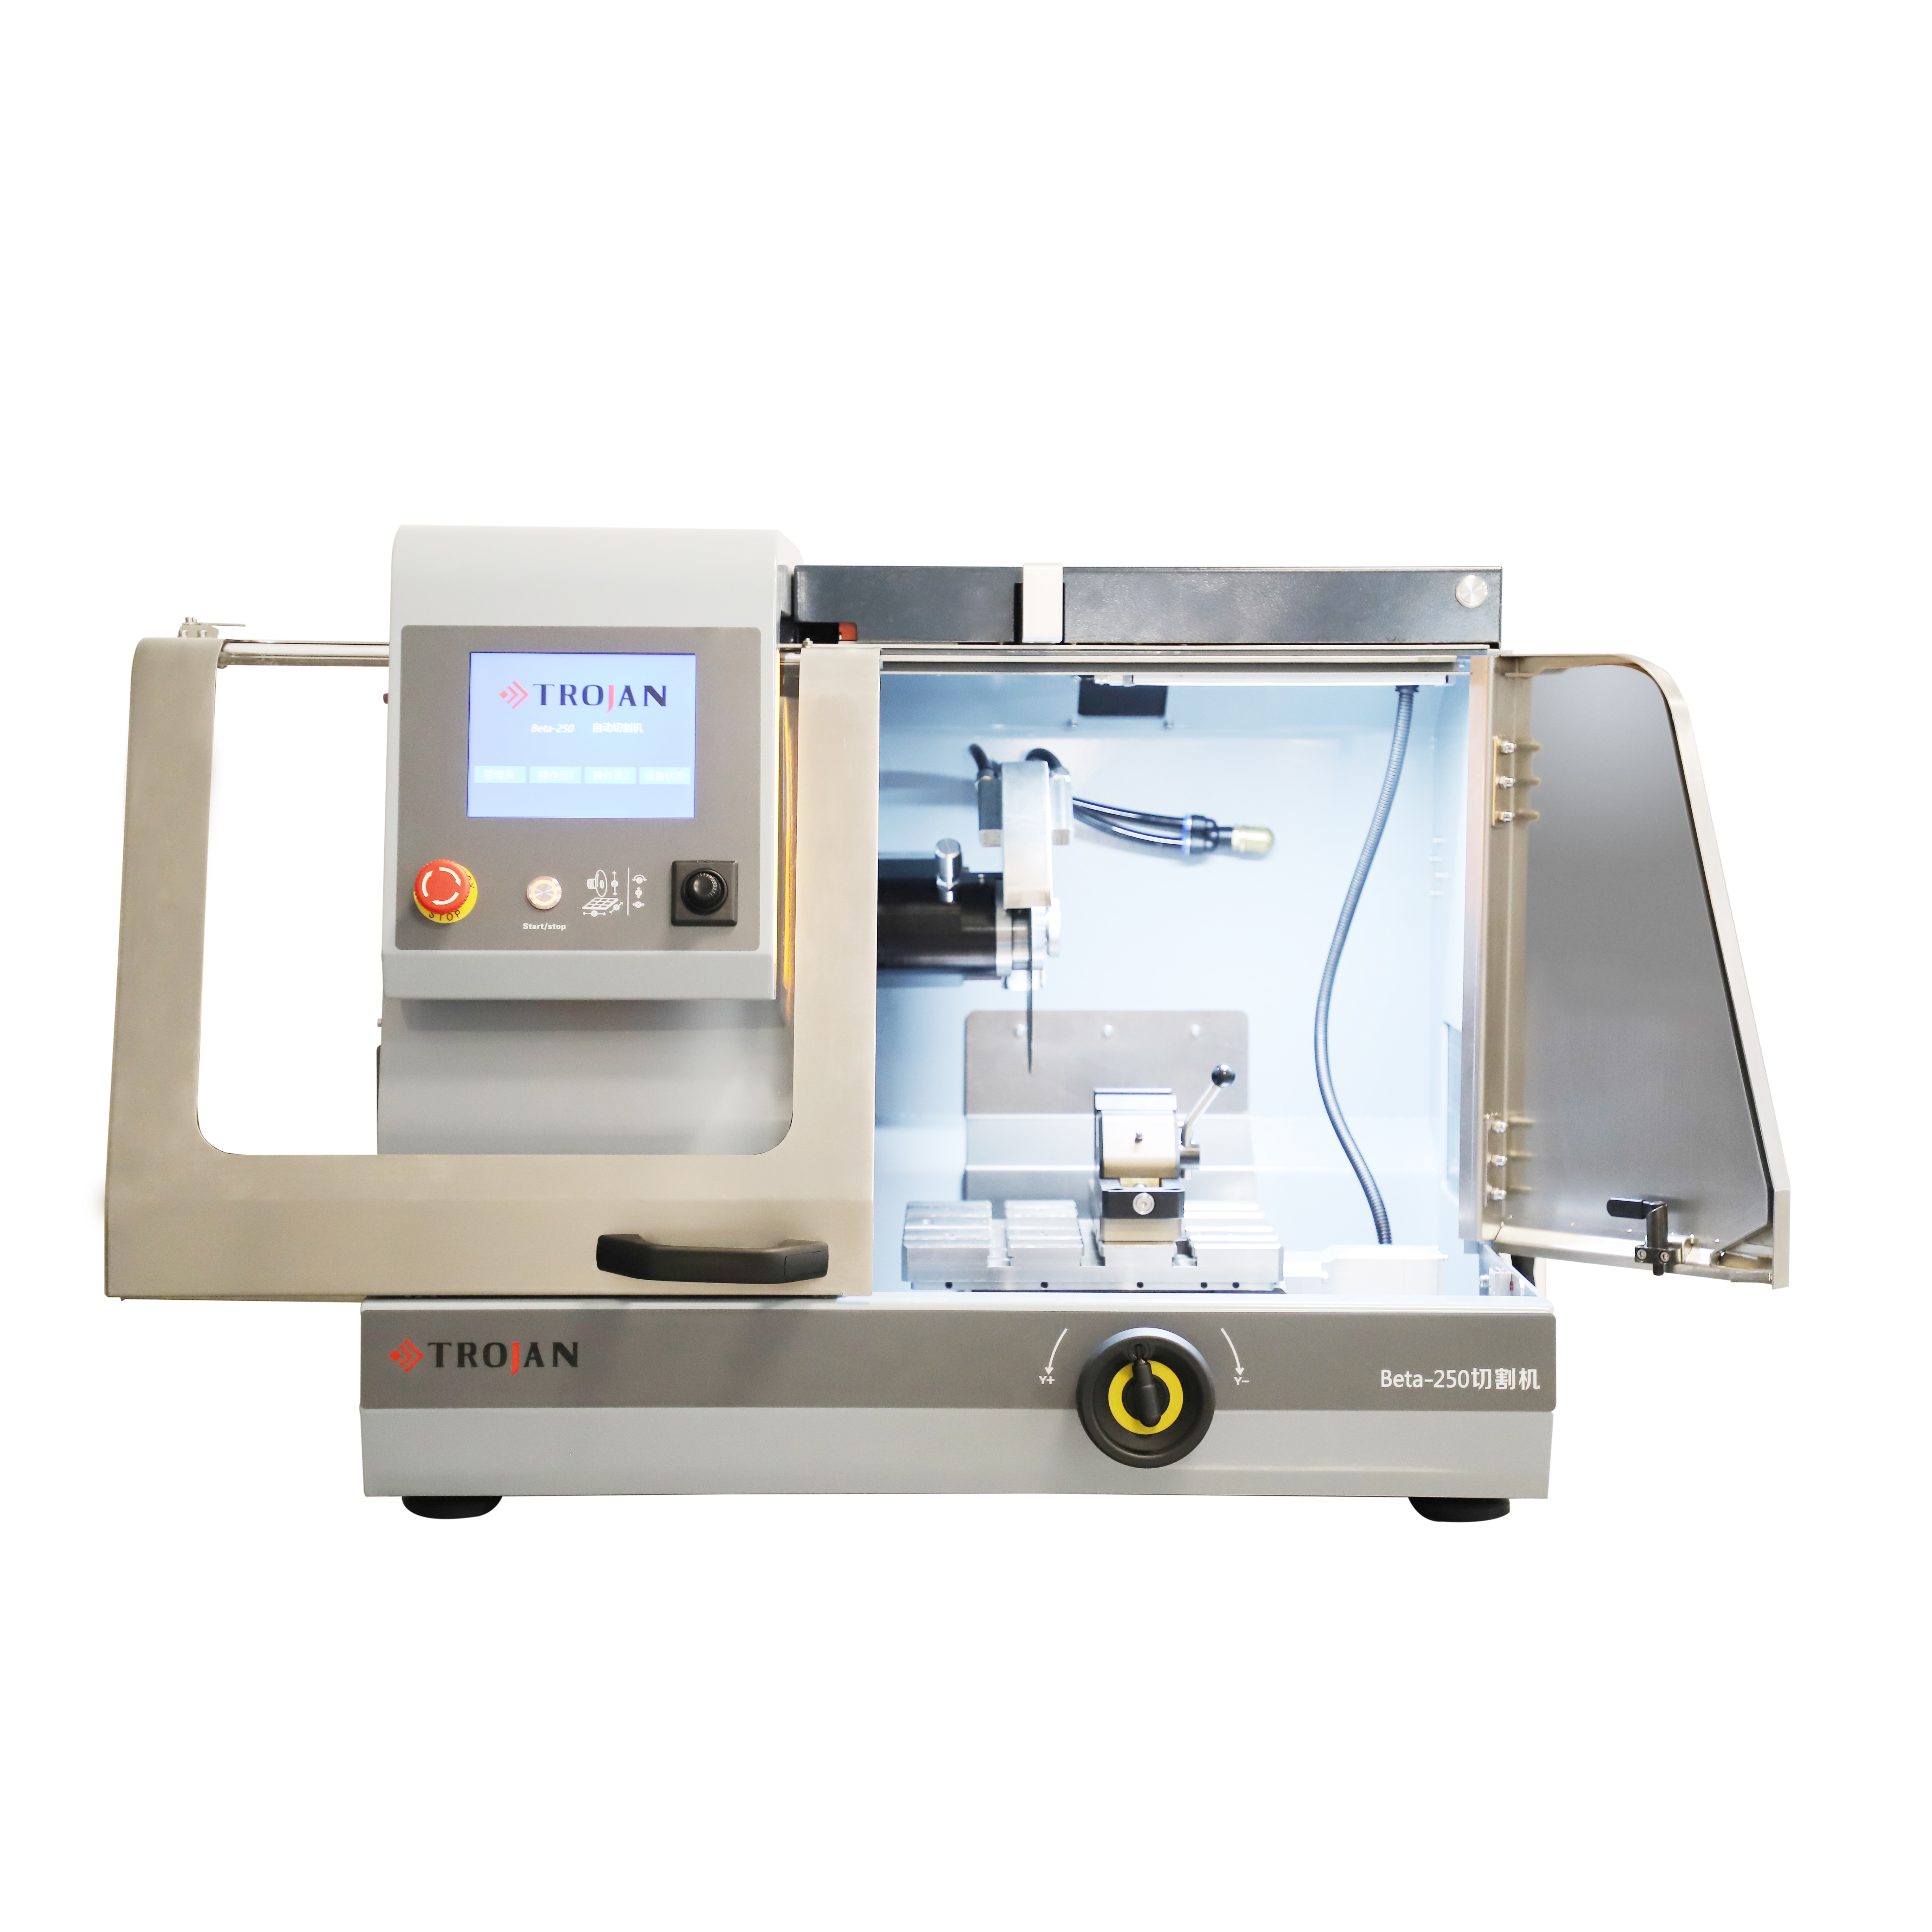
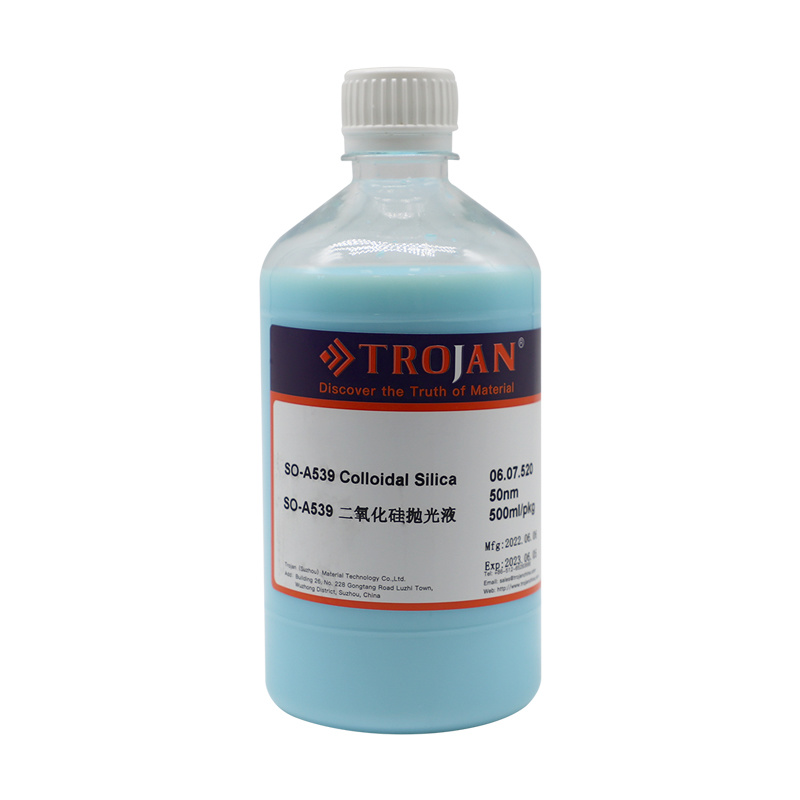

Based in China, TROJAN pays attention to the international market, and has sold metallographic equipment to more than 50 countries, such as Europe, America, Japan and South Korea, Southeast Asia countries and regions


