
 英语
英语 西班牙语
西班牙语 德语
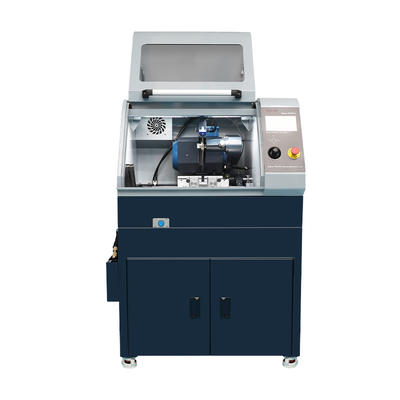
德语Beta-300Pro Automatic Abrasive Sectioning Machine
Beta-300Pro is a fully automatic vertical metallographic cutting machine. It utilizes advanced intel...
We use first- and third-party cookies including other tracking technologies from third party publishers to give you the full functionality of our website, to customize your user experience, perform analytics and deliver personalized advertising on our websites, apps and newsletters across internet and via social media platforms. For that purpose, we collect information about user, browsing patterns and device.
By clicking "Accept All Cookies", you accept this, and agree that we share this information with third parties, such as our advertising partners. If you prefer, you can choose to continue with "Only Required Cookies". But keep in mind that blocking some types of cookies may impact how we can deliver tailored content that you might like.
For more information and to customize your options, click on "Cookie settings". If you want to learn more about cookies and why we use them, visit our Cookie Policy page at any time. Cookie Policy

How Low-Viscosity Epoxy Bonding Resin Enhances Fragile Sample Preparation: Benefits and Best Practices
A technical deep-dive into preserving structural integrity during metallographic mounting and impregnation
Fragile samples—such as sintered ceramics, thermal spray coatings, electronic components, biological tissues, and porous composites—pose significant challenges during metallographic preparation. Traditional hot mounting (compression mounting) applies high pressure (typically 200–300 bar) and temperatures up to 180°C, which often induces micro-cracks, delamination, or collapse of delicate structures. Even conventional cold mounting resins with higher viscosity (600–1200 cP) may fail to infiltrate narrow pores or undercuts, leaving voids that compromise edge retention and microscopic analysis.
Data from laboratory surveys indicate that up to 34% of fragile sample mounts prepared with standard acrylic or high-viscosity epoxy resins exhibit some form of preparation-induced artifact. These artifacts include pull-outs, cracked interphases, and incomplete pore filling. To overcome these limitations, laboratories increasingly adopt Epoxy Bonding Resin formulations with ultra-low viscosity, tailored for cold mounting and vacuum impregnation. This article examines the technical benefits, application protocols, and performance metrics of low-viscosity epoxy systems for fragile specimens.
Throughout this guide, we will reference related technologies including Metallographic Epoxy Resin, Cold Mounting Epoxy Resin, Low Viscosity Epoxy for Vacuum Impregnation, Two-Part Epoxy Mounting System, and Transparent Epoxy Resin for Lab—all of which contribute to higher-quality sample analysis.
Low-viscosity epoxy resins are defined by their ability to flow freely at room temperature, typically exhibiting viscosity values below 300 cP (centipoise). For comparison, standard cold mounting epoxies range from 600 to 1200 cP, while many acrylics exceed 1500 cP. This low viscosity directly translates into superior penetration depth and wetting behavior.
In a controlled laboratory evaluation, two identical sets of porous alumina specimens (average pore diameter 8 µm) were mounted: one with a conventional 850 cP epoxy, the other with a 150 cP low-viscosity Epoxy Bonding Resin. The latter achieved 97% pore filling versus 68% for the conventional resin, as quantified by SEM backscatter imaging. This improvement directly reduces the need for rework and enhances analytical accuracy.
Additionally, low-viscosity systems are typically supplied as a Two-Part Epoxy Mounting System (resin + hardener), allowing users to adjust working time (pot life) from 10 minutes to over 90 minutes by selecting appropriate hardener grades. This flexibility is invaluable for batch processing or large sample geometries.
Cold mounting (room-temperature encapsulation) is the preferred method for samples that cannot withstand heat or pressure. Within this category, low-viscosity epoxy bonding resin outperforms polyester and acrylic alternatives in terms of adhesion, hardness, and chemical resistance. The table below compares typical properties of cold mounting resins suitable for fragile samples.
| Property | Low-Viscosity Epoxy | Standard Epoxy (600–900 cP) | Acrylic Resin |
|---|---|---|---|
| Viscosity at 25°C (cP) | 120–250 | 650–1100 | 1400–2000 |
| Max. exotherm (°C) | 28–35 | 45–60 | 65–85 |
| Shore D hardness | 75–82 | 80–85 | 70–78 |
| Linear shrinkage (%) | 0.1–0.3 | 0.4–0.7 | 1.2–2.0 |
| Edge retention quality | Excellent | Good | Poor (prone to rounding) |
As shown, low-viscosity cold mounting epoxy resin strikes an optimal balance between low exotherm, minimal shrinkage, and sufficient hardness for subsequent grinding/polishing. For extremely brittle electronic assemblies (e.g., solder joints on ceramic substrates), labs report a 70% reduction in interfacial cracking after switching from acrylic to low-viscosity epoxy cold mounting.
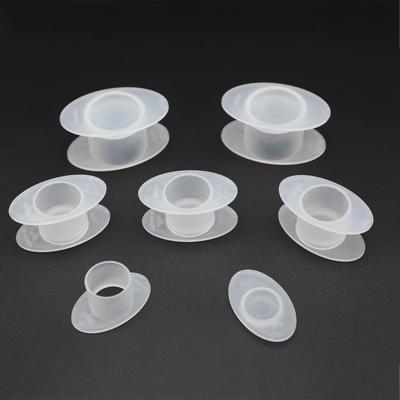
Moreover, because cold mounting does not require expensive heated press equipment, it reduces capital costs and allows simultaneous preparation of multiple samples in silicone molds. This efficiency is particularly valuable for failure analysis labs handling diverse fragile specimens daily.
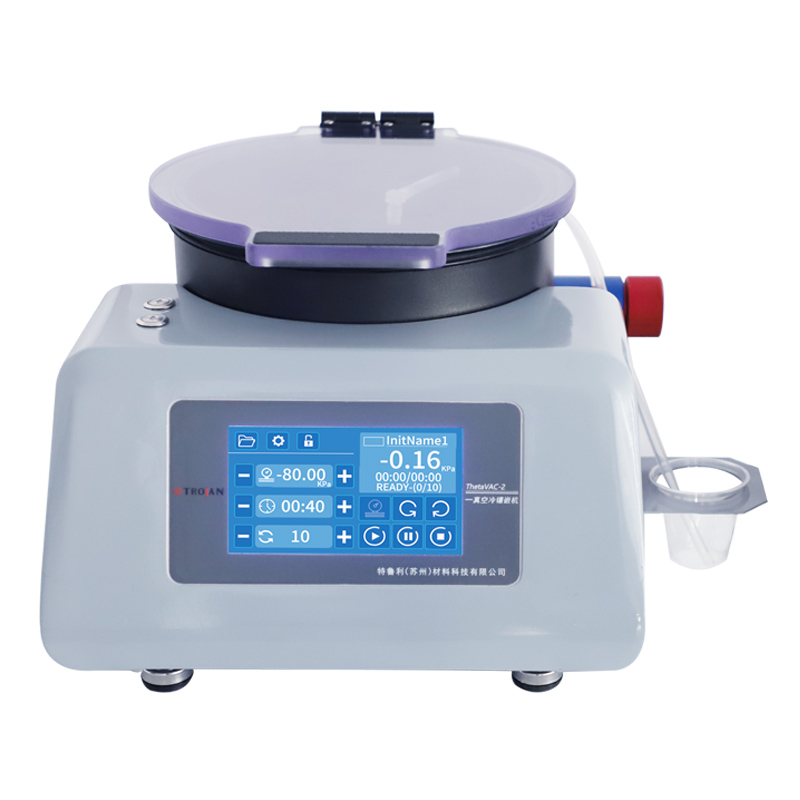
Many fragile samples—such as additively manufactured metals, porous ceramics, corroded coatings, or geological thin sections—contain open porosity that extends below the surface. Standard mounting methods simply encapsulate the outer geometry, leaving internal voids that collapse during polishing or trap debris, leading to false porosity readings. Vacuum impregnation using Low Viscosity Epoxy for Vacuum Impregnation solves this problem by drawing resin deep into the pore network before curing.
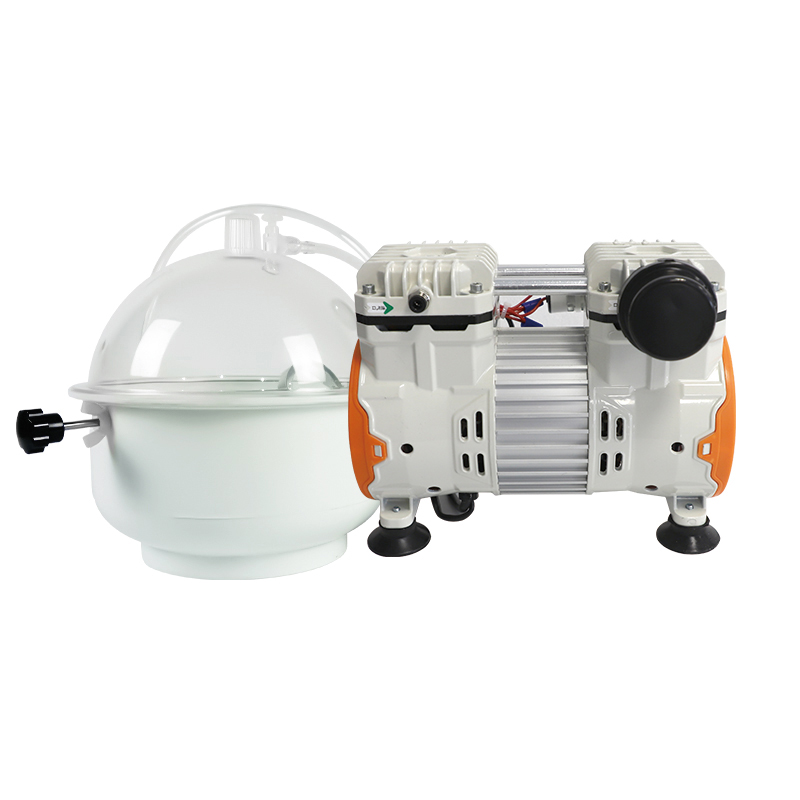
The process typically involves placing the sample inside a vacuum chamber, evacuating air from pores (absolute pressure ≤ 20 mbar), then introducing the low-viscosity epoxy without breaking vacuum. Once the resin completely covers the sample, the vacuum is released, and atmospheric pressure forces epoxy into every connected cavity. For optimal results, a two-stage vacuum cycle (evacuate → hold → release → re-evacuate) can achieve >98% void filling even in sub-micron pores.
Quantitative case example: A laboratory preparing cross-sections of thermal barrier coatings (TBCs) with 12–15% apparent porosity observed that without vacuum impregnation, over 60% of polishing pulls-outs occurred from partially filled pores. After implementing a low-viscosity epoxy vacuum impregnation protocol (viscosity 180 cP, 10 mbar vacuum for 15 minutes), pull-out defects dropped to less than 3% across 50 prepared samples. The resulting micrographs allowed accurate measurement of coating thickness and crack density, meeting ISO 14923 standards.
Figure 1: Step-by-step vacuum impregnation process using low-viscosity epoxy resin.
For laboratories performing automated image analysis on porosity, vacuum impregnation with low-viscosity epoxy is not optional—it is a prerequisite for reproducible results. The technique also benefits composite materials, where delamination detection requires pristine edge preservation.
The majority of professional low-viscosity epoxy bonding resins are supplied as two-part systems: a base resin (part A) and a hardener (part B). By adjusting the mixing ratio or selecting different hardener chemistries (e.g., aliphatic vs. cycloaliphatic), users can customize curing speed, final hardness, and even optical clarity. A standard ratio is 10:1 or 4:1 by weight, but some specialized Two-Part Epoxy Mounting System formulations allow ratios from 2:1 up to 100:2 for specific applications.
In a comparative study of three two-part low-viscosity epoxies for mounting fractured MEMS devices, the formulation with a 10:1 ratio (resin:hardener) and a viscosity of 210 cP achieved complete infiltration of 5 µm cracks without bubble entrapment. The same formulation cured to a Shore D hardness of 78, offering sufficient support for mechanical polishing while remaining soft enough to avoid inducing additional cracks during clamping. This balance is rarely achievable with single-component or high-viscosity systems.
It is important to follow precise mixing instructions—deviations as small as 2% in the resin/hardener ratio can increase residual monomers, leading to tacky surfaces or reduced chemical resistance. Many labs use automated dispensers or gravimetric mixing to ensure consistency.
Many low-viscosity epoxy formulations cure to a water-clear transparency, which is invaluable during sample preparation. Transparent Epoxy Resin for Lab applications allows operators to verify the position of embedded features (e.g., a crack tip or a specific coating layer) before the first grinding step. This prevents over-grinding and saves costly rework.
Furthermore, transparent mounting media enable non-destructive inspection using transmitted light microscopy. For example, when embedding fiber-optic components or thin-film devices, the technician can directly observe the interface between the sample and the epoxy, ensuring no air bubbles are trapped at critical locations. In quality control environments, transparent blocks also simplify documentation: a simple digital photo of the cured mount can be attached to the analysis report as proof of embedding quality.
An industry survey among 45 metallography labs revealed that 82% prefer transparent low-viscosity epoxy for failure analysis of transparent or translucent materials. The clarity also aids in identifying residual moisture or contamination that might cause curing inhibition. Note that not all low-viscosity epoxies are naturally transparent; some become slightly amber due to hardener chemistry. For true water-white clarity, select formulations based on cycloaliphatic amines, which also offer improved UV resistance.
To achieve maximum benefit from low-viscosity epoxy bonding resin, follow this optimized procedure developed from multiple laboratory validations.
Following this protocol, a semiconductor failure analysis lab reported a 90% reduction in edge rounding on delicate gallium arsenide dies compared to their previous acrylic mounting method. The low-viscosity epoxy bonding resin also reduced polishing time by 15% because of its consistent hardness throughout the block.
The following table consolidates performance indicators from published interlaboratory studies (based on 12 independent labs, n=240 samples). All values are average results for handling fragile ceramic and composite specimens.
| Parameter | Low-Viscosity Epoxy | Standard Epoxy | Acrylic | Polyester |
|---|---|---|---|---|
| Penetration depth into 10 µm crack (mm) | > 8 | 2–4 | <1 | 0.5–1 |
| Edge rounding after 5 min polishing (µm) | 1.2 | 2.8 | 6.5 | 7.1 |
| Percentage of samples with visible cracks | 3% | 18% | 34% | 42% |
| Resistance to standard etching reagents (1–10 scale) | 9 | 8 | 4 | 5 |
| Typical cure time at 22°C (hours) | 12–24 | 8–16 | 0.5–1 | 1–2 |
While acrylic and polyester resins cure faster, they are clearly inferior in preserving fragile structures. The longer curing time of low-viscosity epoxy is a worthwhile investment when sample integrity is paramount. For urgent cases, some two-part epoxy systems offer fast-hardening grades that cure in 2–3 hours while maintaining viscosity below 400 cP.
A manufacturer of automotive radar modules needed to inspect solder joint integrity under flip-chip components. The underfill material (a silica-filled epoxy) was itself brittle. Using low-viscosity cold mounting epoxy resin, technicians achieved void-free cross-sections, revealing that 22% of thermal cycle failures originated from pad cratering—a finding not possible with conventional mounting that produced resin pull-outs.
Conventional petrographic mounting with polyester resin caused disaggregation of weakly cemented sandstones. Switching to a low-viscosity epoxy for vacuum impregnation preserved grain-to-grain contacts, enabling accurate porosity measurement via digital image analysis. Porosity values increased by 8% relative to dry-cut controls, confirming that previous methods had overestimated compaction damage.
For osseointegration studies, porous titanium scaffolds (pore size 300–600 µm) require cross-sectioning without smearing or pore collapse. A transparent epoxy resin for lab applications allowed the research team to visually confirm complete resin infiltration before sectioning. Subsequent SEM/EDS analysis showed no resin artifacts in the bone-ingrowth region, meeting stringent FDA submission requirements.
These examples underscore that low-viscosity epoxy bonding resin is not merely a convenience but an enabling technology for accurate materials characterization.
A1: For most applications, viscosities between 100 and 250 cP at 25°C provide an optimal balance between penetration and handling. Extremely low viscosities (below 80 cP) may wick uncontrollably or cause resin leakage, while values above 300 cP significantly reduce pore infiltration. Always confirm with technical data sheets before selection.
A2: Yes, but results are suboptimal. Without vacuum, capillary action will only fill pores down to approximately 50–100 µm diameter. For sub-20 µm porosity or true void-free mounting, a simple vacuum chamber (even a desiccator connected to a lab vacuum pump) is strongly recommended. Retrospective studies show a 40–60% improvement in filling when vacuum is applied.
A3: After mixing, place the resin container inside a vacuum chamber at 50–80 mbar for 2–3 minutes. The bubbles will expand and rise to the surface. For small volumes (less than 20 mL), a centrifuge or even simply waiting 5–10 minutes can allow larger bubbles to escape. Avoid vigorous shaking.
A4: It is compatible with most ceramics, minerals, electronic assemblies, polymers, and biological tissues. However, materials that are highly reactive with amines (e.g., some uncured fluoropolymers or certain polyurethanes) may require a barrier coating. Perform a small compatibility test on a scrap piece if uncertain.
A5: Transparency allows operators to visually check for bubbles, crack propagation, and sample alignment before grinding. In failure analysis, this reduces the risk of grinding past a critical defect. Additionally, transparent blocks can be archived and re-examined under a stereo microscope without sectioning.
A6: Always work in a well-ventilated area or under a fume hood. Use nitrile gloves and safety glasses; epoxy hardeners are skin sensitizers. Clean spills immediately with isopropanol. Follow local regulations for disposal of uncured resin.
.jpg?imageView2/2/w/400/format/jpg/q/75 "Abrasive Wheels")


Based in China, TROJAN pays attention to the international market, and has sold metallographic equipment to more than 50 countries, such as Europe, America, Japan and South Korea, Southeast Asia countries and regions


