
 英语
英语 西班牙语
西班牙语 德语
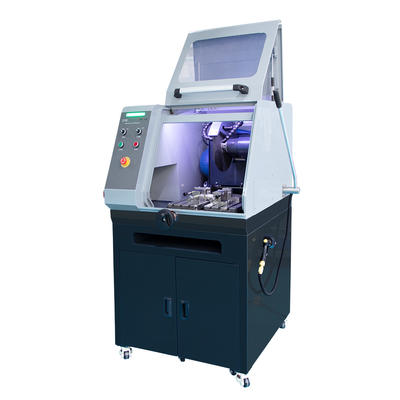
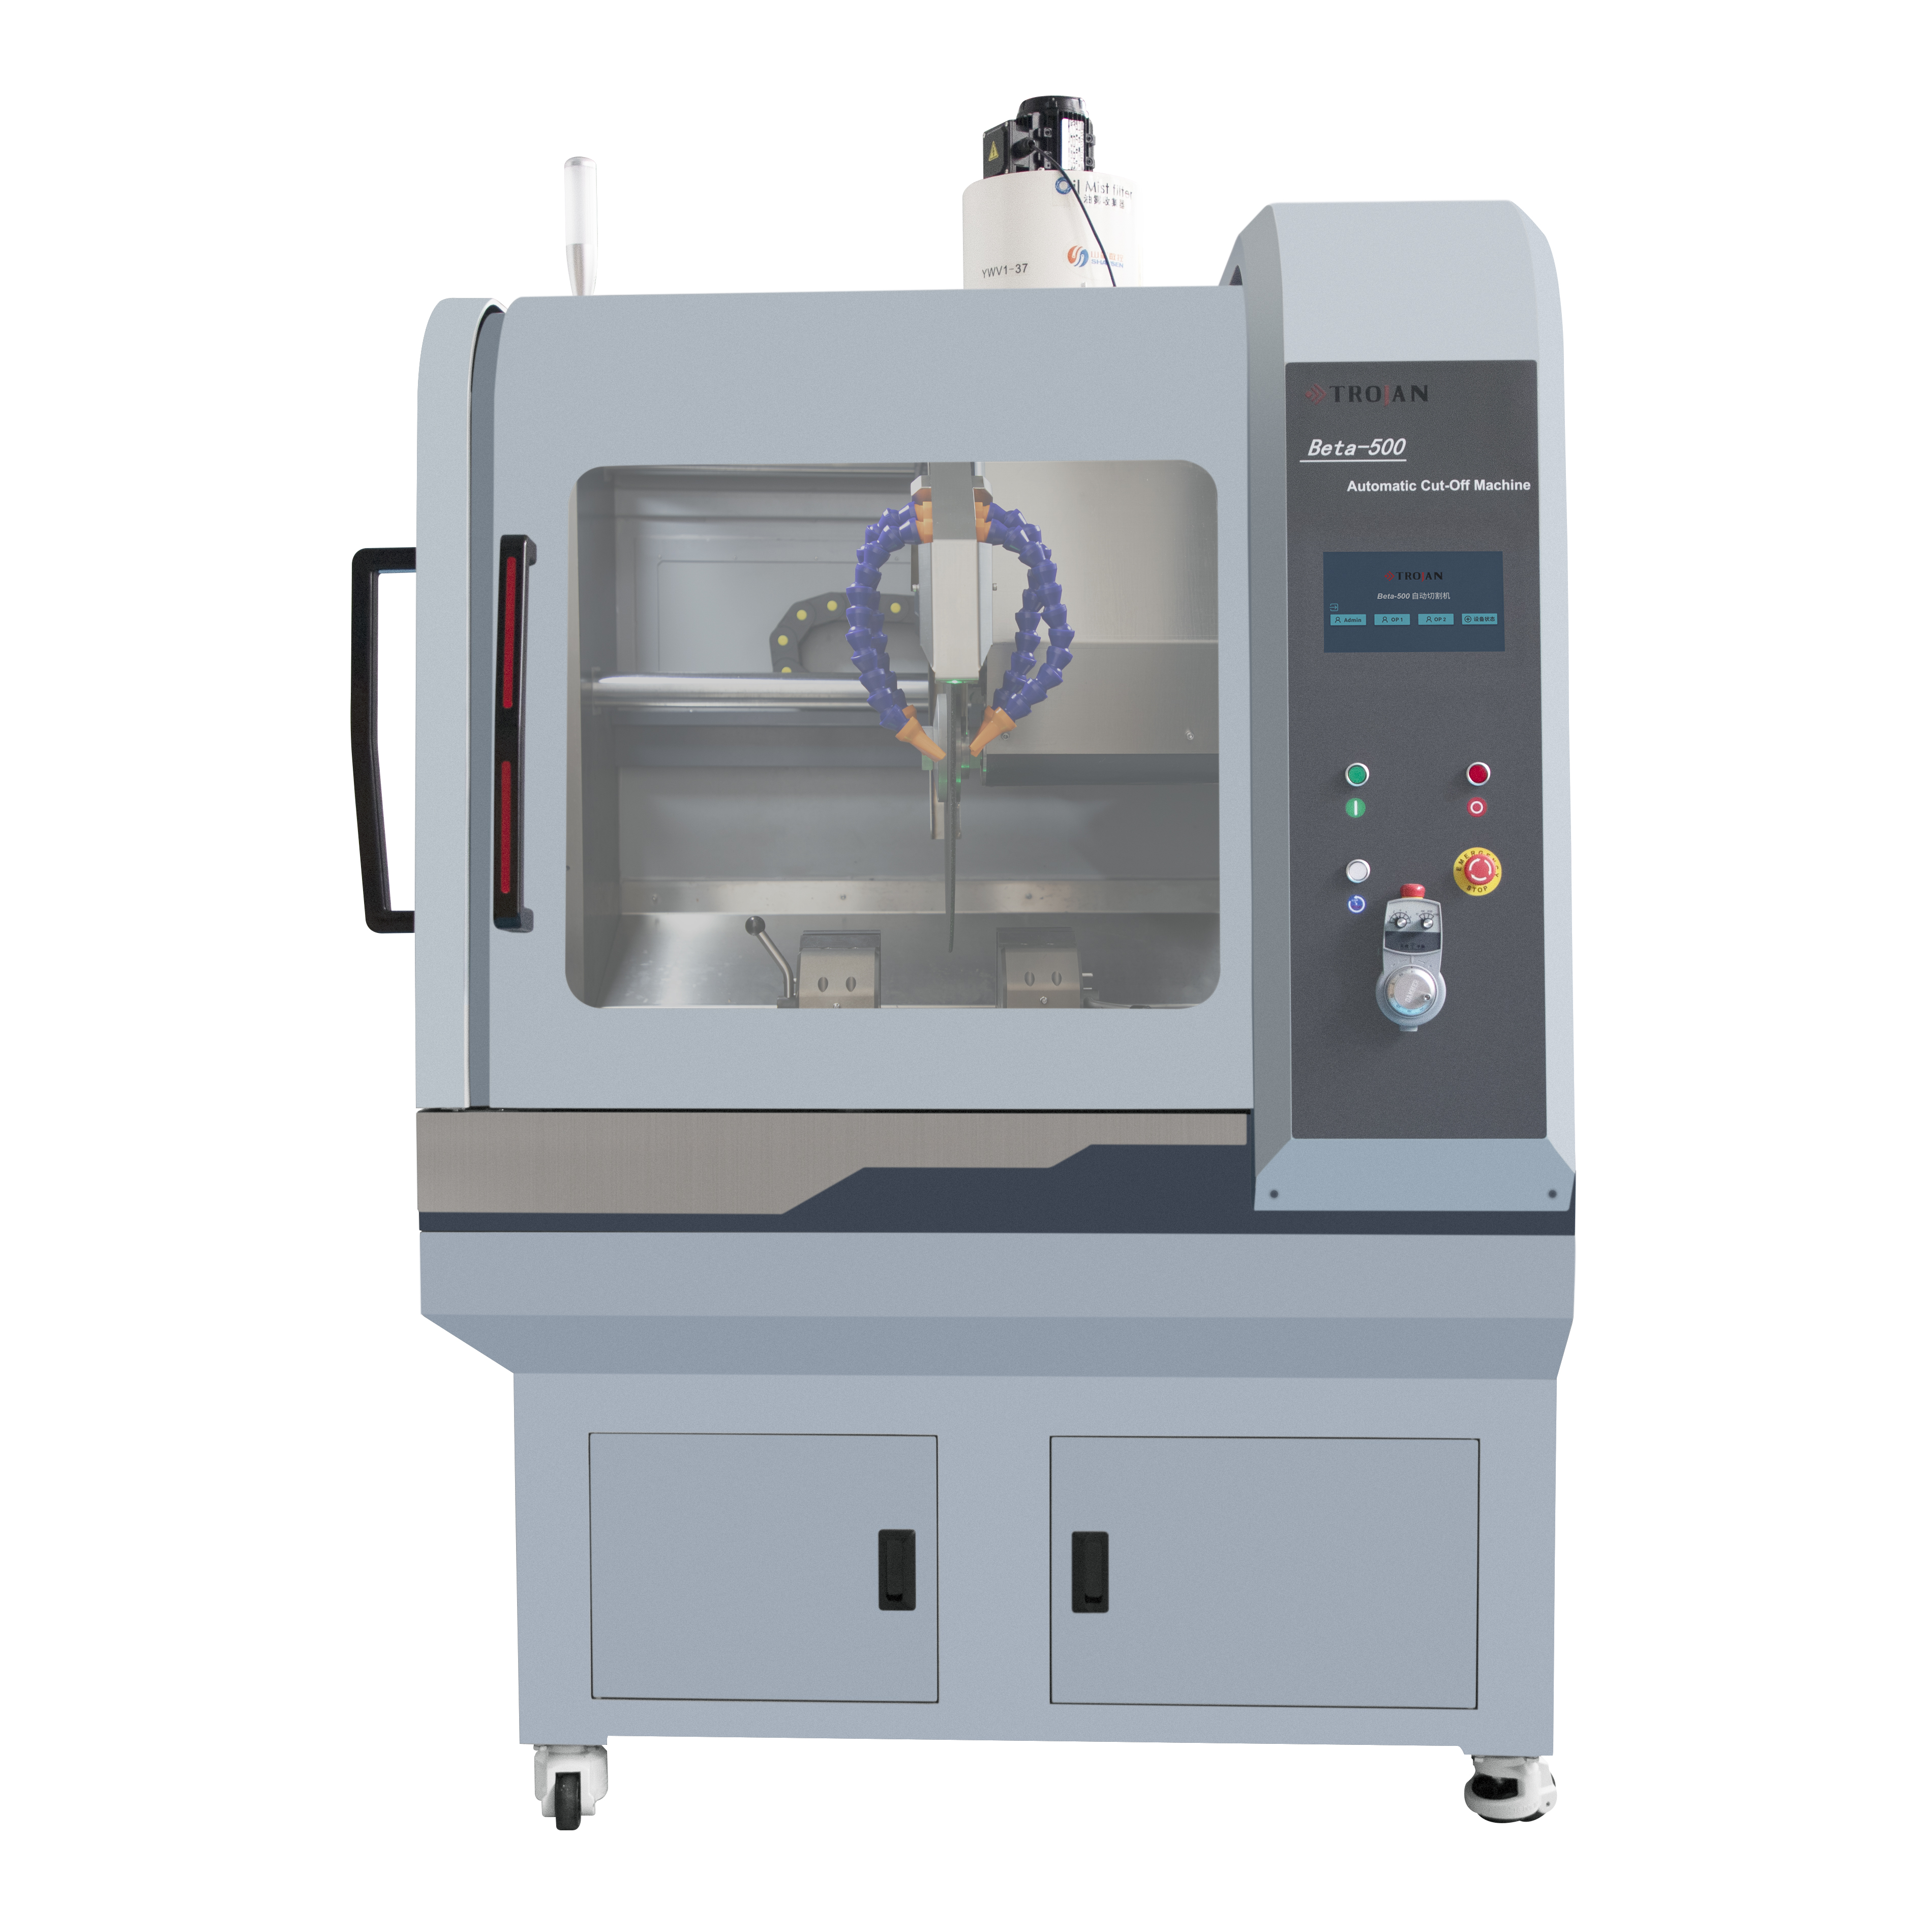
德语Beta-300Pro Automatic Abrasive Sectioning Machine
Beta-300Pro is a fully automatic vertical metallographic cutting machine. It utilizes advanced intel...
We use first- and third-party cookies including other tracking technologies from third party publishers to give you the full functionality of our website, to customize your user experience, perform analytics and deliver personalized advertising on our websites, apps and newsletters across internet and via social media platforms. For that purpose, we collect information about user, browsing patterns and device.
By clicking "Accept All Cookies", you accept this, and agree that we share this information with third parties, such as our advertising partners. If you prefer, you can choose to continue with "Only Required Cookies". But keep in mind that blocking some types of cookies may impact how we can deliver tailored content that you might like.
For more information and to customize your options, click on "Cookie settings". If you want to learn more about cookies and why we use them, visit our Cookie Policy page at any time. Cookie Policy

In a metallographic lab, accuracy vs precision is not a semantic exercise, it is a operational variable that determines whether a measurement can be trusted. Accuracy describes how close a measured value sits to the true condition of the material, while precision describes how repeatable that measurement is across multiple specimens or operators. A lab can be precise without being accurate, producing tightly clustered results that are all offset from the real microstructure due to a systematic error in mounting or polishing.
This distinction matters most at the specimen preparation stage, long before any microscope is involved. Poor edge support, inconsistent mounting pressure, or uneven resin curing can introduce artifacts that shift every subsequent measurement in the same direction, an accuracy problem that no amount of repeated testing will reveal. Meanwhile, inconsistent technique between technicians introduces scatter, a precision problem that shows up as unexplained variability in case-depth or coating-thickness reports.
A five percent misalignment in specimen mounting can shift measured case-depth results by a margin large enough to move a part from pass to fail on a printed inspection report.
metallographic specimen mounting is the process of embedding a sectioned sample in a rigid supporting medium so it can be safely ground, polished, and examined without edge rounding, fracture, or contamination. The mount serves three practical purposes at once: it gives the technician a uniform, hand-sized shape to work with, it protects fragile or thin-walled specimens during abrasive processing, and it provides electrical or thermal isolation where required for later analysis.
There are two broad approaches to achieving this, differentiated primarily by how the resin is delivered and cured:
The choice between them is rarely arbitrary. Heat-sensitive materials, porous samples, or specimens with fine surface coatings often demand cold mounting to avoid thermal distortion, while high-throughput labs processing standard alloys typically favor hot mounting for its speed and consistency. A side-by-side comparison of both methods appears later in this article.
| Mounting Goal | Typical Requirement |
|---|---|
| Edge preservation | Low shrinkage resin, minimal gap at specimen boundary |
| Conductive analysis | Conductive filler content in the mounting compound |
| Fast turnaround | Short cure cycle, compatible with hot mounting press |
| Fragile or porous samples | Low-viscosity cold mount with vacuum impregnation |
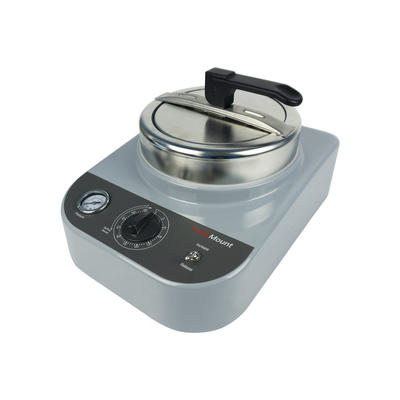
A mounting press for metallographic preparation applies controlled heat and axial pressure to a mold cylinder, compacting resin powder around the specimen until it forms a dense, void-free block. The performance of this single piece of equipment influences nearly every downstream result, because inconsistent pressure or temperature control translates directly into inconsistent mount density and edge support.
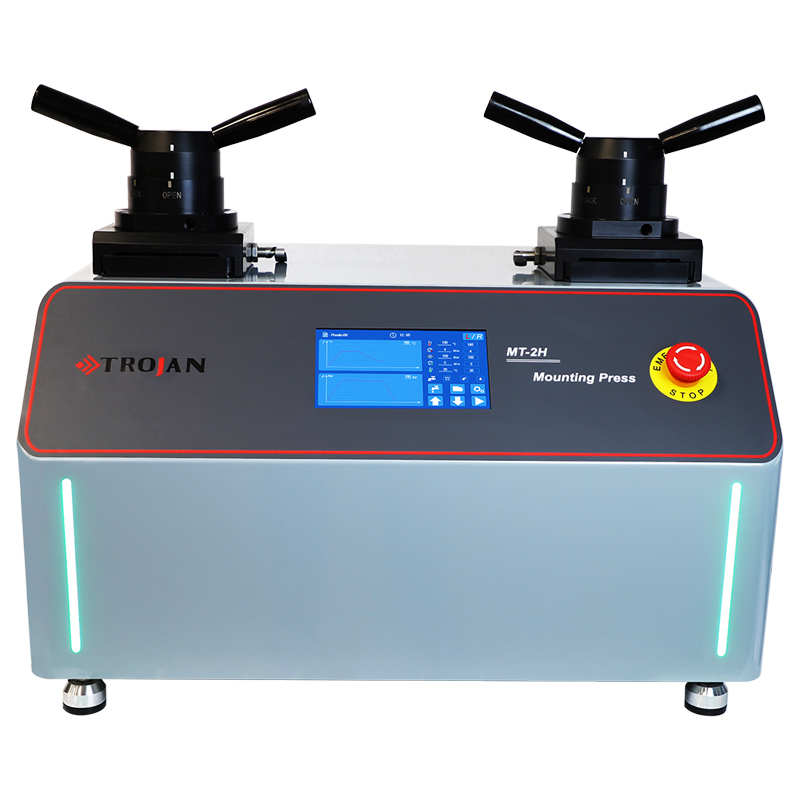
When evaluating a press, several operating characteristics deserve close attention:
Labs running high specimen volumes often prioritize fast cooling and dual-mold configurations to keep throughput steady, while research-oriented labs preparing delicate or one-off specimens tend to prioritize fine pressure control over raw speed.
hot mounting resins for metallography are not interchangeable, and choosing the wrong type for a given specimen is one of the most common sources of preparation error. Resin families differ in hardness, shrinkage behavior, adhesion to the specimen surface, and compatibility with subsequent grinding and polishing steps.
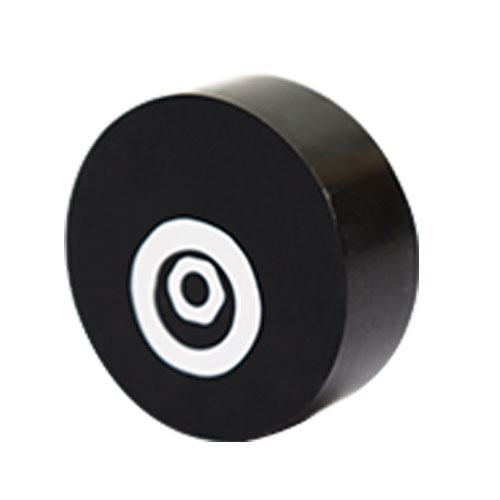
Broadly, hot mounting resins fall into a few practical categories:
Shrinkage behavior deserves particular attention. As resin cools and solidifies, slight contraction can pull the mounting material away from the specimen edge, creating a microscopic gap that traps polishing debris and rounds the very edge a technician is trying to preserve. Selecting a resin with shrinkage characteristics suited to the specimen hardness is one of the simplest, most overlooked ways to protect edge quality.
Neither mounting method is universally superior, and the right choice depends on specimen sensitivity, volume, and the analysis planned downstream.
| Parameter | Hot Mounting | Cold Mounting |
|---|---|---|
| Typical cycle time | 6 to 12 minutes | 15 minutes to several hours |
| Equipment requirement | Mounting press required | Open mold, no press needed |
| Heat sensitivity risk | Present, due to applied heat and pressure | Minimal, cures near ambient temperature |
| Edge retention performance | Strong, with correctly matched resin | Variable, depends on resin viscosity and voids |
| Best suited for | High-volume routine specimens | Porous, fragile, or heat-sensitive specimens |
Mounting does not happen in isolation. It sits inside a broader sequence where an error introduced at one stage compounds through every stage that follows. Visualizing the full workflow helps identify where quality checkpoints are most valuable.
Each stage introduces its own risk if left unchecked. Sectioning that generates excessive heat can alter the near-surface microstructure before mounting even begins. Mounting that leaves resin voids compromises polishing uniformity. Curing that finishes too quickly can trap internal stress. A workflow that treats each stage as a checkpoint, rather than a single continuous rush to the microscope, produces far more defensible results.
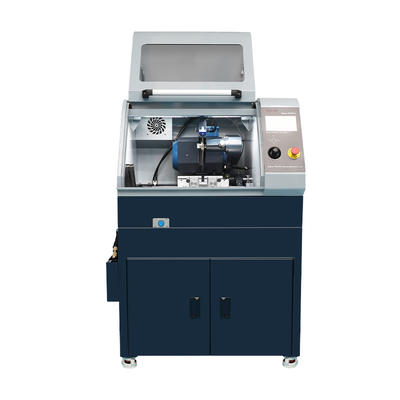
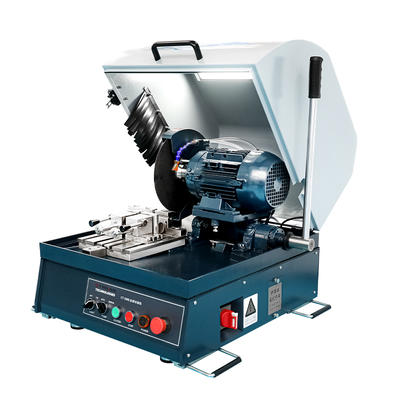
sample sectioning is the first opportunity to introduce, or avoid, damage that mounting cannot undo. Abrasive cutting generates localized heat, and if that heat is not adequately dissipated through coolant flow and controlled feed rate, it can alter grain structure near the cut surface, an artifact easily mistaken for a genuine material property during later inspection.
Practical sectioning guidelines that protect the specimen for mounting include:
Where the region of interest sits directly at an edge, such as a coating boundary or a case-hardened layer, sectioning strategy should be planned in tandem with the mounting method, since edge-sensitive specimens often justify the added time of cold mounting with vacuum impregnation to eliminate voids at the exact boundary being measured.
resin curing is often treated as a fixed, automatic step of the mounting press cycle, but small deviations in temperature and cooling rate have measurable downstream effects. Curing too fast can lock in internal stress that later reveals itself as micro-cracking near the specimen boundary. Curing too slowly wastes lab throughput without a corresponding quality benefit.
| Curing Variable | Effect if Out of Range |
|---|---|
| Cure temperature too low | Incomplete polymerization, soft or crumbling mount edges |
| Cure temperature too high | Excess shrinkage, gap formation at specimen boundary |
| Cooling rate too fast | Internal stress, risk of cracking during grinding |
| Cooling rate too slow | Reduced throughput without added quality benefit |
Because curing behavior depends heavily on both the mounting press settings and the specific resin selected, labs that standardize a documented cure profile per resin type see far less specimen-to-specimen variability than labs that rely on operator judgment alone.
edge retention and surface integrity are the two outcomes that most directly reflect whether the entire preparation sequence, from sectioning through mounting through polishing, was executed correctly. Edge rounding at the specimen boundary can hide coating thickness data, distort case-depth readings, and make failure-origin analysis unreliable.
Two practical indicators are worth tracking on a routine basis:
Both indicators trace back to decisions made earlier in the process, resin selection, mounting press pressure, and cure profile, reinforcing why edge retention should be treated as a design outcome of the whole workflow rather than a polishing-stage afterthought.
lab workflow optimization in metallographic preparation is frequently framed as a speed problem, but the labs with the best throughput-to-quality ratio treat it as a standardization problem instead. Reducing variability between operators, presses, and resin batches tends to improve both speed and consistency simultaneously, because rework from failed mounts is one of the largest hidden time costs in a preparation lab.
Practical levers that improve workflow without compromising accuracy include:
A useful benchmark for evaluating workflow health is the rework rate, the proportion of mounted specimens that must be re-sectioned or re-mounted due to voids, cracking, or edge failure. Tracking this metric over time reveals whether process changes are genuinely improving quality or simply shifting effort from one stage to another.
Hot mounting uses a mounting press to apply heat and pressure to resin powder, curing it quickly around the specimen. Cold mounting uses a liquid resin poured into an open mold that cures at or near room temperature without applied pressure, making it gentler on heat-sensitive or fragile samples.
Many inspections, such as coating thickness or case-depth measurement, focus specifically on the specimen edge. If that edge rounds off or develops a gap during preparation, the resulting measurement no longer reflects the true condition of the material at the boundary.
Resin hardness and shrinkage behavior need to be reasonably matched to the specimen material. A mismatch can cause differential polishing rates between the specimen and the resin, or shrinkage gaps at the boundary that trap debris and distort edge measurements.
Clamping pressure and cure temperature are the two settings that most directly affect mount density and edge support. Insufficient pressure leaves porosity near the specimen, while excessive heat or overly fast cooling can introduce internal stress or shrinkage-related gaps.
Standardizing documented parameters, mold size, resin type, cure profile, and cooling rate, removes much of the subjective judgment that causes operator-to-operator variation. Tracking a rework rate over time also helps identify whether current procedures are consistently effective.
.png?imageView2/2/w/400/format/jpg/q/75 "Disposable Sample Cups")

Based in China, TROJAN pays attention to the international market, and has sold metallographic equipment to more than 50 countries, such as Europe, America, Japan and South Korea, Southeast Asia countries and regions


