
 英语
英语 西班牙语
西班牙语 德语
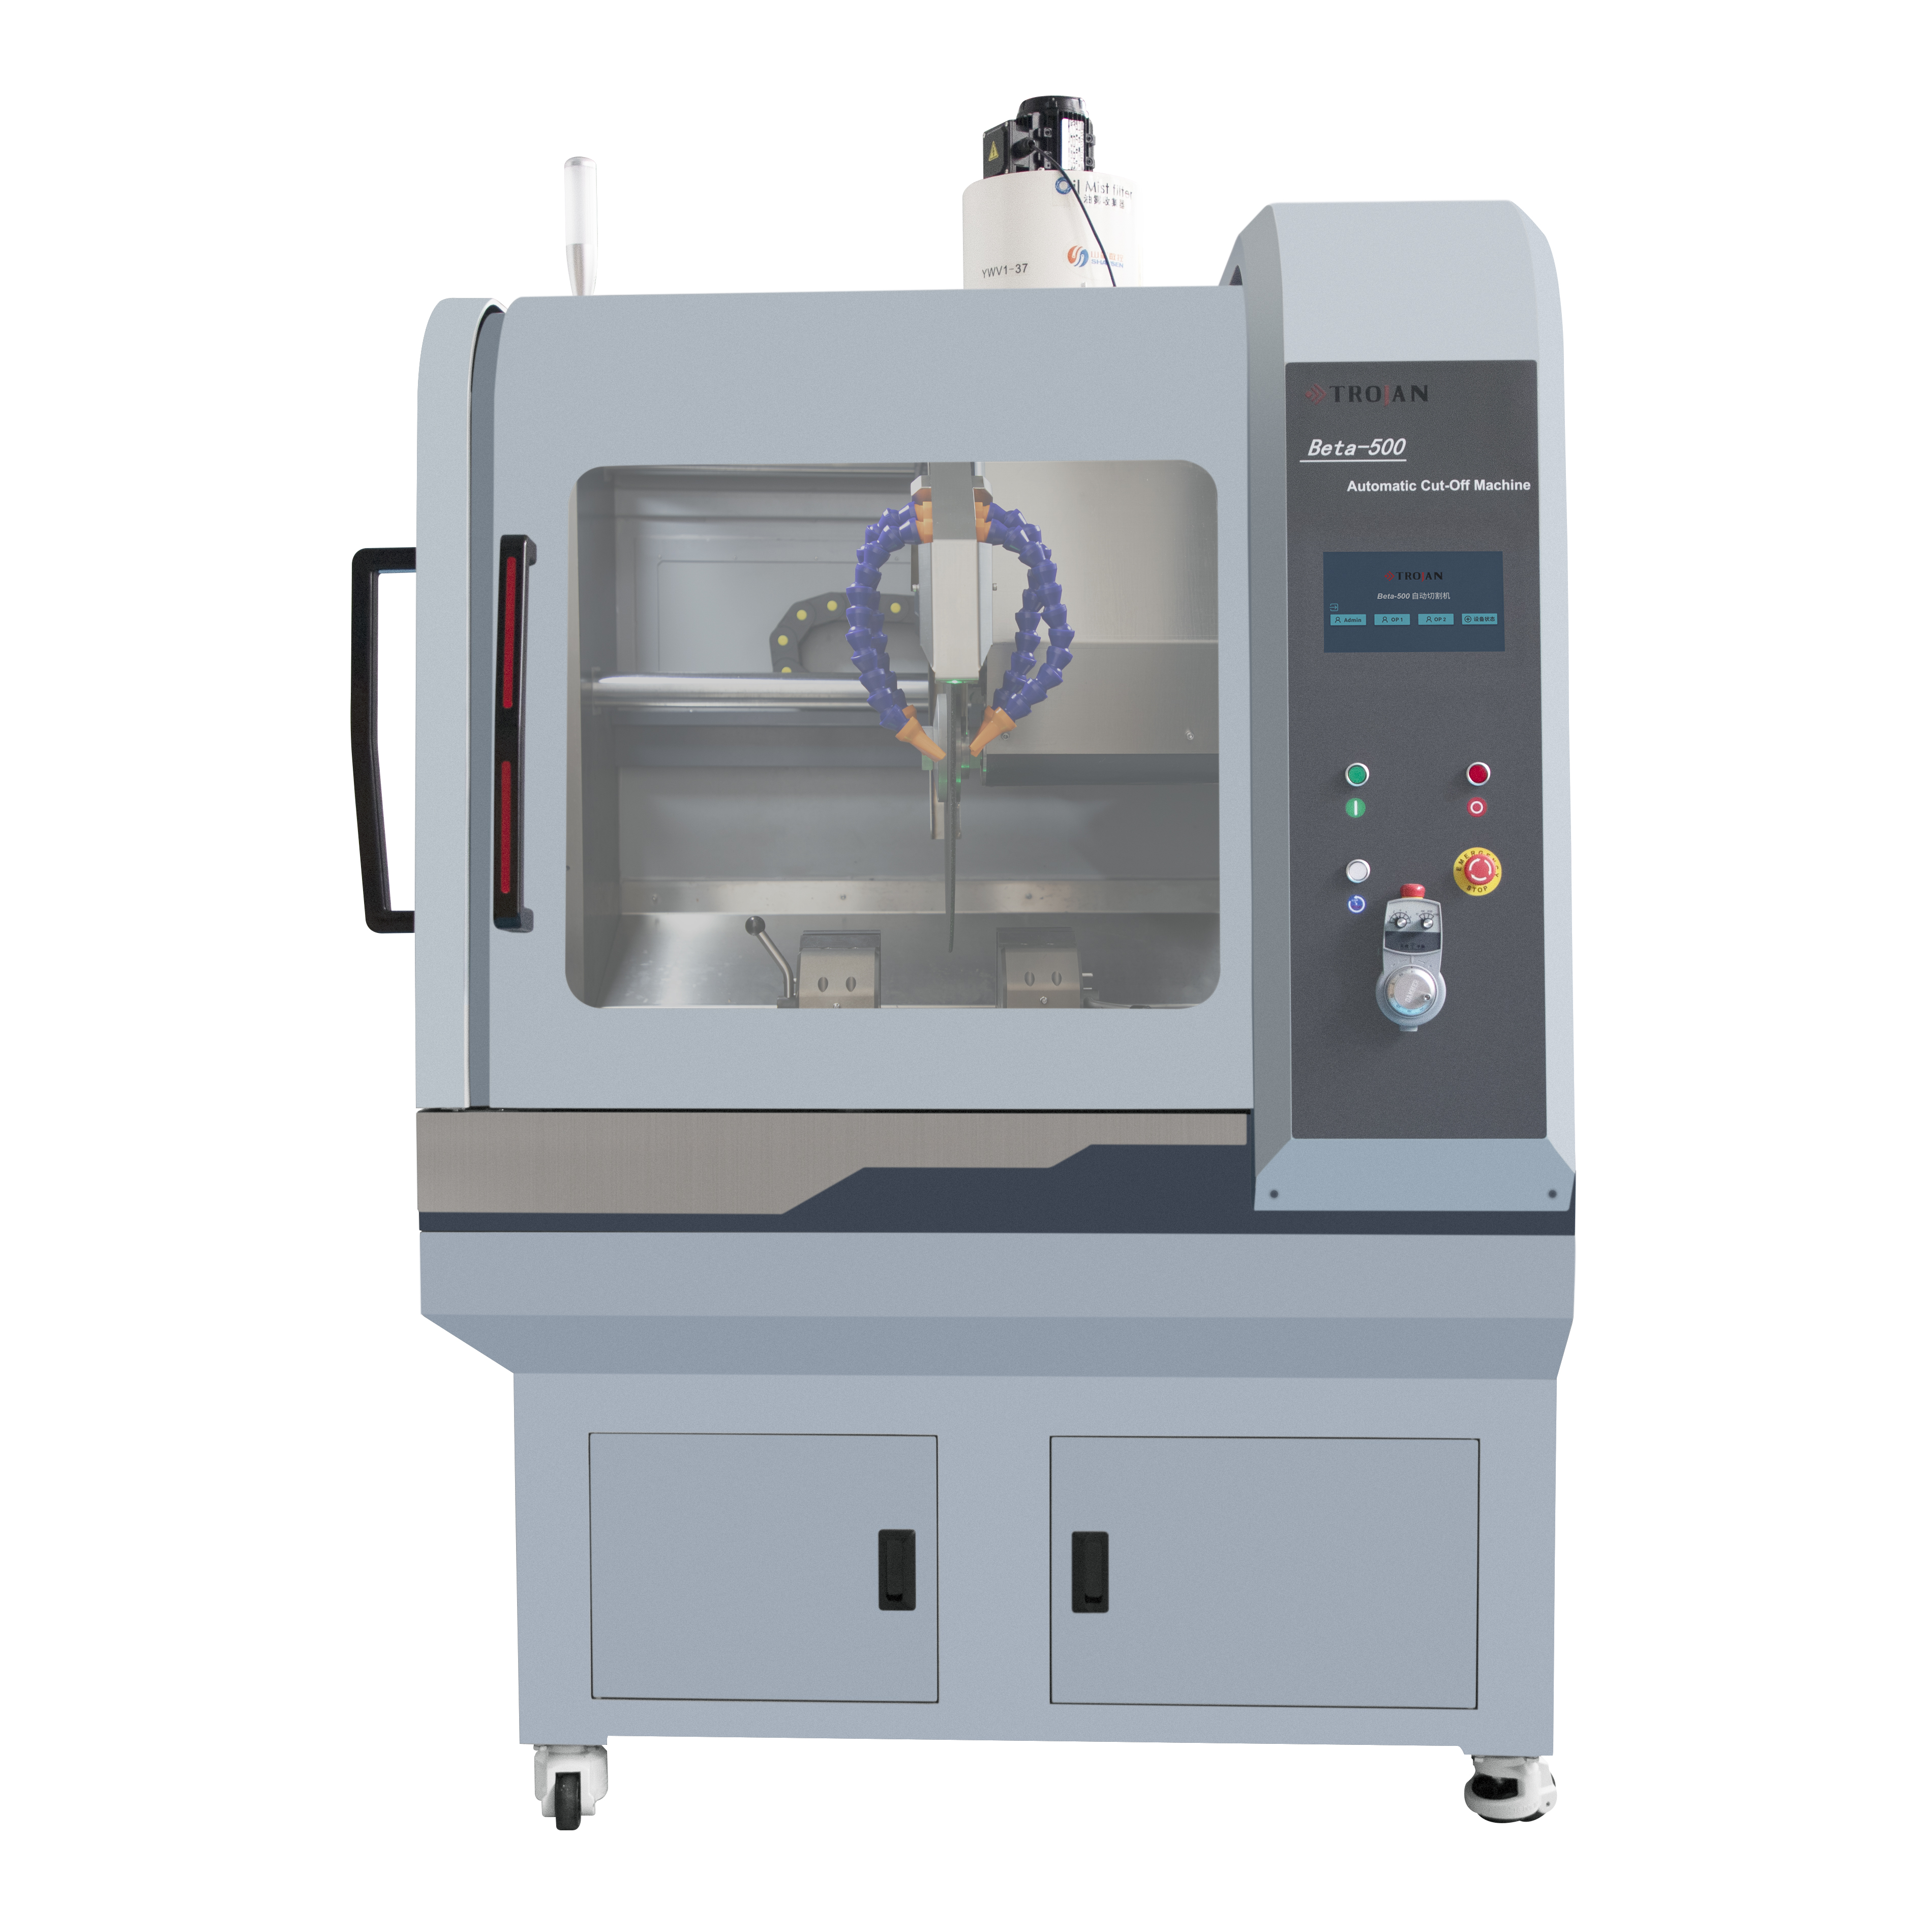
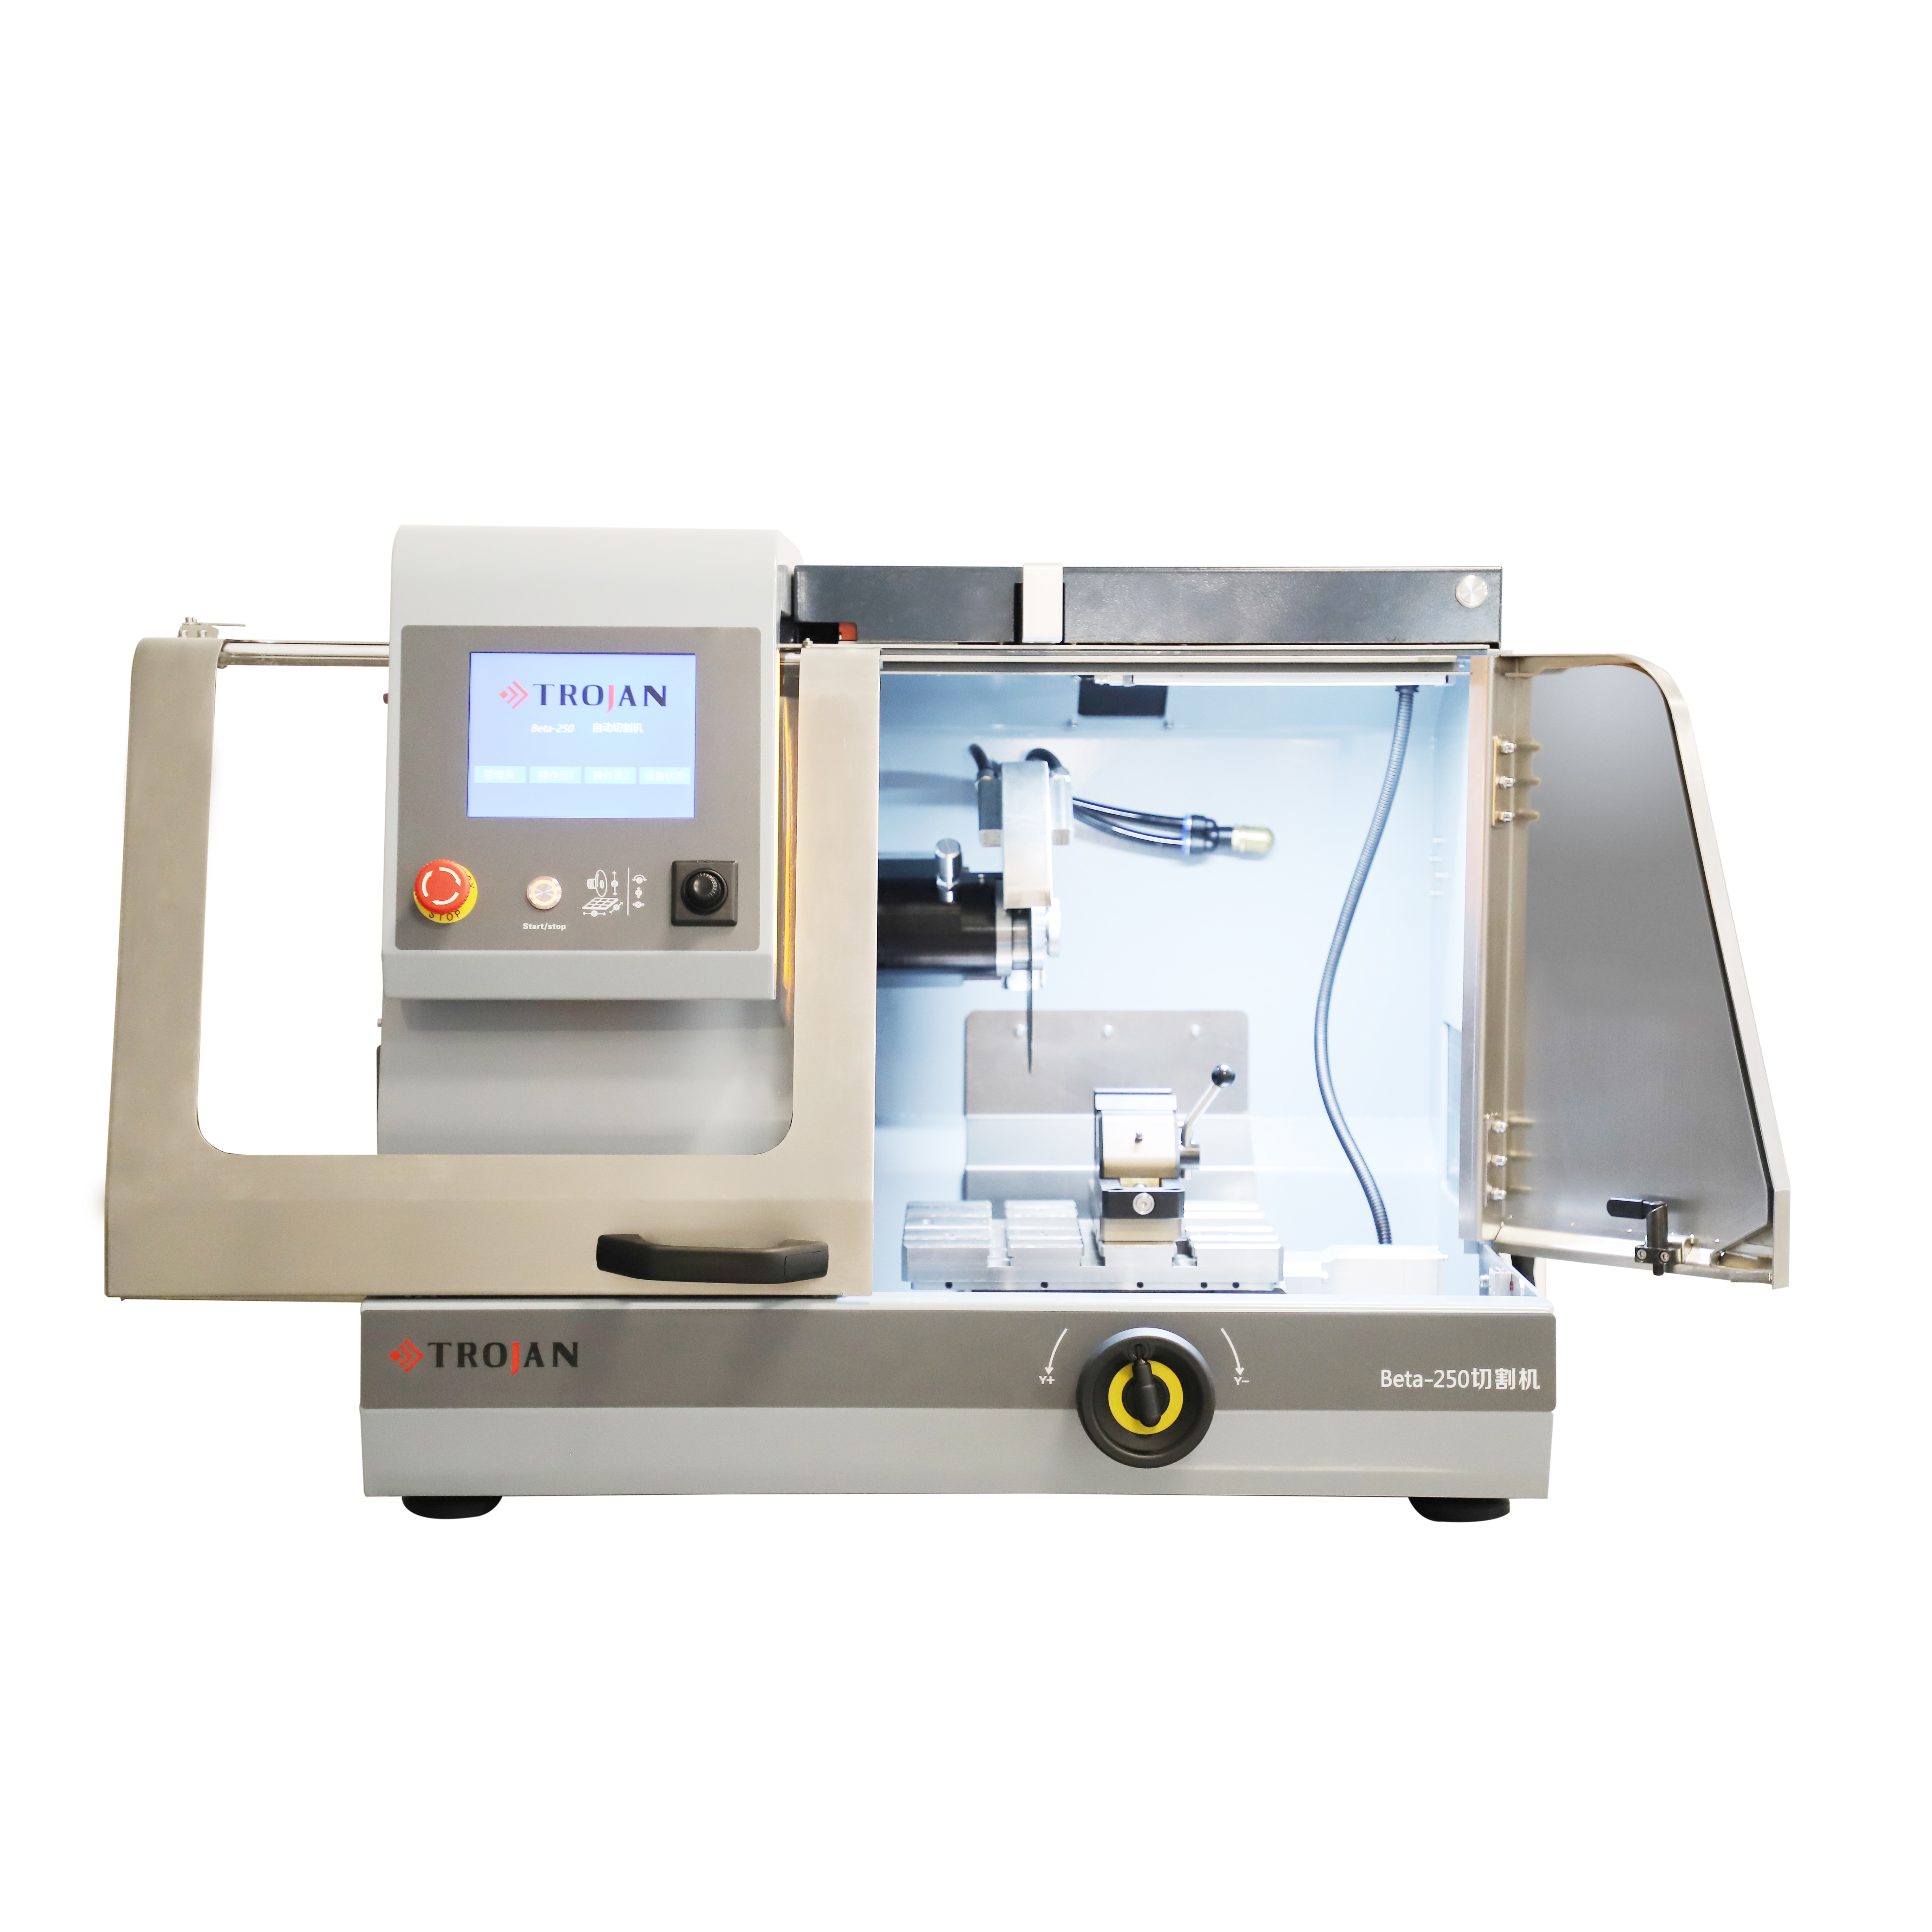
德语TableCUT-200 Automatic Precision Cut-Off Machine
Product Description
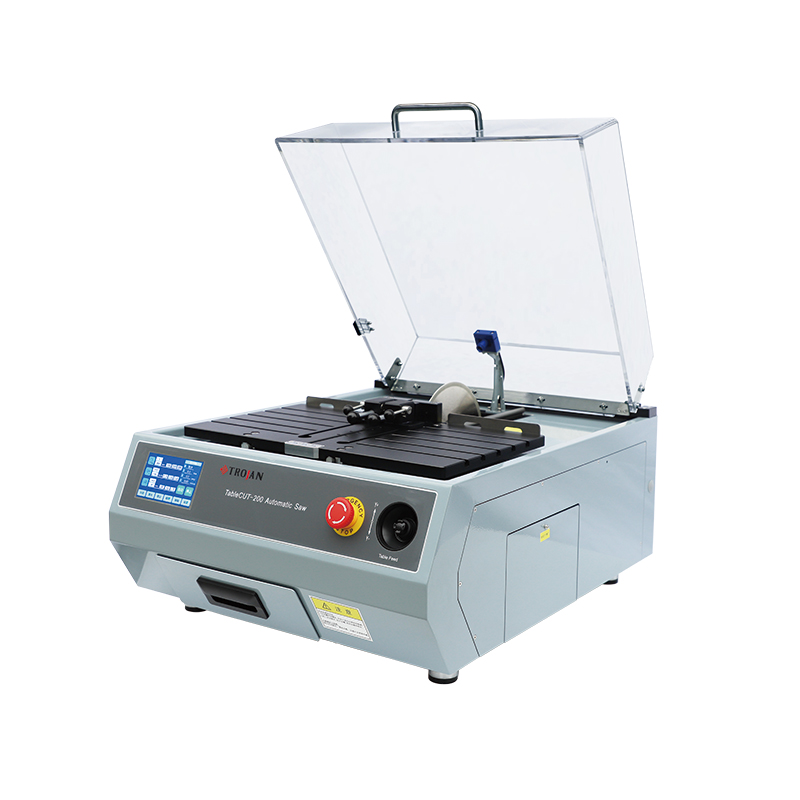
TableCUT-200 is automatic precision cut-off machine, equipped with various fixtu...
We use first- and third-party cookies including other tracking technologies from third party publishers to give you the full functionality of our website, to customize your user experience, perform analytics and deliver personalized advertising on our websites, apps and newsletters across internet and via social media platforms. For that purpose, we collect information about user, browsing patterns and device.
By clicking "Accept All Cookies", you accept this, and agree that we share this information with third parties, such as our advertising partners. If you prefer, you can choose to continue with "Only Required Cookies". But keep in mind that blocking some types of cookies may impact how we can deliver tailored content that you might like.
For more information and to customize your options, click on "Cookie settings". If you want to learn more about cookies and why we use them, visit our Cookie Policy page at any time. Cookie Policy

A metallography lab rarely fails because of one bad decision. It fails in small increments: a mislabeled sample tray, a mounting press left uncalibrated for a quarter, a polishing cloth reused past its useful life. Each of these is minor on its own, but stacked together they distort measurement results and slow down turnaround. Treating the lab as a connected system, rather than a series of isolated stations, is the difference between a facility that produces repeatable data and one that produces guesses dressed up as reports.
The workflow itself is short on paper: sectioning, mounting, grinding, polishing, etching, and imaging. In practice, each stage depends on decisions made in the one before it. A poorly chosen mounting compound can introduce edge rounding that no amount of careful polishing will fix later. A grinding sequence that skips a grit step can leave subsurface deformation that shows up as false porosity under the microscope. The chart below maps the sequence and flags where most quality issues originate.
Every discussion about lab organization eventually comes back to a basic question: what happens to the sample once it leaves the cutting wheel? metallographic specimen mounting exists to solve a practical problem, not a cosmetic one. Loose or irregularly shaped samples are difficult to grip, difficult to polish evenly, and nearly impossible to label consistently. Mounting turns an awkward fragment into a standardized disc that fits automated holders and keeps edge geometry intact during grinding.
Labs generally split mounting into two families: compression mounting and castable mounting. Compression mounting uses heat and pressure to fuse a resin powder around the sample inside a press, typically in the range of 150 to 180 degrees Celsius and several thousand pounds of force, depending on the resin. Castable mounting pours a liquid resin around the sample at room temperature and lets it cure without heat, which matters for samples sensitive to thermal distortion, such as certain coated or heat-treated parts.
| Attribute | Compression Mounting | Castable Mounting |
|---|---|---|
| Cycle time | 8 to 12 minutes per batch | 15 minutes to several hours curing |
| Heat exposure | Yes, moderate | None or minimal exotherm |
| Edge retention | Good with correct resin | Excellent with epoxy systems |
| Best suited for | Routine batches, hard metals | Delicate, porous, or coated samples |
| Operator involvement | Low once loaded | Higher, requires mixing and pouring |
Resin selection within each family carries its own trade-offs. Phenolic resins are inexpensive and durable but shrink slightly during cooling, which can pull away from soft inclusions. Epoxy systems have low shrinkage and strong edge retention, making them a common choice when edge features are the actual subject of analysis. Acrylic resins cure fast and polish to high clarity but are more brittle under mechanical stress. None of these is universally correct; the right choice depends on what the sample needs to reveal.
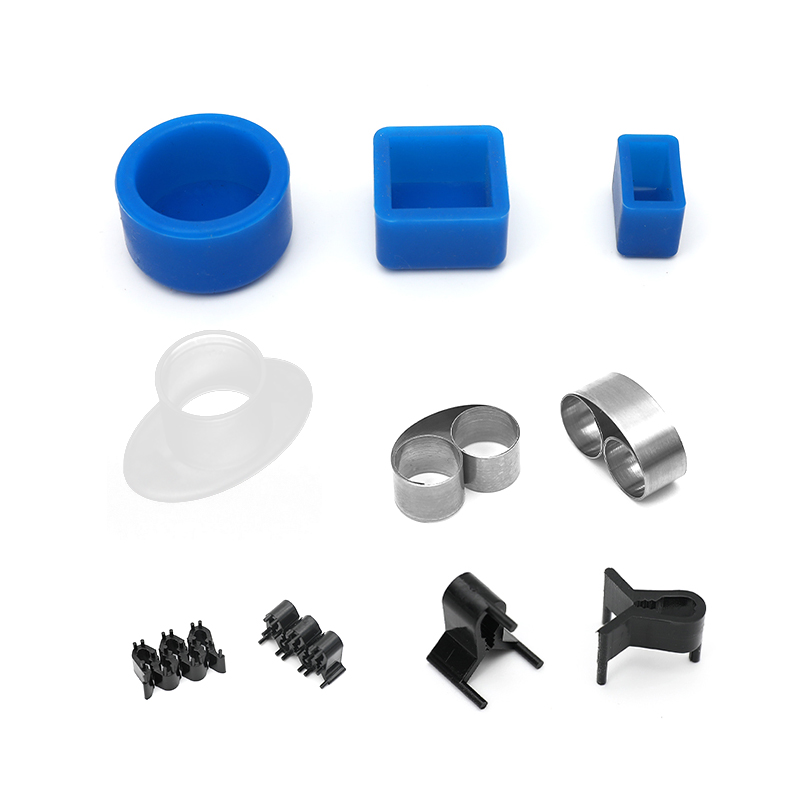
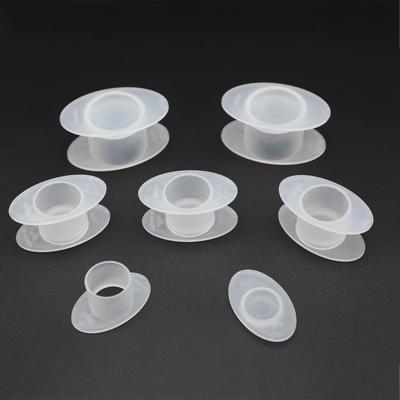
Mounting quality is only as good as the hardware around it. Silicone and rubber molds allow castable resin to release cleanly without deforming the disc edge, and their reusability across hundreds of cycles makes them one of the more cost-effective consumables in the lab. Metal ring molds serve a different purpose in compression mounting, where they need to withstand repeated heating and cooling without warping. Clamps, mixing cups, degassing chambers, and labeling tags round out the toolkit, and each has a direct effect on repeatability.
Mold material choice deserves more attention than it typically gets. Silicone molds tolerate more demolding cycles before they degrade, while lower-cost rubber alternatives tend to lose dimensional accuracy sooner. The chart below compares typical reuse life across three common mold materials based on internal lab tracking logs from routine metallography operations.
Storage of these tools matters as much as their initial quality. Molds left in direct sunlight or in fluctuating humidity degrade faster than the cycle counts above suggest, since ultraviolet exposure and moisture both accelerate material fatigue. A dedicated, climate-stable storage drawer near the mounting station, separated by mold size and resin compatibility, is a low-cost habit that extends tool life measurably.
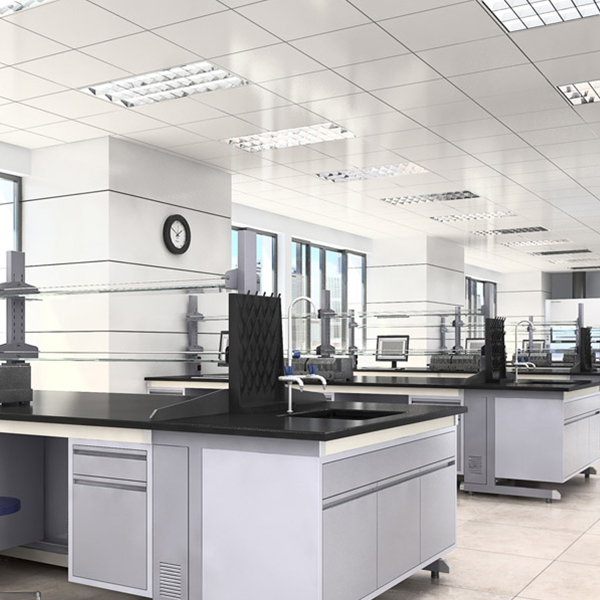
Mounting is one station in a longer chain, and the equipment surrounding it determines whether the lab can keep pace with sample volume. A typical inventory includes a precision cutting saw, a mounting press or casting station, grinding and polishing wheels, a hardness tester, and an optical or digital microscope, often paired with image analysis software. Smaller labs sometimes combine grinding and polishing into a single semi-automatic unit, while higher-throughput facilities separate them to run in parallel.
Different equipment categories excel on different dimensions, and no single machine covers every priority equally well. The radar chart below scores four common equipment categories on throughput, precision, maintenance simplicity, and footprint efficiency, using a relative scale built from typical lab specification sheets.
The practical takeaway is that equipment planning should follow the bottleneck, not the budget line item that seems most impressive. A lab with a fast cutting saw but a single manual polishing wheel will still queue samples at the polishing stage. Mapping actual sample volume against each station's cycle time, before purchasing, tends to prevent that kind of mismatch.
As sample volume grows, the biggest threat to data integrity often stops being technique and starts being logistics. A lab processing forty samples a day needs a tracking system that survives interruptions, shift changes, and multiple operators touching the same specimen at different stages. Barcode or QR labels applied at the sectioning stage, carried through mounting and into the final micrograph filename, remove most of the ambiguity that leads to mismatched records.
Physical organization matters just as much as digital tracking. Trays segmented by project or batch, color-coded by processing stage, let an operator see at a glance which samples are ready for grinding versus which are still curing. Labs that adopt this kind of visual system tend to report fewer processing errors as batch sizes scale, since the organization compensates for the moments when written logs fall behind.
The line chart below illustrates a common pattern observed as labs formalize their handling procedures over time: processing error rate drops sharply in the first few months of adopting a structured tracking system, then levels off as the system matures.
Equipment calibration is easy to postpone because a slightly drifted hardness tester or an out-of-tolerance saw still produces results that look plausible. The problem surfaces later, when two labs measuring the same reference material report values that differ beyond acceptable variance. Establishing a written calibration calendar, rather than relying on memory or ad hoc scheduling, closes most of that gap.
Not every instrument needs the same calibration frequency. High-wear equipment such as cutting saws and grinding wheels benefits from more frequent checks than stable optical systems. The bar chart below outlines a reasonable baseline schedule that many labs use as a starting point before adjusting to their own usage intensity.
Documentation should record not just the calibration date but the reference standard used, the technician who performed the check, and any adjustment made. Over a year, this log becomes a diagnostic tool in its own right: a hardness tester that needs correction more frequently than its peers may be signaling a mechanical issue long before it fails outright.
Mounting and polishing stations carry safety considerations that are easy to underestimate because the equipment looks less dangerous than a cutting saw. Compression mounting presses operate at high temperatures, and improper loading can cause resin to jet out under pressure. Polishing wheels generate fine particulate from both the sample and the abrasive media, which makes local exhaust ventilation and appropriate respiratory protection a baseline requirement rather than an optional extra.
A structured lab audit, run quarterly, tends to catch the small drift that accumulates between larger safety reviews. Simple items such as worn power cords, missing guard shields, or expired reagent stock rarely cause an incident on their own, but they compound over time in the same way an uncalibrated instrument does.
Compression mounting cycles generally run 8 to 12 minutes including heating and cooling, while castable mounting depends on the resin system and can range from 15 minutes to several hours for a full cure.
Silicone molds typically tolerate several hundred demolding cycles before dimensional accuracy drops, while lower-cost composite molds often need replacement after a few hundred fewer cycles, depending on storage conditions.
Edge rounding usually traces back to a mismatch between the resin's hardness and the sample material, or to a grinding sequence that skips an intermediate grit step.
Resin powders and liquid systems should be kept in a climate-stable area away from direct sunlight and humidity, since both accelerate degradation and shorten shelf life.
Each entry should record the date, the reference standard used, the technician performing the check, and any adjustment made, so the log can double as a diagnostic history over time.
.jpg?imageView2/2/w/400/format/jpg/q/75 "MD-WT Monocrystalline Diamond Suspension")

Based in China, TROJAN pays attention to the international market, and has sold metallographic equipment to more than 50 countries, such as Europe, America, Japan and South Korea, Southeast Asia countries and regions


